CleanTalk added spam protection for My Sticky Elements using direct form integration. So in case, you prefer using My Sticky Elements be sure to use the most effective Anti-Spam plugin. Read the guide below and learn 4 steps to protect your website from spam.
Once the CleanTalk Anti-Spam plugin is installed it starts to protect all of the existing forms on your WordPress website. It may not only be My Sticky Elements but also many others.
Download CleanTalk Anti-Spam plugin | Download My Sticky Elements
How to install CleanTalk Anti-Spam plugin 
To install the Anti-Spam plugin, go to your WordPress admin panel → Plugins → Add New.

Then enter «СleanTalk» in the search box and click the Install button for «Spam protection, Anti-Spam, FireWall by CleanTalk».

After installing the plugin, click the «Activate» button.

After it is done go to the plugin settings and click the «Get Access Key Automatically» button. Then just click the «Save Settings» button.

That’s it! From now you How to completely protect your My Sticky Elements from spam.
How to check spam protection for My Sticky Elements
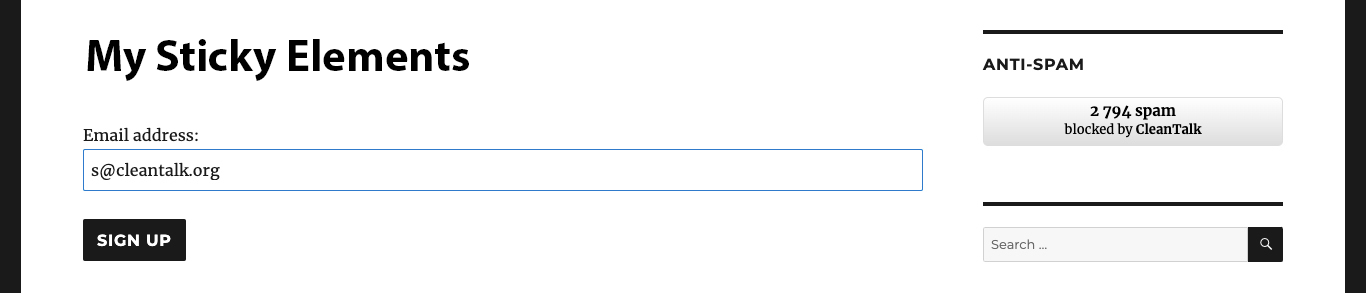
You can test the work of Anti-Spam protection for your My Sticky Elements by using a test email s @ cleantalk.org (without spaces). First, open the form in an Incognito browser tab. Fill in all the required form fields and send a form. After submitting the form, you will see a block message about the block on the form submission.

If you have any questions, add a comment and we will be happy to help you.
Create your CleanTalk account – Register now and protect your My Sticky Elements from spam in 5 minutes
Update
The protection works only for website visitors, not for website admins. Be sure to test the form protection using Incognito mode.
Additional features
- CleanTalk protects all forms at once: comments, registrations, feedbacks, contacts, reviews.
- Installation takes about 1-2 minutes.
- Smart 99% protection against spambots.
- Always online – 24/7 technical support.
- Logs, SpamFireWall, personal lists, country filters, stop-words, and many others.
Discover the complete list of CleanTalk Anti-Spam plugin features here.
Leave a Reply