Welcome aboard the WordPress express! Today, we’re rolling up our sleeves to install WordPress from scratch. Don’t worry if tech stuff seems like a foreign language; I’ll guide you through each step with crystal clarity.
1. Pick Your Host
Selecting the right hosting provider sets the foundation for your website’s success. It’s akin to choosing the perfect spot for your dream home. Take into account crucial aspects like pricing plans, available storage, customer support responsiveness, and server uptime reliability.
With a plethora of hosting options out there, ranging from big names to smaller, niche providers, you’re spoiled for choice. Some offer user-friendly interfaces, while others prioritize lightning-fast servers or round-the-clock support. It’s like browsing through a buffet—each option has its unique flavors, catering to different preferences.
So, take your time to explore the offerings, read reviews, and consider your priorities. Once you’ve found the host that ticks all your boxes, it’s time to make it official. Sign up, secure your digital plot, and get ready to build your online empire with WordPress!
2. Launch One-Click Install
Once you’ve got hosting sorted, log into your hosting account. Look for the “WordPress Installer” or a similar tool. Click it, follow the instructions, and boom! WordPress is now installed on your hosting server.
3. Installing WordPress Without One-Click
If your hosting provider doesn’t offer a one-click WordPress installation option, fear not! You can still install WordPress manually, and it’s simpler than you might think. Here’s a step-by-step guide to get you started:
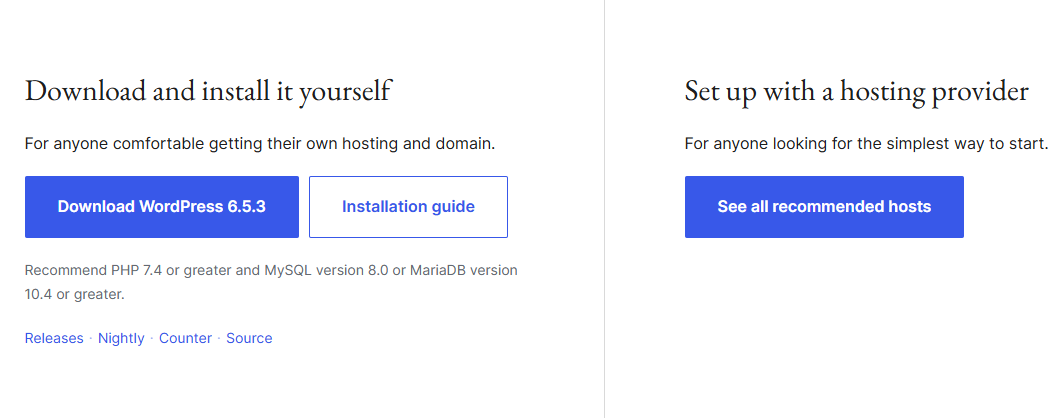
- Download WordPress: Visit the official WordPress website and download the latest version of WordPress. It will be a zip file, so make sure to extract its contents to a folder on your computer.
- Create a Database: Log in to your hosting account’s control panel (usually accessed through a link provided by your hosting provider). Look for the “Database” section and create a new MySQL database. Note down the database name, username, and password—you’ll need these later.
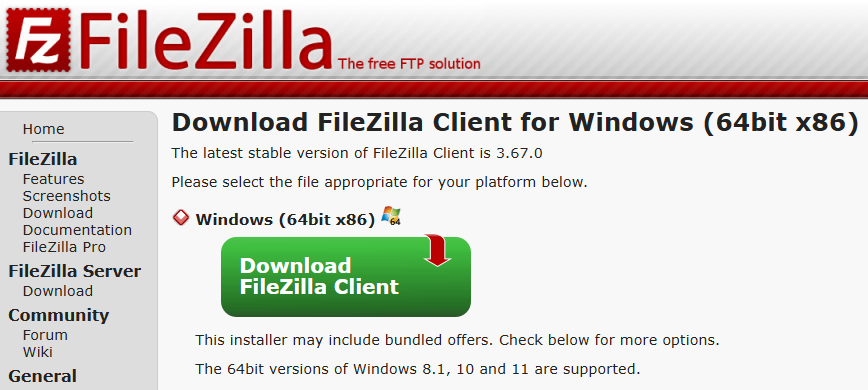
- Upload WordPress Files: Using an FTP client like FileZilla, connect to your hosting account. Navigate to the directory where you want to install WordPress (usually the “public_html” folder) and upload all the extracted WordPress files.
- Configure wp-config.php: In the WordPress folder on your hosting account, you’ll find a file named “wp-config-sample.php.” Rename this file to “wp-config.php” and open it in a text editor. Enter your database details (database name, username, and password) where indicated, and save the file.
- Run the Installation Script: Now, open your web browser and navigate to your domain name (e.g., www.yourdomain.com). You should see the WordPress installation wizard. Select your language and click “Continue.” Enter your site details (title, username, password, email) and click “Install WordPress.”
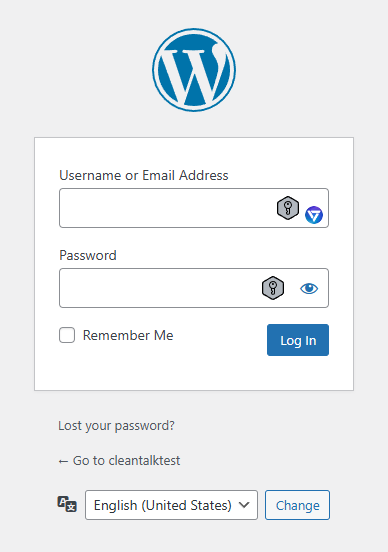
- Complete Installation: Once the installation is complete, you’ll receive a success message. You can then log in to your WordPress dashboard using the username and password you set during installation.

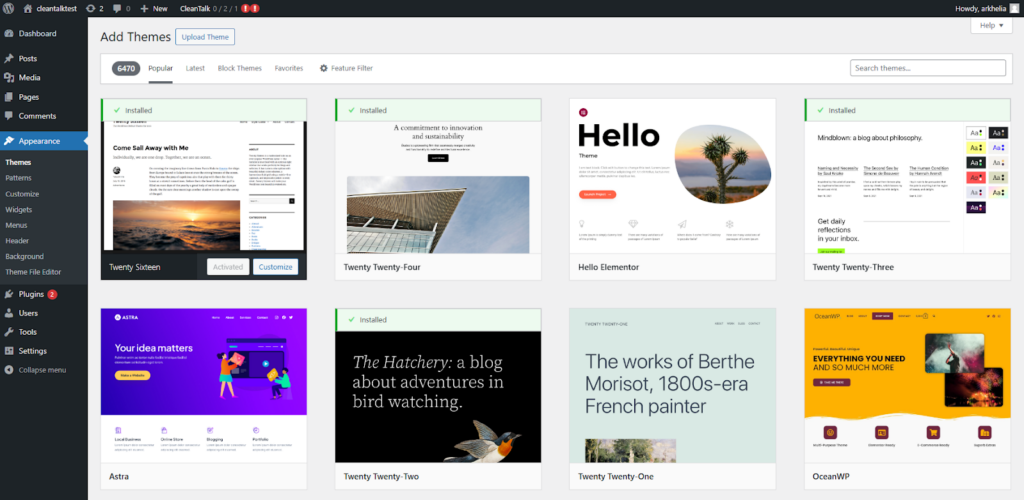
4. Choose a Theme
It’s time to spruce up your site with a theme. Head to “Appearance” > “Themes” in the dashboard. Browse the free themes or consider purchasing a premium one for extra features. Click “Install” and “Activate” to apply your chosen theme.
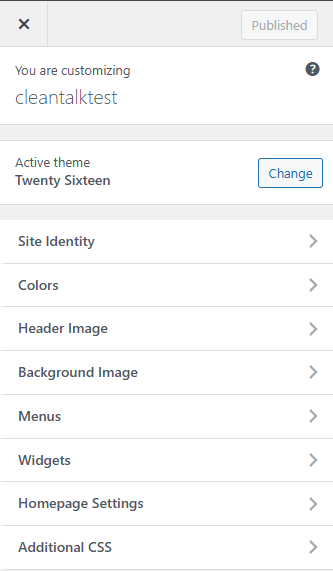
5. Customize Your Site
Personalize your site’s appearance by tweaking settings in the WordPress Customizer. Change colors, fonts, and layouts to match your style. No coding is required—just click, preview, and save your changes.
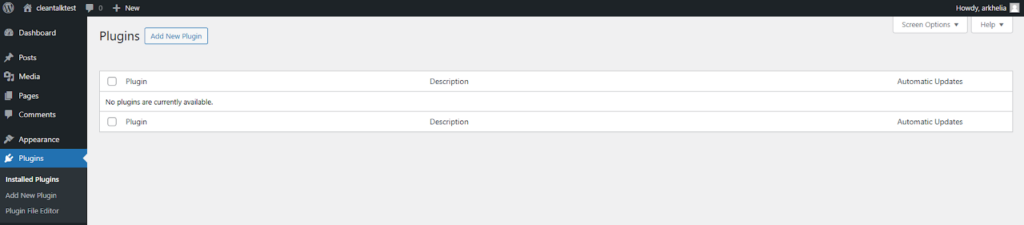
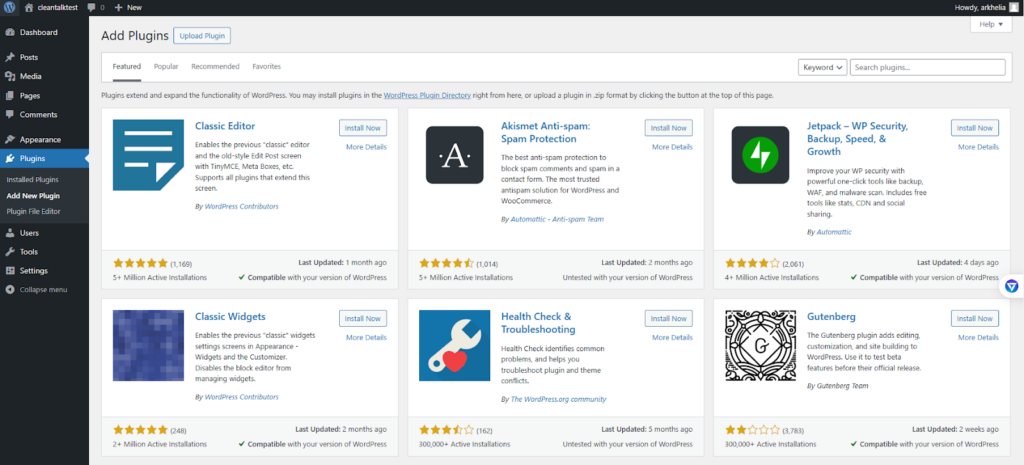
6. Add Essential Plugins
Plugins are like apps for your website, adding extra functionality with a few clicks. From your dashboard, go to “Plugins” > “Add New.” Search for plugins like Yoast SEO for better search engine visibility or Contact Form 7 for creating forms. It’s a good idea to shield your website from spambots—they’ll know about it in the blink of an eye, and you’ll be attacked by virtual armies in no time. Also, you might want to exclude the possibility of your work being ruined by malware programs. For both of these problems, a good solution is Anti-Spam and Security plugins by CleanTalk.
Click “Install” and then “Activate” to start using them.
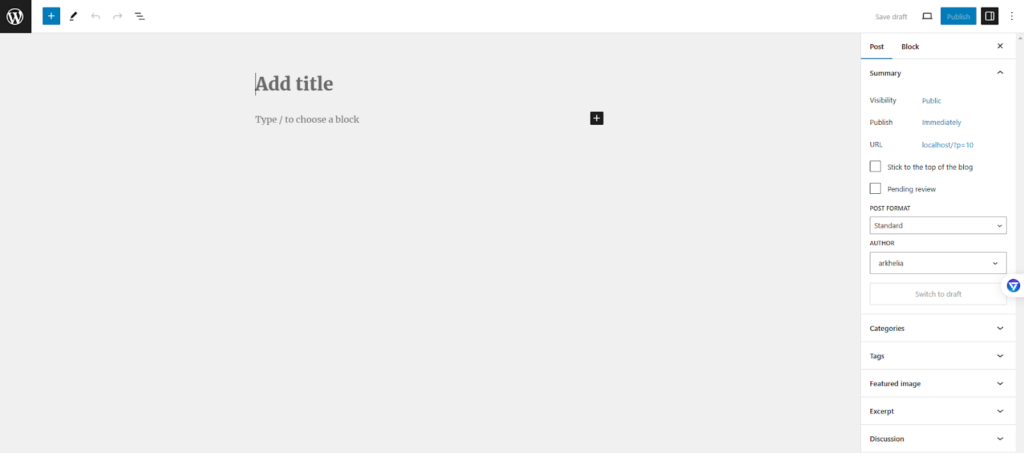
7. Start Creating Content
Time to unleash your creativity! Click on “Posts” or “Pages” in the dashboard to write articles or create new pages. Use the intuitive editor to format text, add images, and publish your content. Don’t worry about making it perfect — editing is your friend!

There you have seven straightforward steps to install WordPress and kickstart your online journey. No tech wizardry required, just a little patience and a willingness to explore. So go ahead, dive in, and start building your dream website!
Leave a Reply