CleanTalk has added spam protection for GiveWP using direct form integration. This makes it a good opportunity to explore how to protect GiveWP against spam submissions using both built-in anti-spam tools integrated into the plugin core and third-party solutions. We will start with CleanTalk and then move on to Akismet, Google reCAPTCHA, Cloudflare Turnstile, honeypot techniques, and universal anti-spam plugins available on WordPress.org.

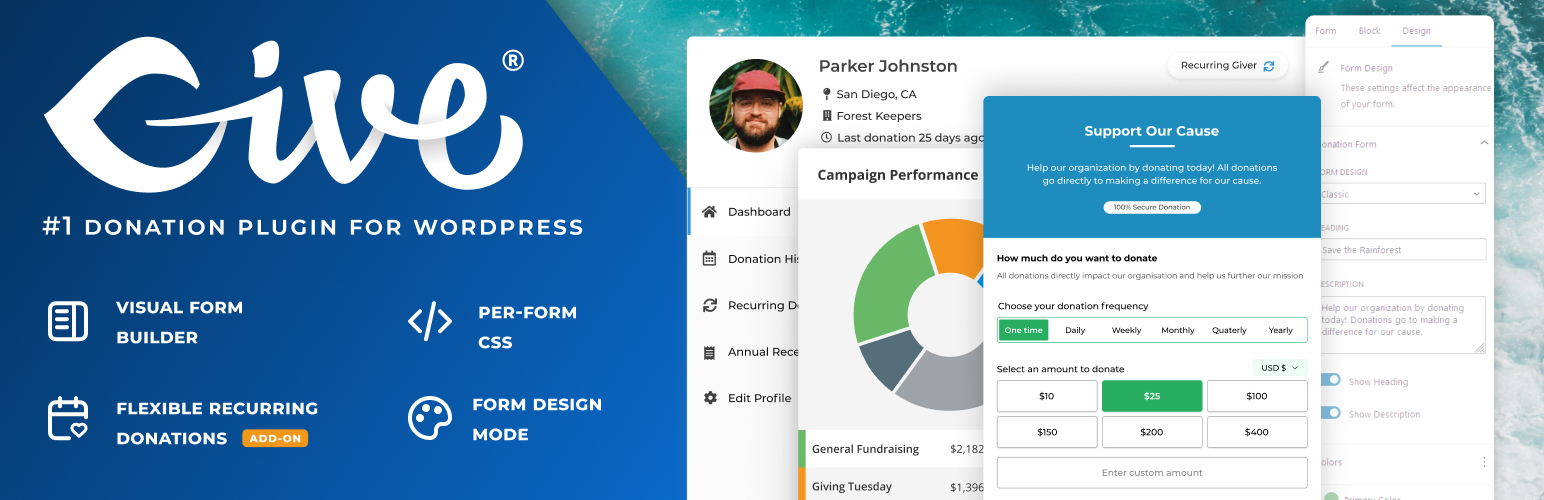
GiveWP – Donation & Fundraising Plugin for WordPress
In case of any misunderstanding or misinterpretation about which plugin we are referring to, allow me to provide a brief overview of GiveWP
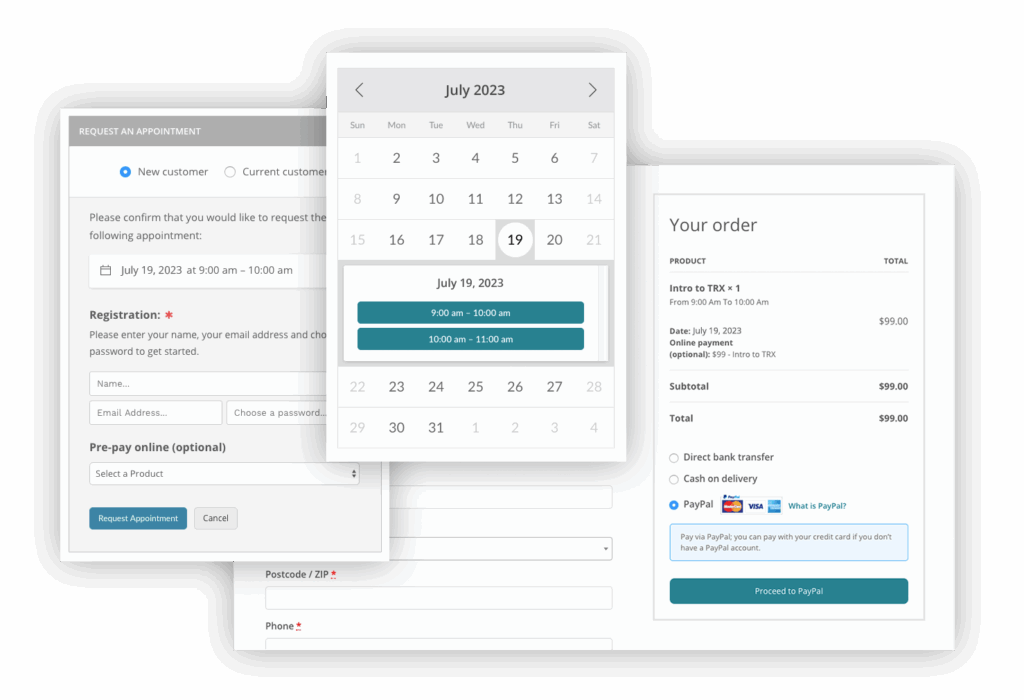
GiveWP is a powerful WordPress donation plugin that helps nonprofits, charities, and organizations accept online donations directly on their websites. It allows you to create fully customizable donation forms and securely collect one-time or recurring donations without relying on third-party fundraising platforms. To maintain secure fundraising, GiveWP can be combined with spam protection solutions that help prevent fake donations, bot submissions, and fraudulent registrations. The plugin supports popular payment gateways such as PayPal and Stripe, making it easy for donors to contribute using their preferred payment method. Built-in reporting, donor management tools, and fundraising goal tracking help organizations monitor performance and grow contributions. With a wide range of add-ons and integrations, GiveWP scales from small campaigns to large nonprofit organizations while following WordPress best practices for reliability and security.
According to WordPress.org, over 100,000 websites use this plugin.
Install GiveWP – Donation Plugin and Fundraising Platform
Show Instructions
To have the plugin installed follow this steps,
1. Search for the plugin in WordPress console -> Plugins -> Add plugin -> Search -> givewp

2. Install and Activate the plugin.
3. Add a campaign and forms in WordPress console -> GiveWP -> Campaigns -> Forms.
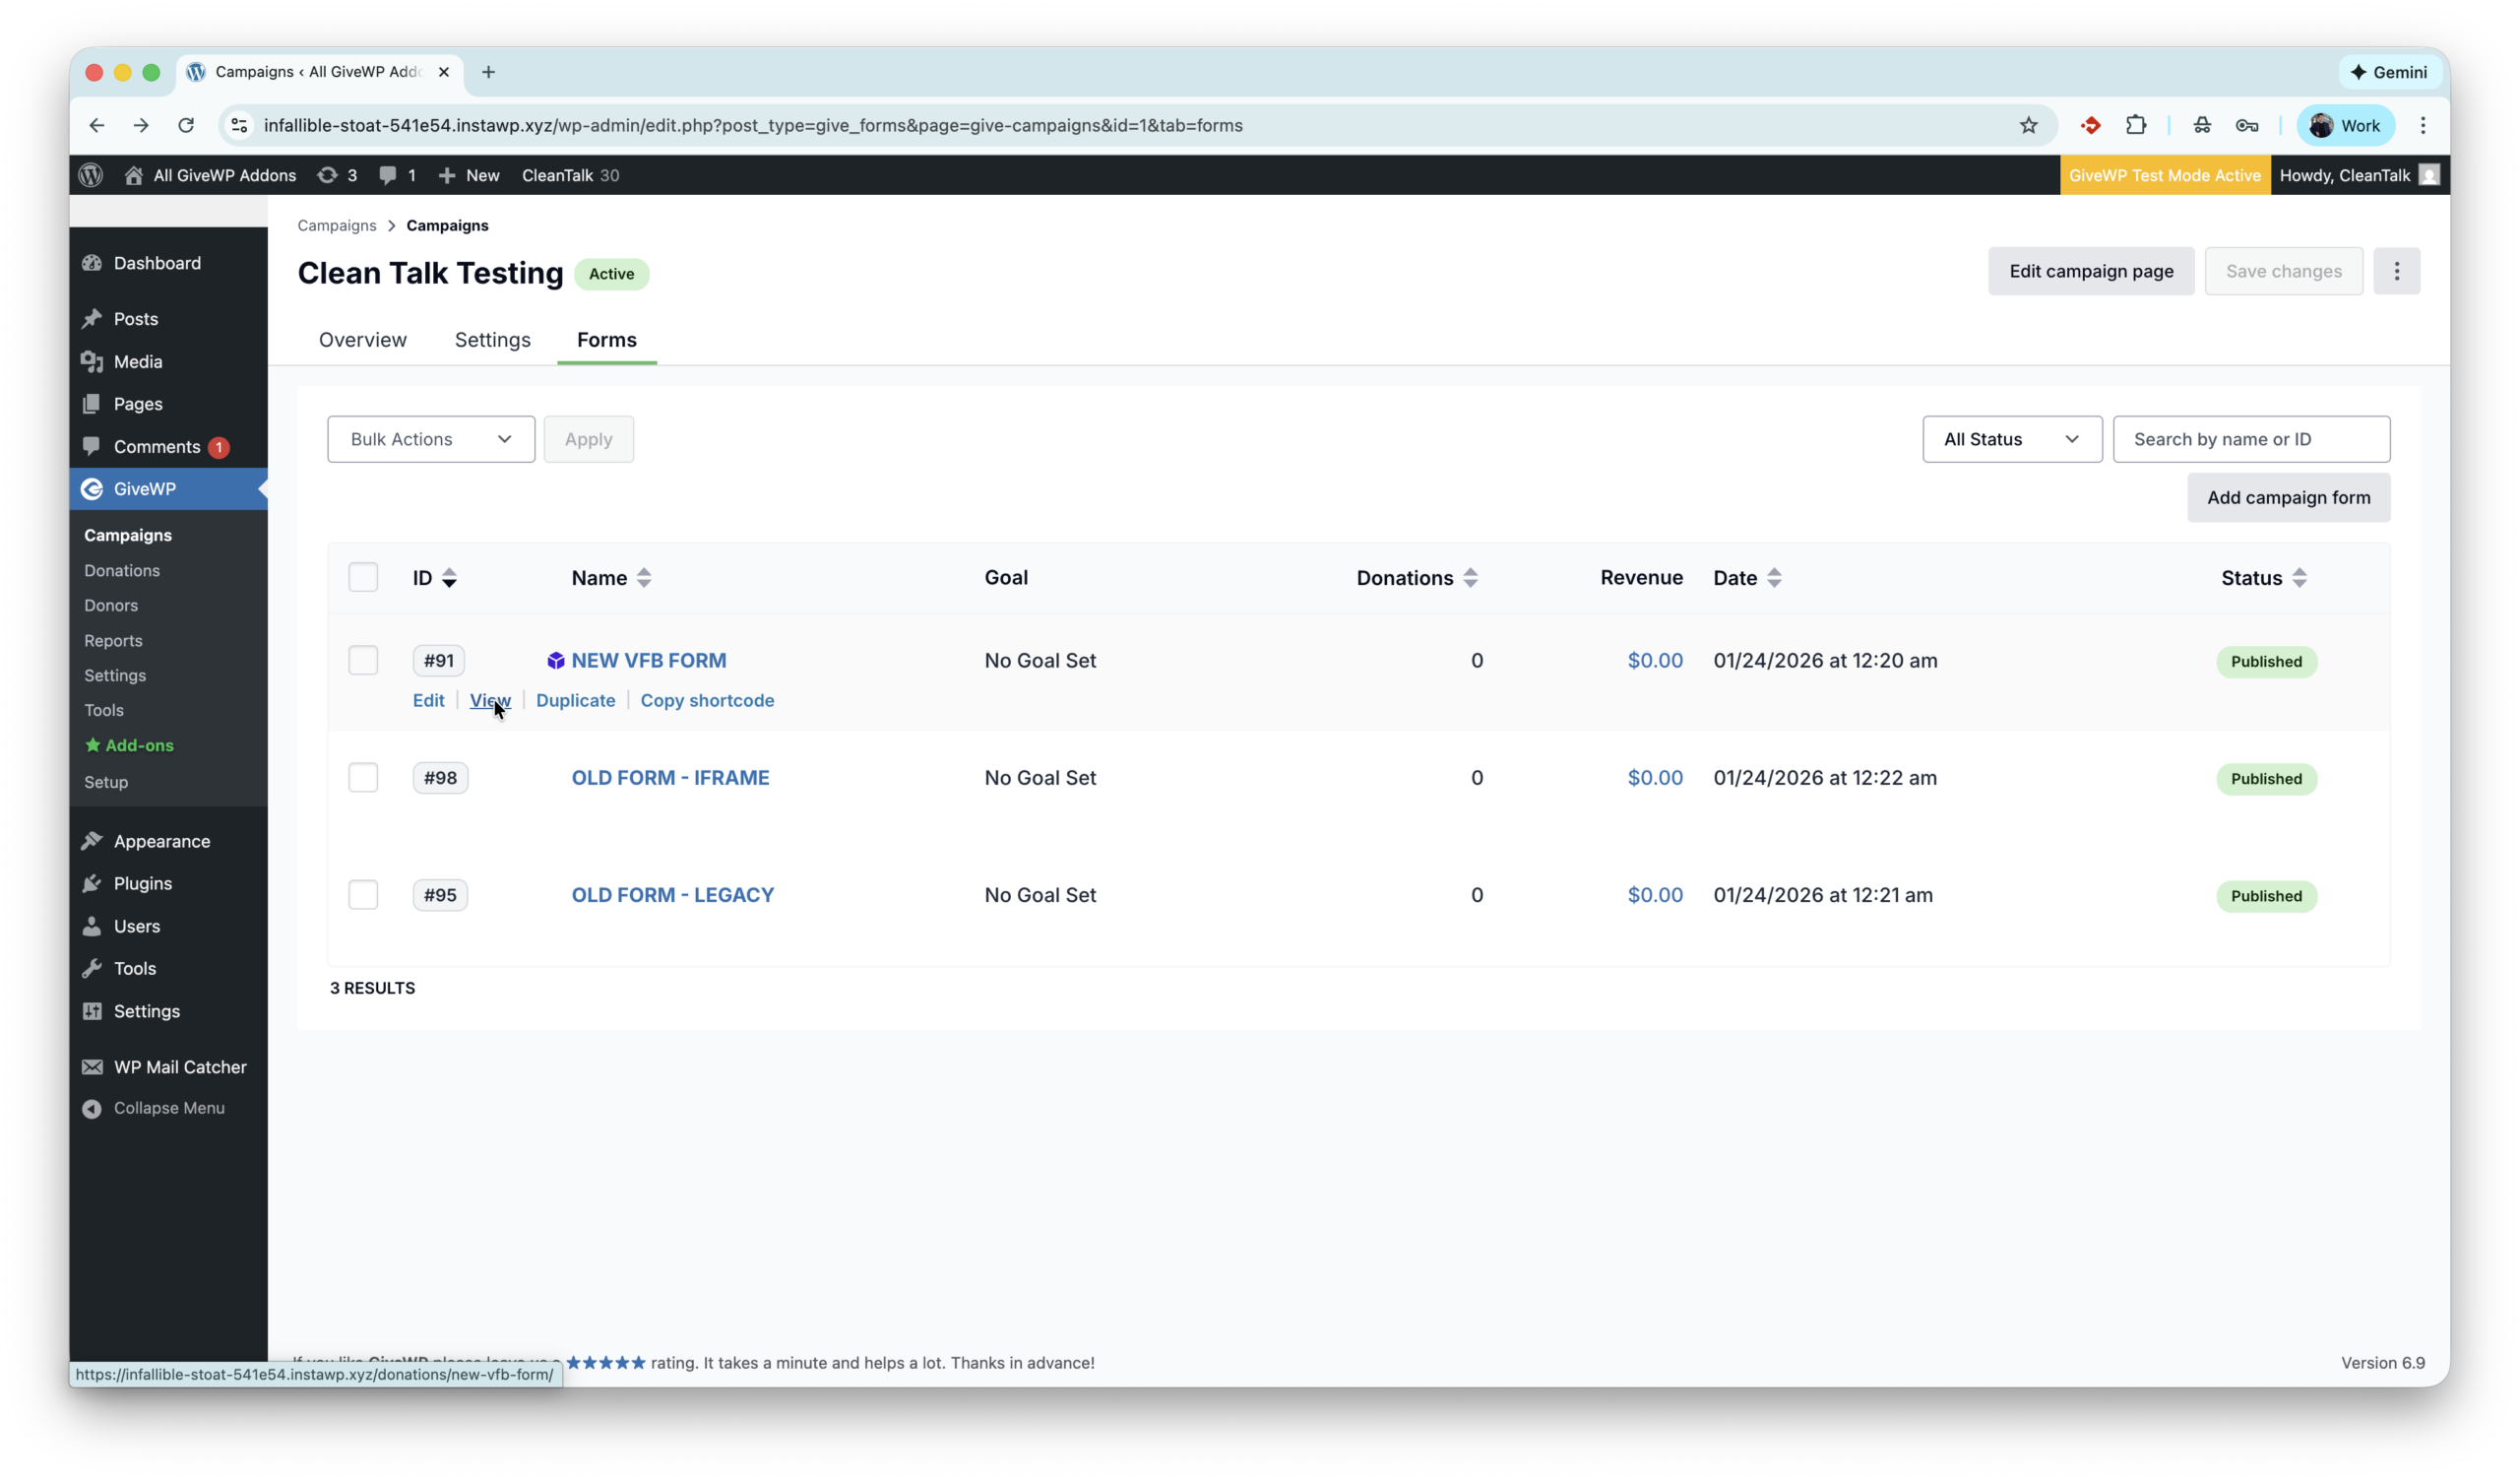
That’s all! GiveWP is installed.
Anti-Spam plugin by CleanTalk for WordPress
The next plugin we are going to use is the Anti-Spam plugin by CleanTalk. Here is a short description of it,
CleanTalk Anti-Spam plugin for WordPress protects your site from spam comments, contact forms, registrations, and fake donations without CAPTCHA. It uses cloud-based spam detection and real-time databases to block bots automatically while keeping the experience smooth for real users. CleanTalk works in the background and requires minimal setup, making it a reliable hands-off anti-spam solution.
CleanTalk has additional features like Block and Allow lists to manage specific Emails, IPs, Countries, custom frontend message to blocked donations and Emails obfuscation which might be helpful during fundraising events.
According to WordPress.org, over 200,000 websites use this plugin. All features of Anti-Spam plugin for WordPress.
How to install CleanTalk Anti-Spam plugin
Show Instructions
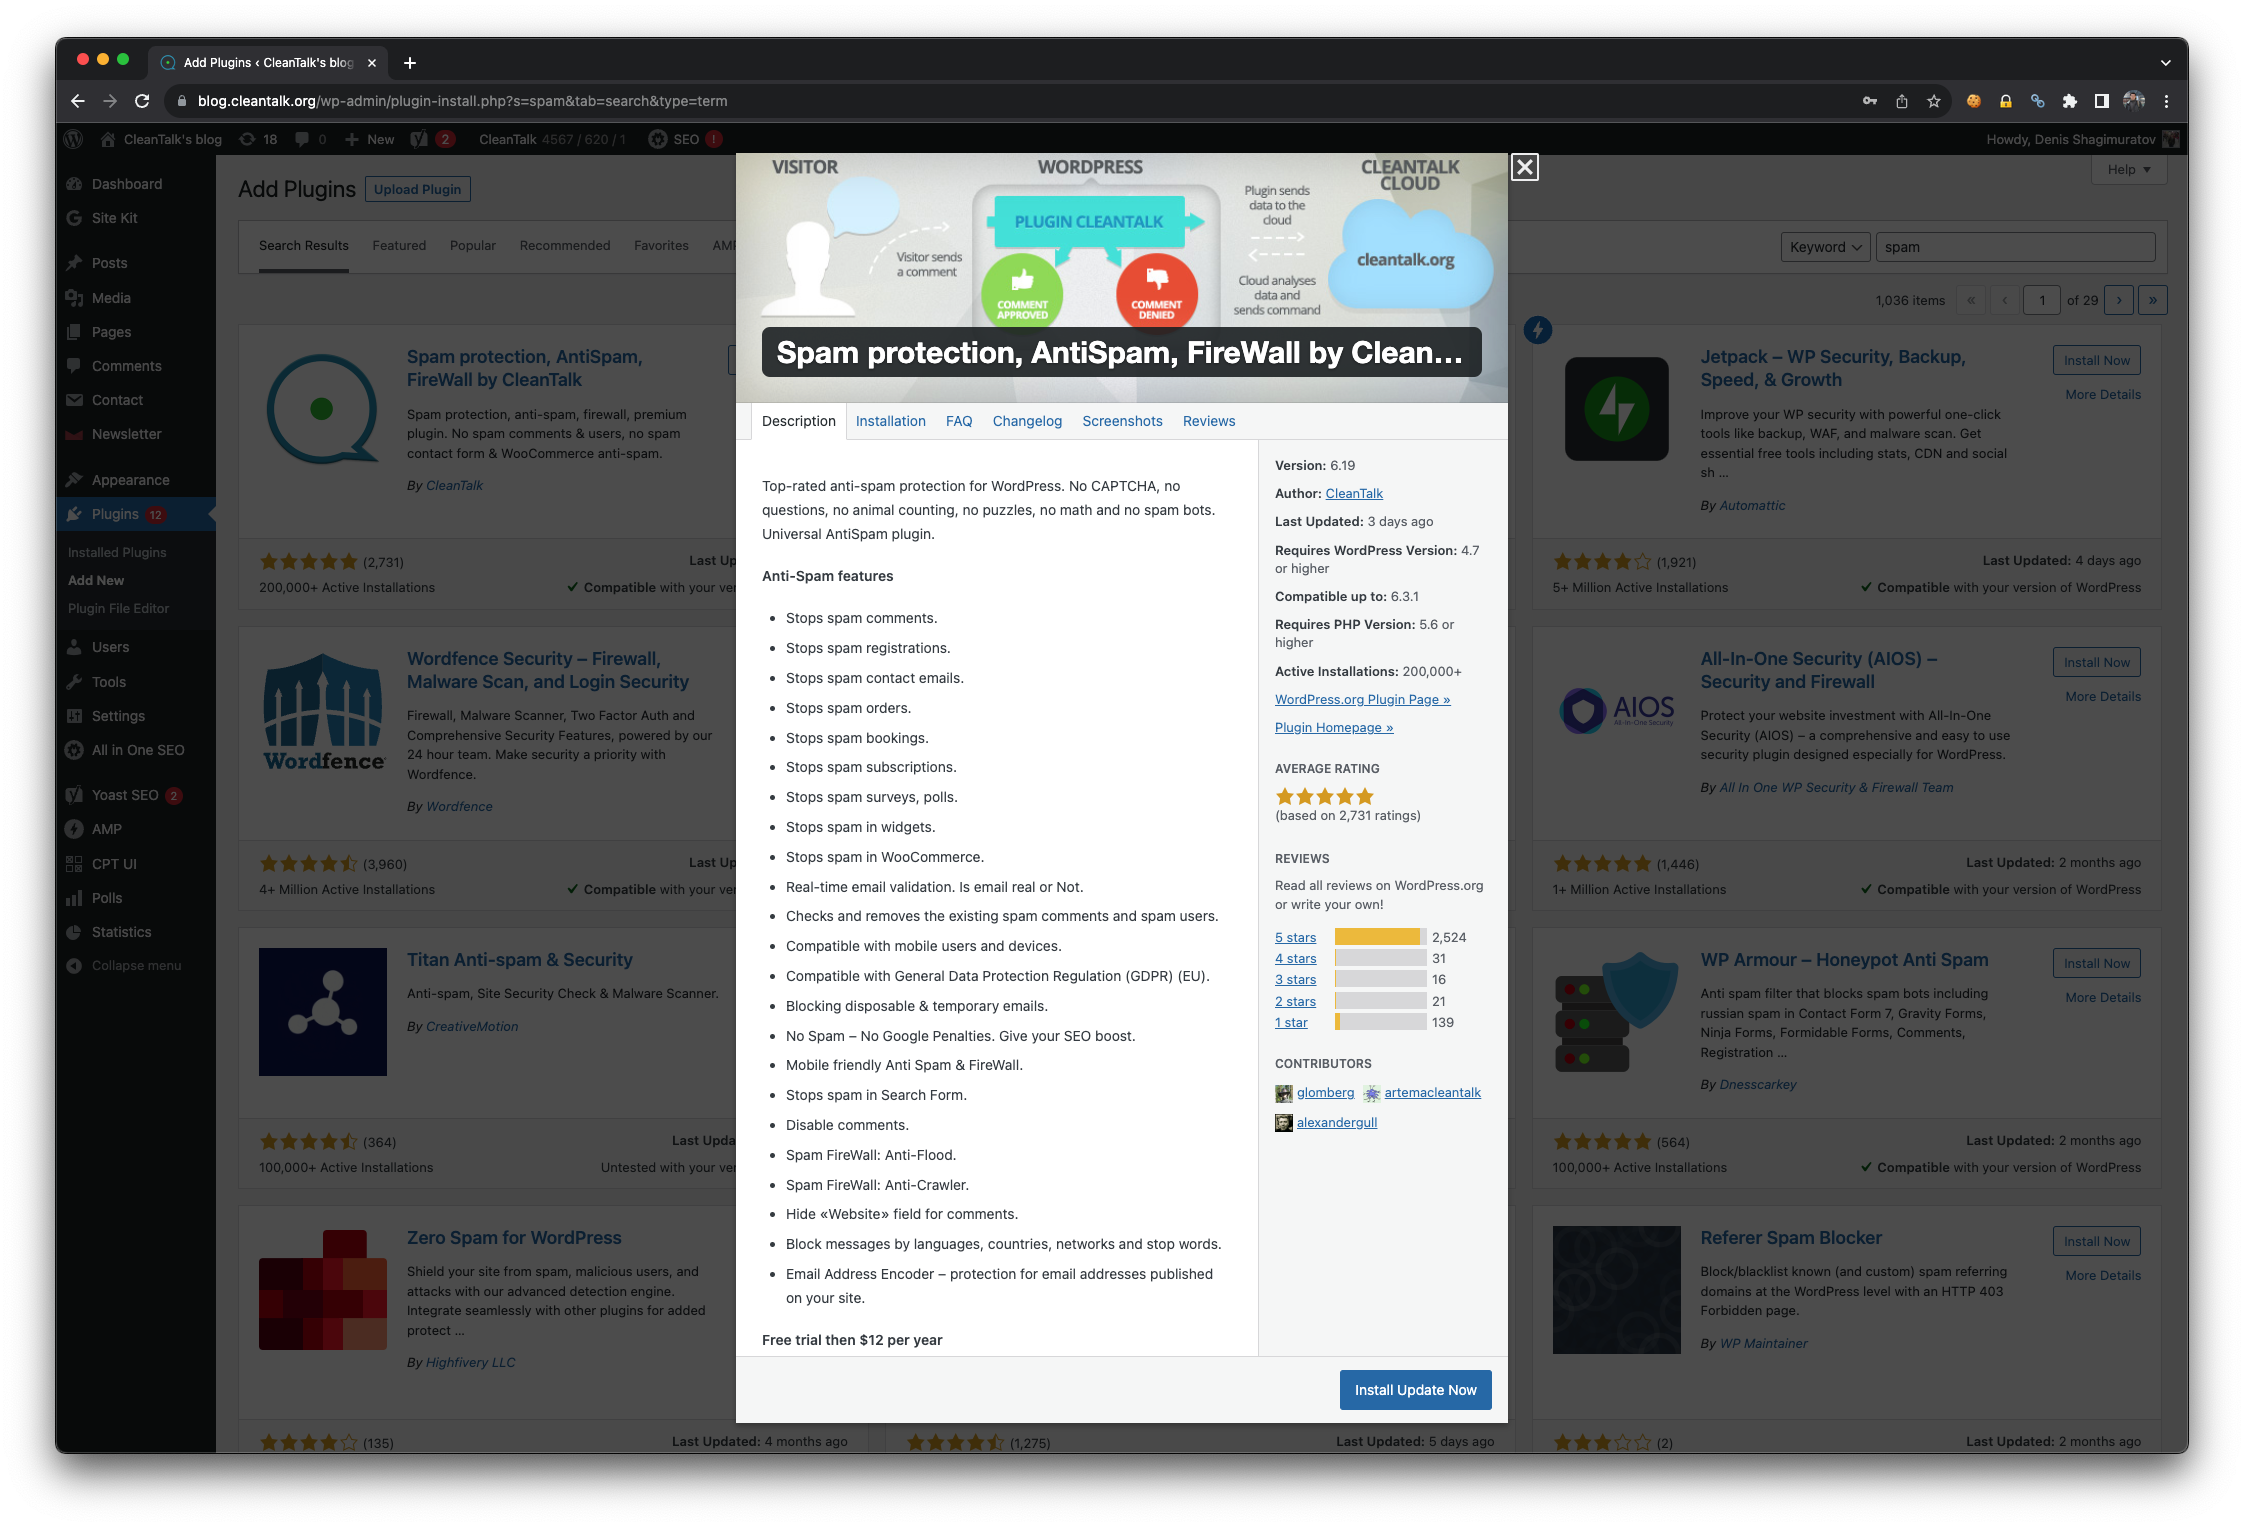
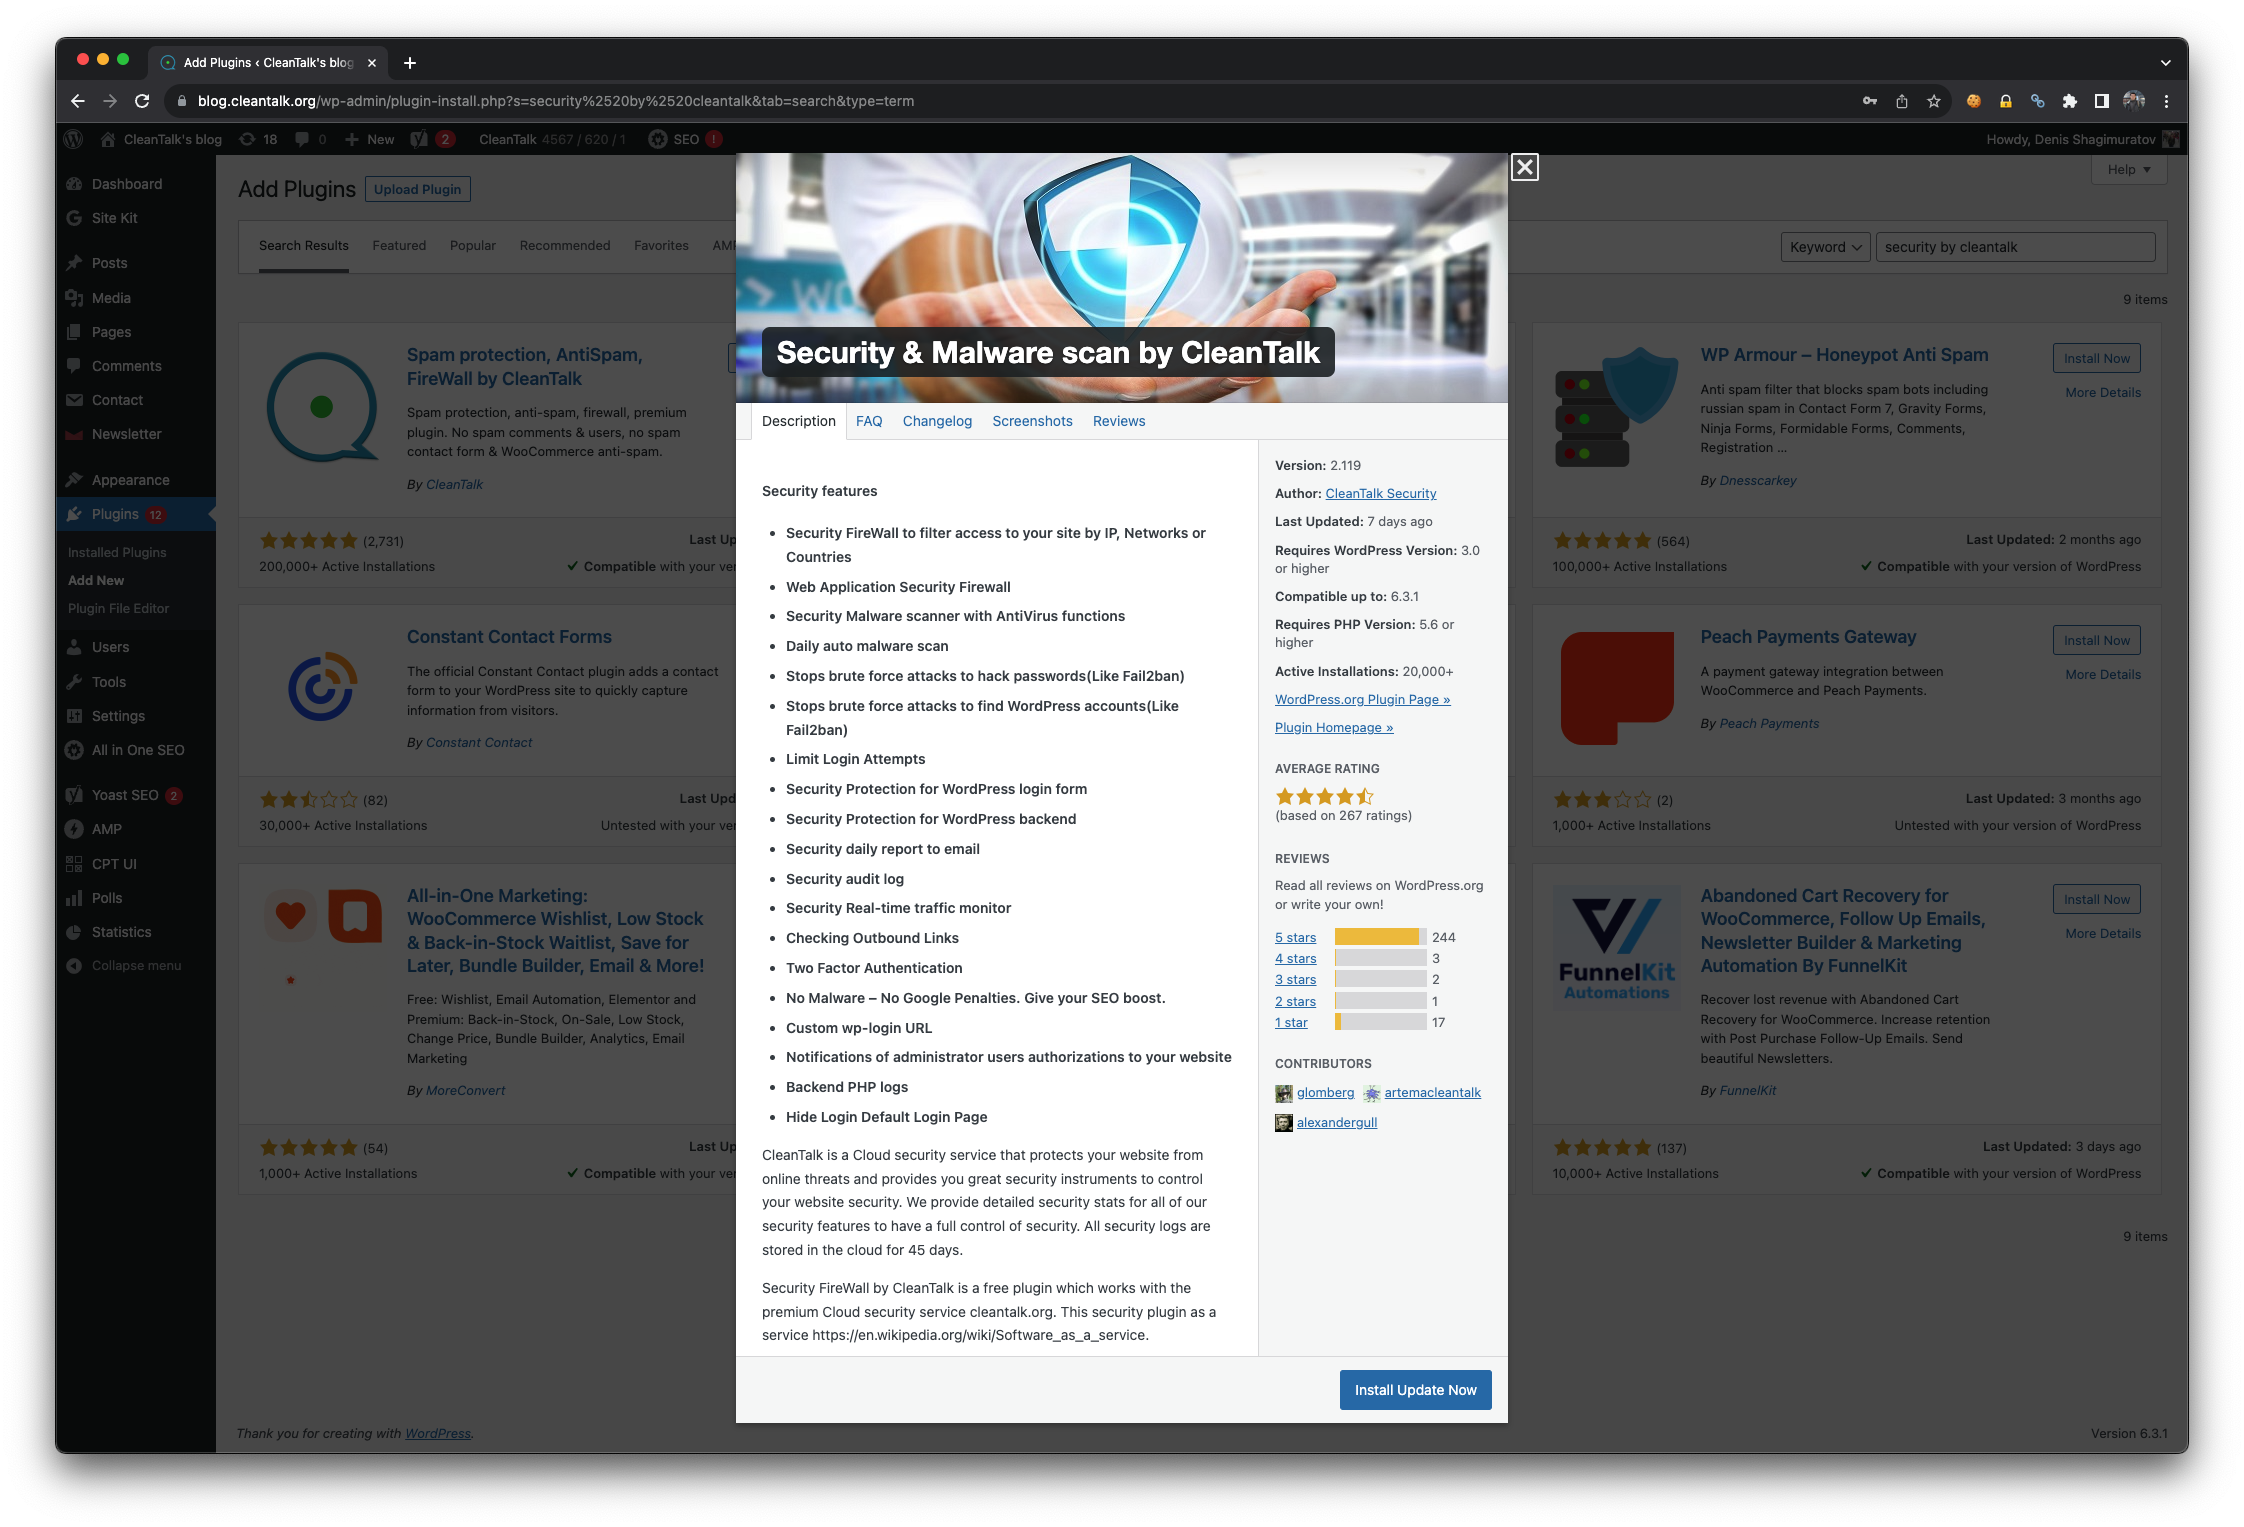
To install the Anti-Spam plugin, go to your WordPress admin panel → Plugins → Add New.

Then enter «СleanTalk» in the search box and click the Install button for «Spam protection, Anti-Spam, FireWall by CleanTalk».

After installing the plugin, click the «Activate» button.
After it is done go to the plugin settings and click the «Get Access Key Automatically» button. Then just click the «Save Settings» button.

That’s it! GiveWP is completely protected, let’s see how to test the protection.
How to check spam protection for GiveWP Forms
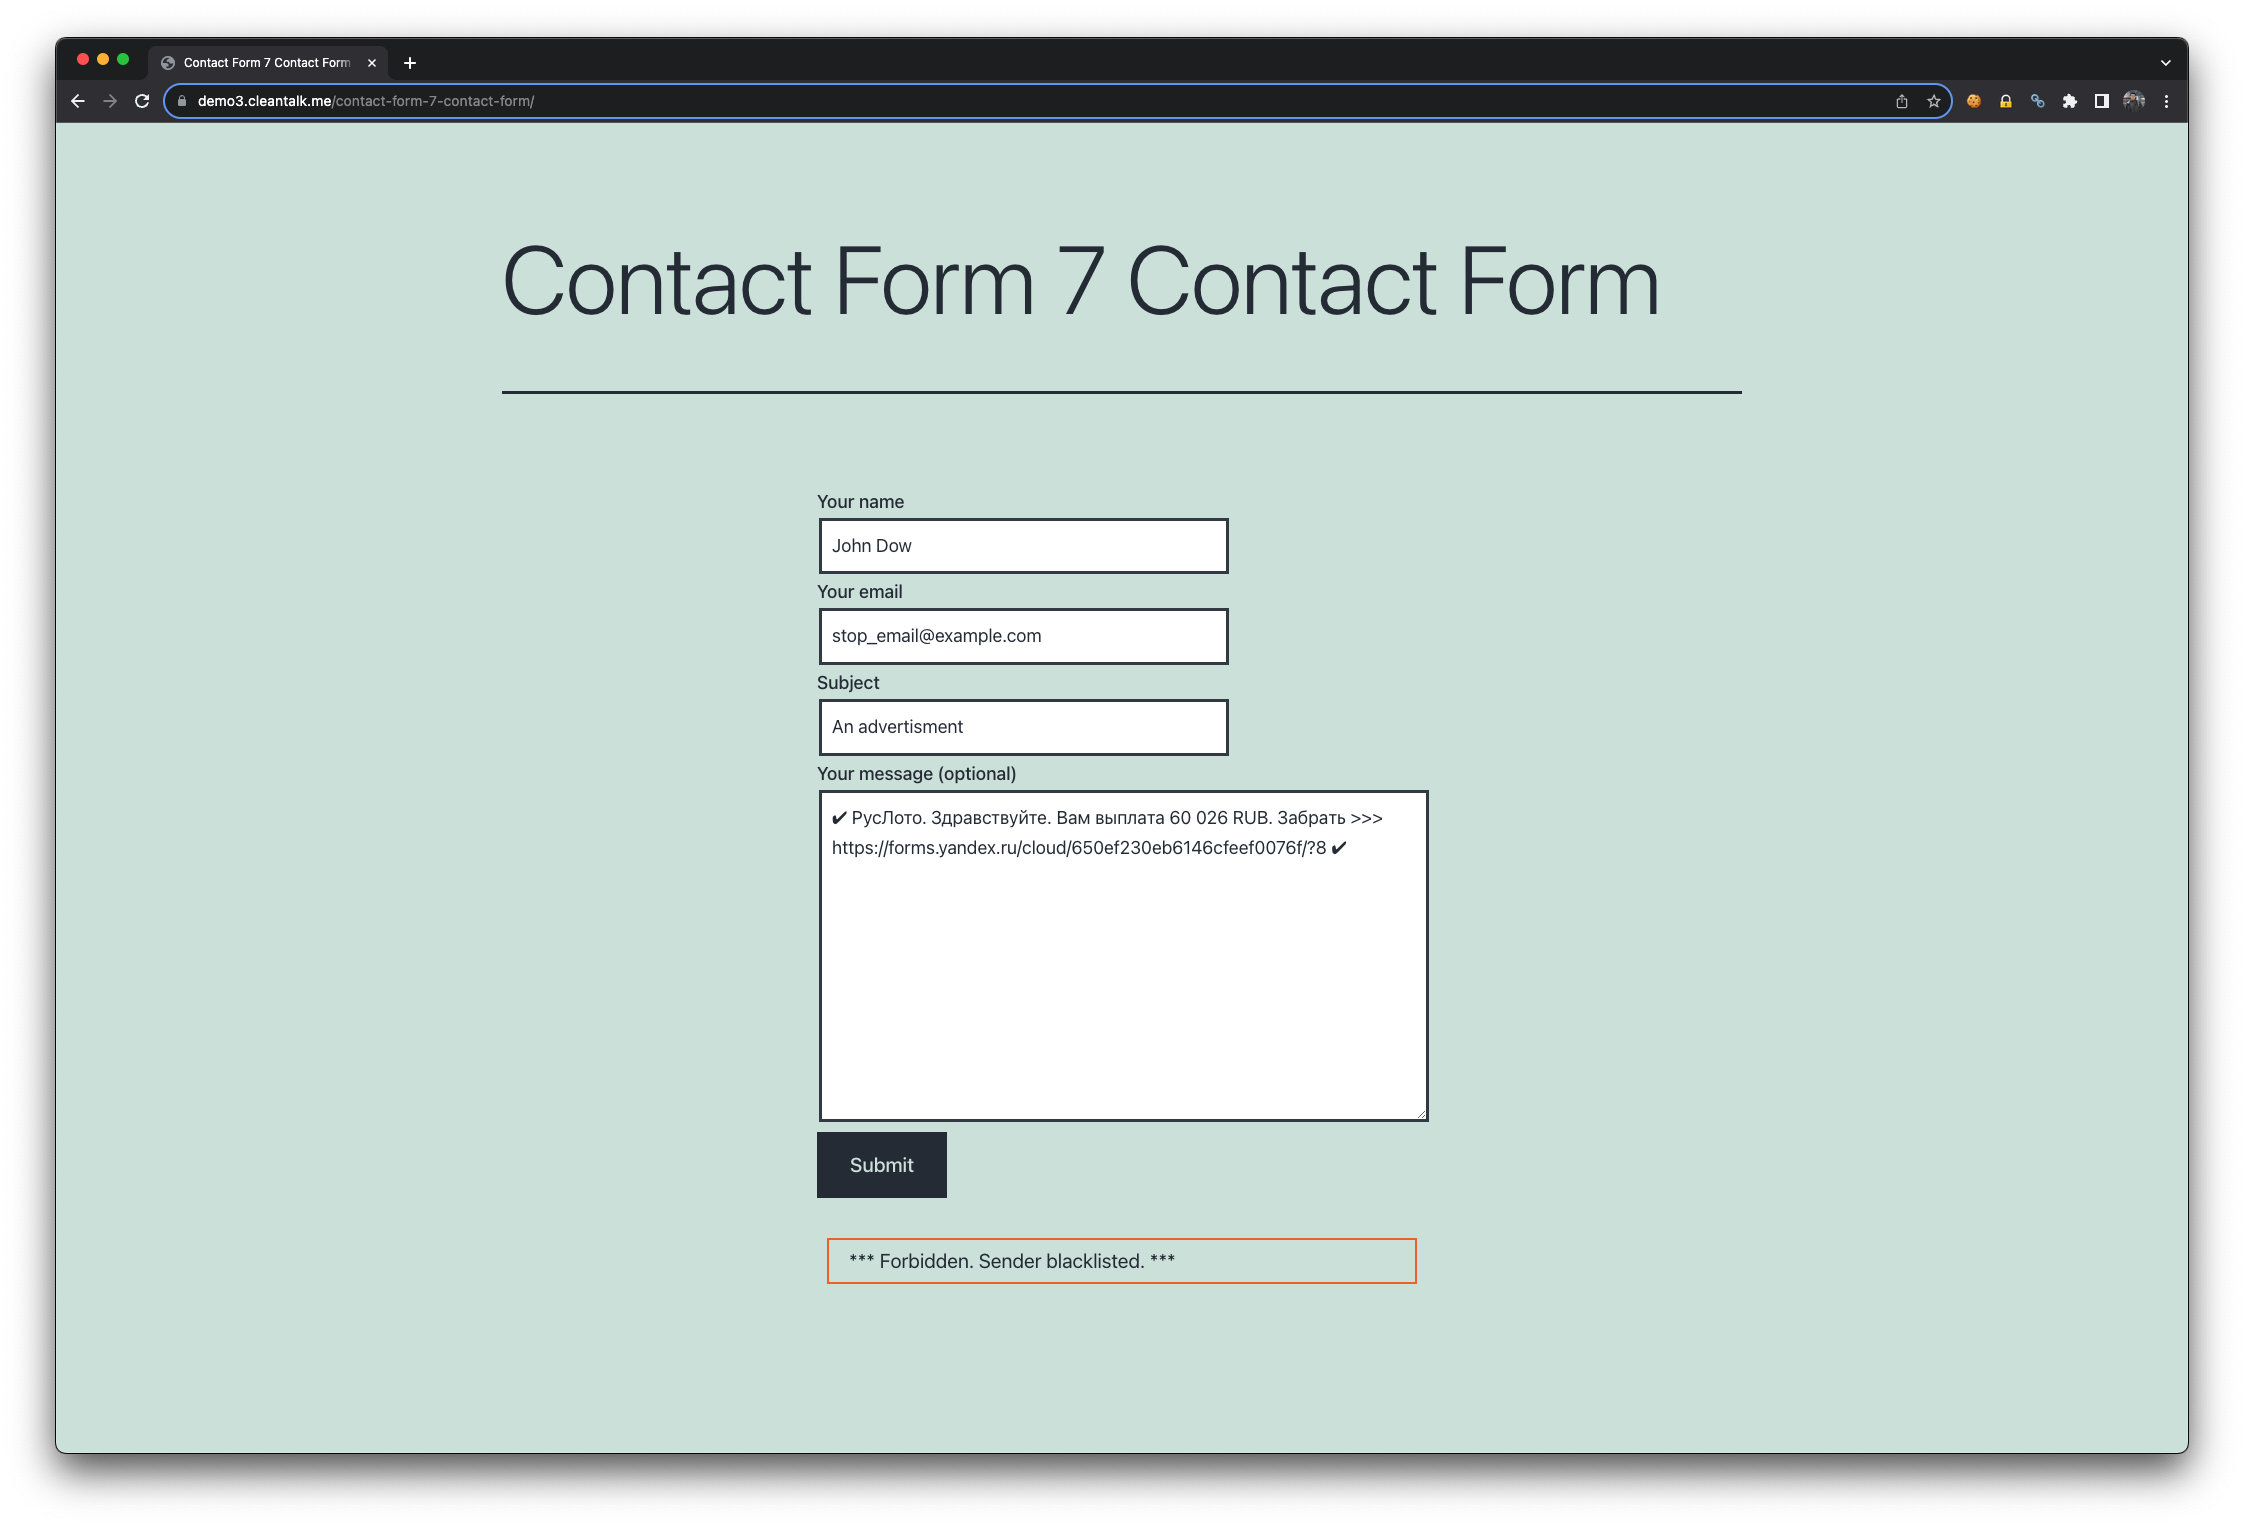
You can test the work of Anti-Spam protection for GiveWP by using a test email,
stop_email@example.com
- First, open the form in an Incognito browser tab.
- Choose amount to donate.
- In the next step fill out the account name data and the stop_email@example.com.
- You must see a message as below and in the screenshot.
*** Forbidden. Fraud prevention. Sender blacklisted. Anti-Spam by CleanTalk. ***

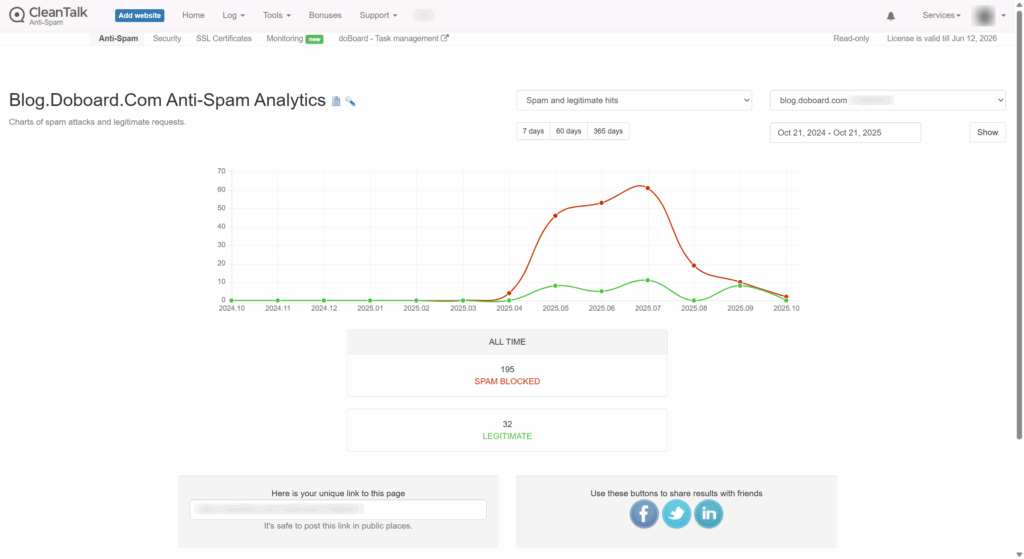
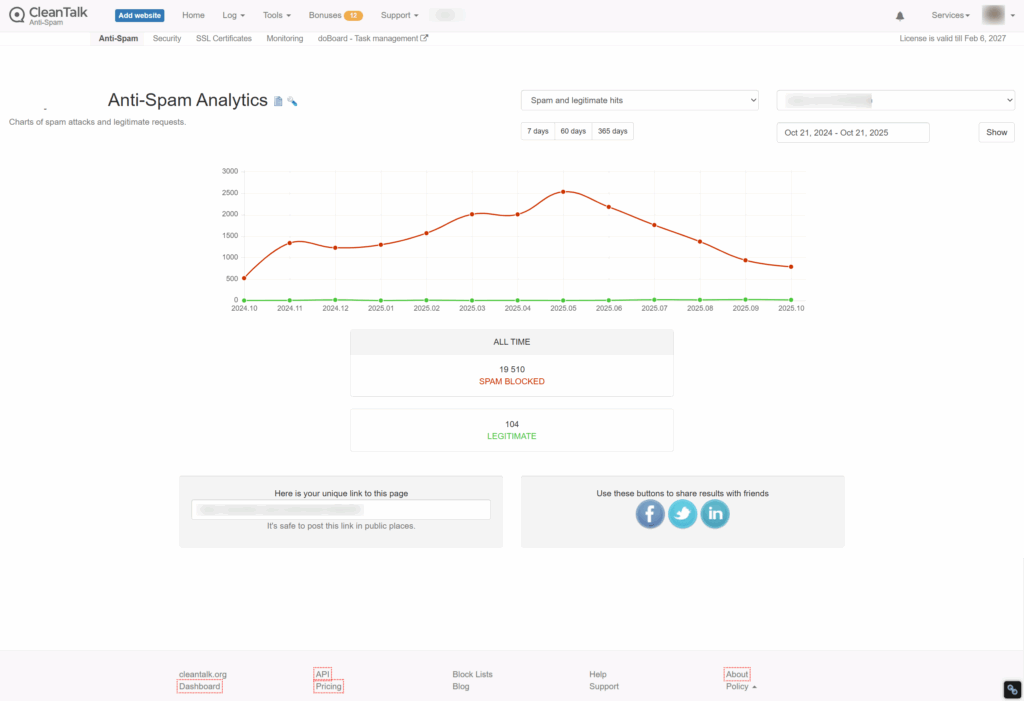
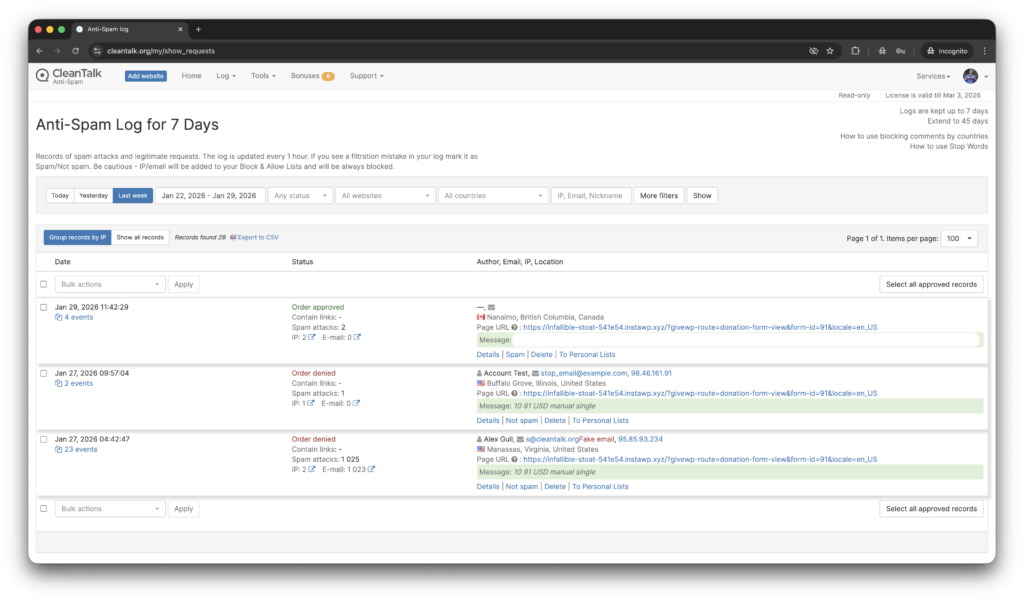
In addition, in the Cloud Dashboard you can find extra details regarding all submissions for the donation form,
- IP, Email of the donator. As well as history of activity a sender among other sites connected to CleanTalk’s cloud.
- Geolocation of the sender.
- Date and time of submission.
- Page (URL) of the submission.
- Cloud decision – Approved, Denied.
- Cloud explanation for the decision.
- Tools to move the sender to Block or Allow lists.
What additional anti-spam tools are available for GiveWP?
Here are a few more tools on the market,
- Akismet is a cloud-based anti-spam service that works in the background and has excellent compatibility with WordPress. Most importantly, the GiveWP team has included Akismet integration directly in the core of the plugin, providing a seamless user experience for those who choose Akismet as their anti-spam solution. Akismet settings are located under WordPress console -> GiveWP -> Settings -> Advanced -> Akismet SPAM Protection. Here is how to setup protection.
- Honeypot anti-spam techniques protect websites by adding invisible form fields that real users never see but spambots automatically fill in. When these hidden fields are completed, the submission is flagged and blocked, stopping spam without CAPTCHAs or user interaction. GiveWP has built-in honeypot which is located under settings WordPress console -> GiveWP -> Settings -> Security -> Enable Honeypot Field. This option is On in default setting, so should filter some primitive spam bots out of the box.
- reCAPTCHA is a spam protection technology by Google that helps protect WordPress websites by distinguishing real users from bots using challenges or behavioral analysis. It reduces automated spam submissions but may require user interaction, such as clicking a checkbox or solving a challenge. GiveWP supports reCaptcha in the core and settings are located by path WordPress console -> GiveWP -> Settings -> General -> Access Control -> reCaptcha. The first step to activate this protection is getting Site and Secret keys, which are available on website.
- Turnstile by Cloudflare is another great anti-spam tool which is available for GiveWP. Protects WordPress websites by verifying visitors automatically without CAPTCHAs or puzzles. It blocks bots using browser and behavioral signals while keeping the experience seamless for real users. One drawback is to use Turnstile user must install extra plugin – ‘Give – Cloudflare Turnstile’. The full guide is here.
- And we have bunch of standalone, universal, all-in-one plugins like Zero Spam, OOPSpam, hCaptcha for WP which provide anti-spam protection for GiveWP as well. Here is a link to download one of them.
Here are screenshots for tools above.


I have questions… (FAQ)
Does CleanTalk protect against donors emails leak?
In July 2025, a vulnerability in GiveWP led to an email data leak of Pihole donators. Yes, Anti-Spam by CleanTalk helps protect against such issues. In this case, email addresses were exposed in the HTML code, even though they were invisible on public pages. The plugin prevents this by obfuscating email addresses by default.
We received hundreds of spam donations immediately after installing GiveWP plugin. How to fix it?
If you do not have specific anti-spam tool installed. Increasing the minimum donation amount can help stop spam, as bots usually test forms with small payments like $1–$5. Setting a $10+ minimum helps filter out these low-effort automated attacks.
A donor is trying to submit recurring donations but the transaction isn’t being processed because the donor’s email is considered spam.
False/positives sometimes happen. In this case just post a support ticket or put this donor in Allow list.
Final thoughts
I hope this guide helped resolve all spam issues on your donation form. If not, Sign Up for an account and our CleanTalk team will be happy to help.