We have already talked about the launch of security service for WordPress in the previous article. Today we want to talk about the launch of heuristic analysis to detect malicious code.
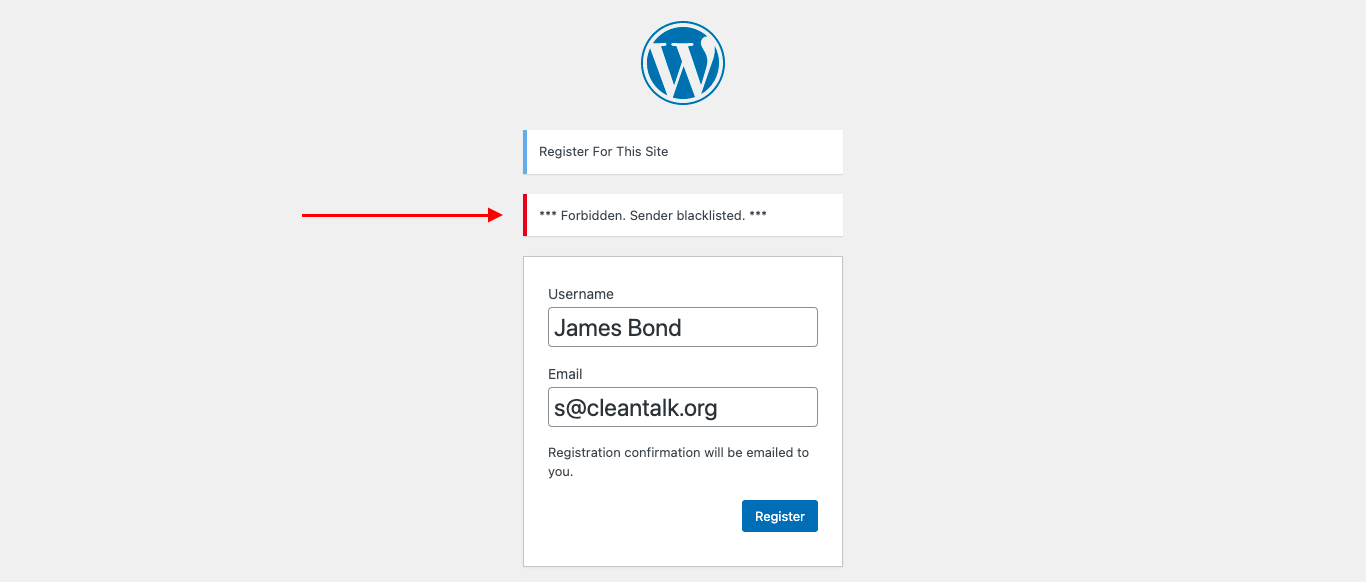
The very presence of malicious code can lead to a ban in search results or a warning in the search for that the site is infected, to protect users from potentially dangerous content.
You can find malicious code on your own, but it’s a lot of work and most WordPress users do not have the necessary skills to find and remove unnecessary lines of code.
Often, the authors of malicious code disguise it, which makes it difficult to determine by its signatures. The malicious code itself can be located anywhere on the site, for example the obfuscated PHP-code in the logo.png file, and the code itself is called by one inconspicuous line in index.php. Therefore, the use of plugins to search for malicious code is preferable.
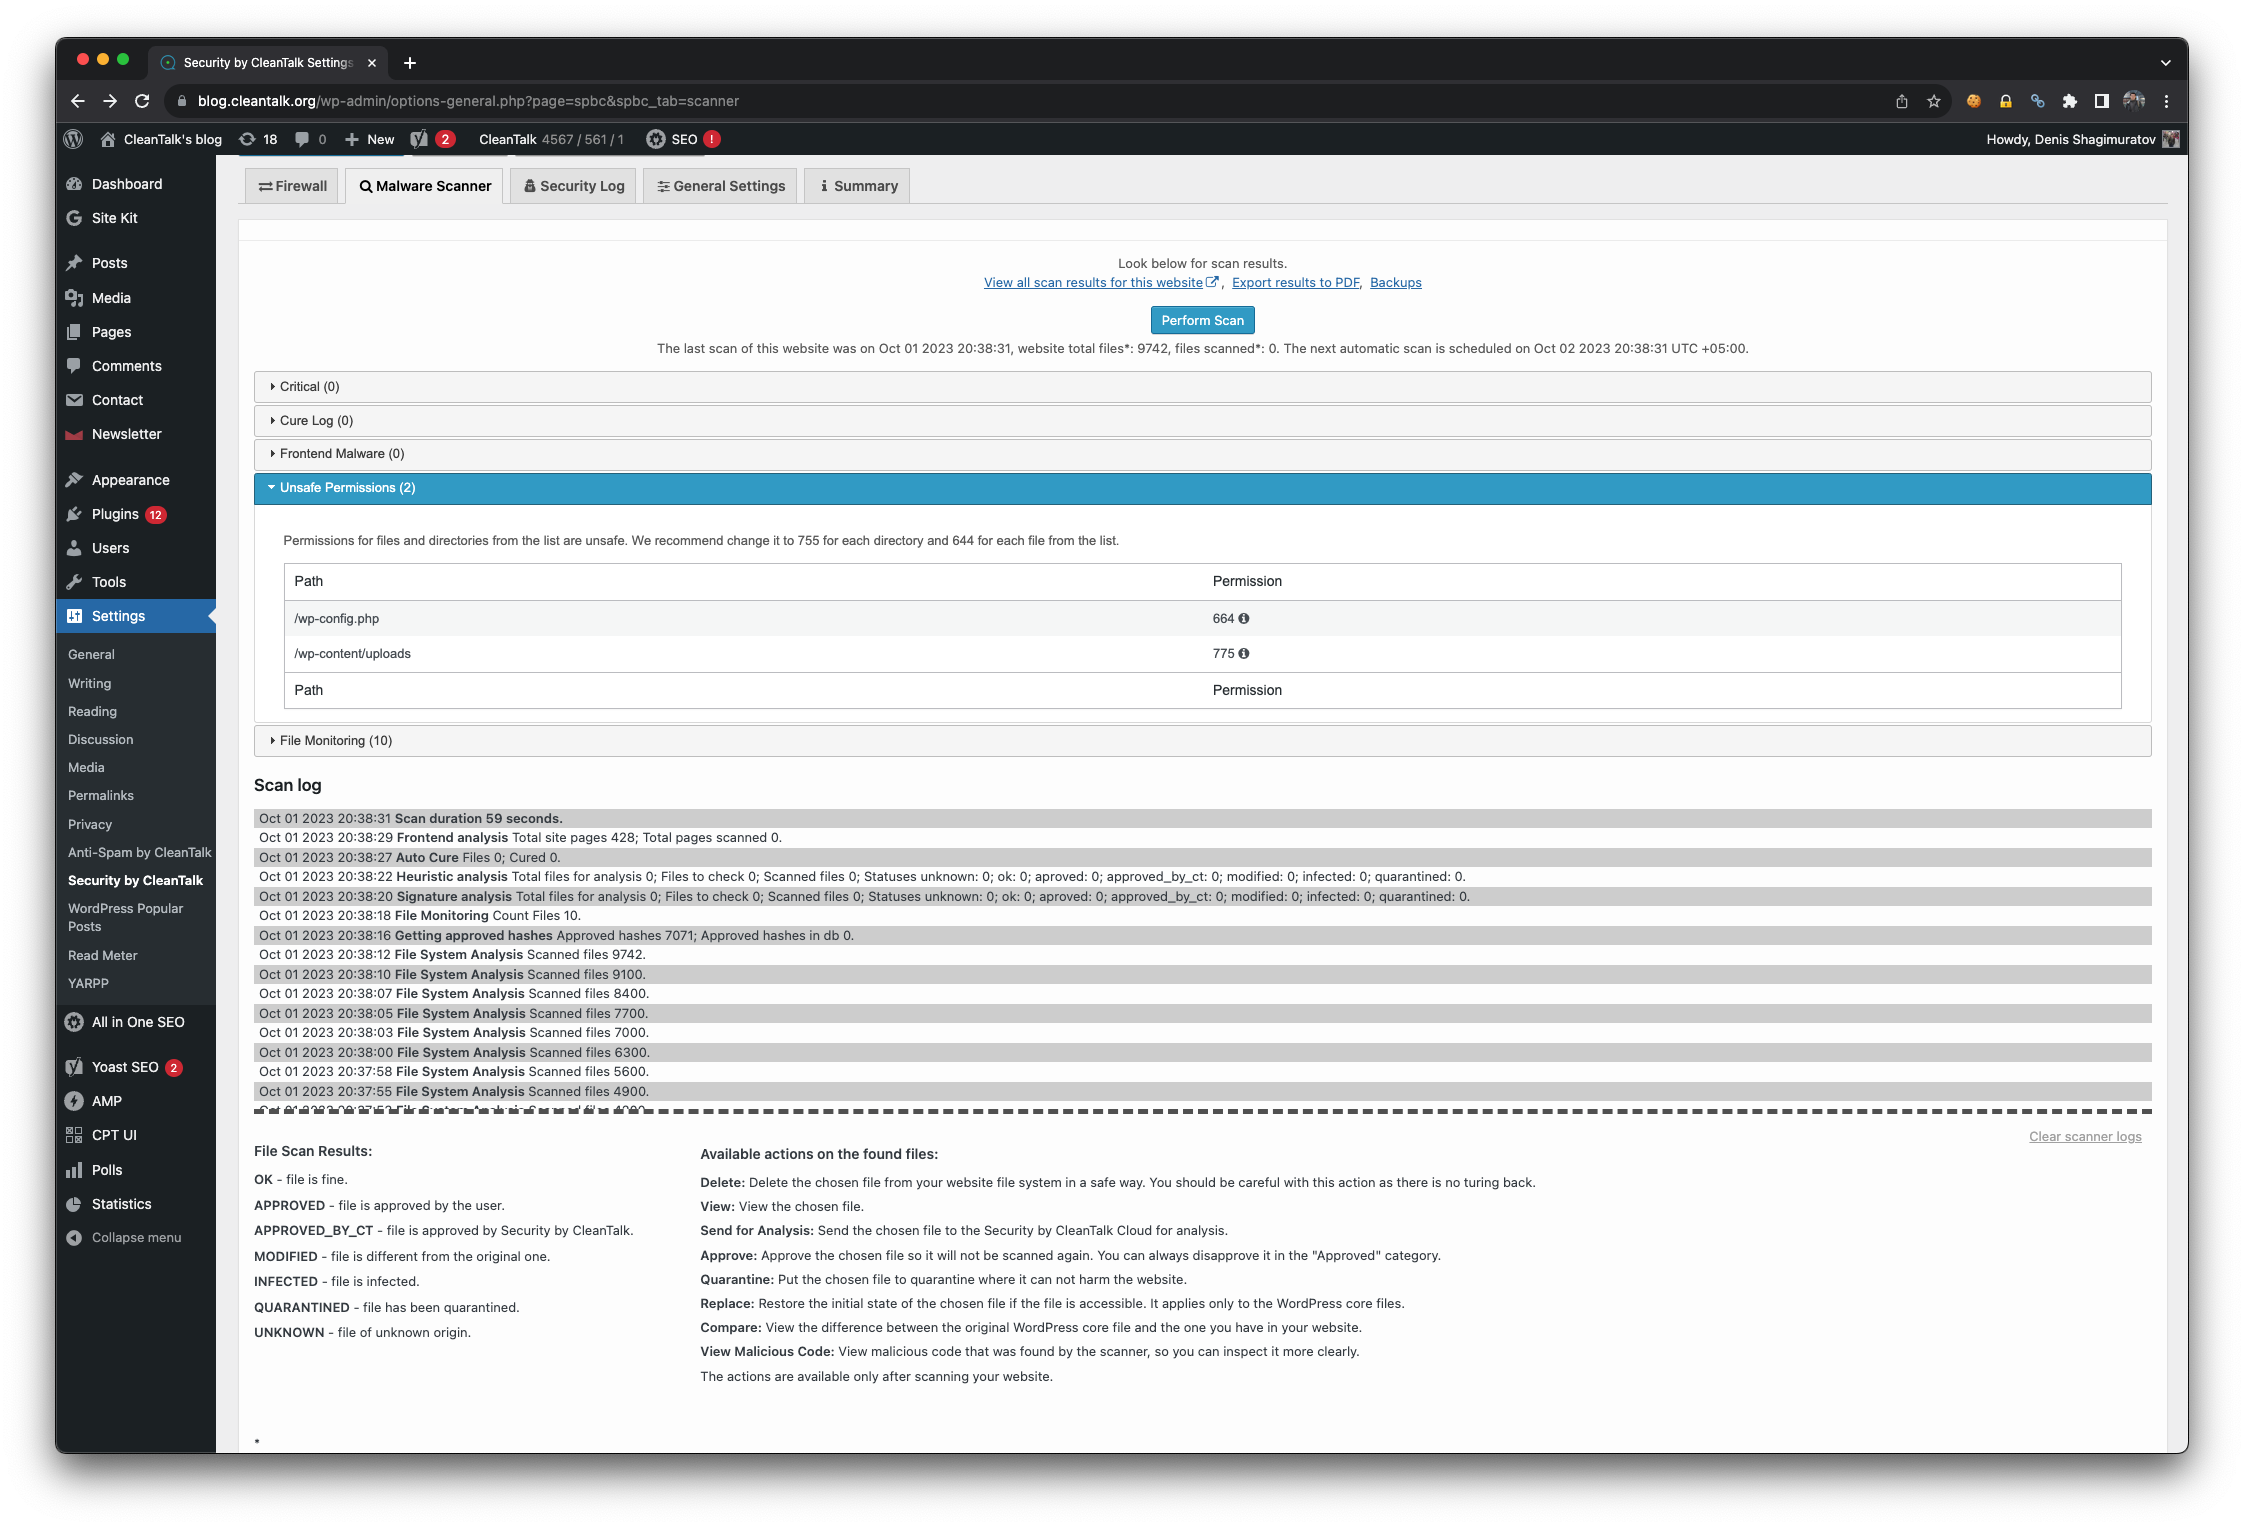
CleanTalk on the first scan scans all WordPress kernel files, plugins and themes. When rescanning, only those files that have changed since the last scan were scanned. This saves resources and increases scanning speed.
How heuristic analysis works
One of the main disadvantages of heuristic analysis is that it is quite slow, so we use it only when it is really necessary. First of all, we divide the source code into lexemes (the minimal language construct) and remove all unnecessary:
- Space symbols.
- Comment of different types.
- Not PHP code (outside of tags <?php ?> )
Next, we recursively simplify the code until there are no “complex constructs”:
- Perform concatenation of strings.
- Substitution of variables into variables.
- and other
Also, in the process of simplifying the code, we monitor the origin of the variables and many others.
In the end, we get a clean code that can be analyzed. It is very important that we get the code not in the form of a string, but in the form of lexemes. Thus, we know where the lexeme is a string with the desired text, and where the lexeme function is.
In the sense of finding “bad constructs” eval for us there is a difference:
<?php echo 'eval("echo \"some\"")'; ?>
— in this case there will be no lexeme T_EVAL,
there is a lexeme T_CONSTANT_ENCAPSED_STRING ‘eval (“echo \” eval\”)’
<?php eval('echo "some"'); ?>– and here it is. And this is the version we will find.
We look for such constructs, we break them down into degrees of criticality:
Critical:
- eval
- include* и require*
-
- with bad file extension
- non-existent files (will be deleted in the next versions)
- connecting deleted files
Dangerous
- system
- passthru
- proc_open
- exec
- include* и require*
- with the error suppression operator (will be deleted in the next versions)
- with variables depending on POST or GET.
Suspicious
- base64_encode
- str_rot13
- syslog
And other.
We are constantly improving this analysis: adding new constructions to search, reducing the number of false alarm, optimize the simplification of the code.
In the plans to teach it to detect and decode strings encoded in URL and BASE64 and others.
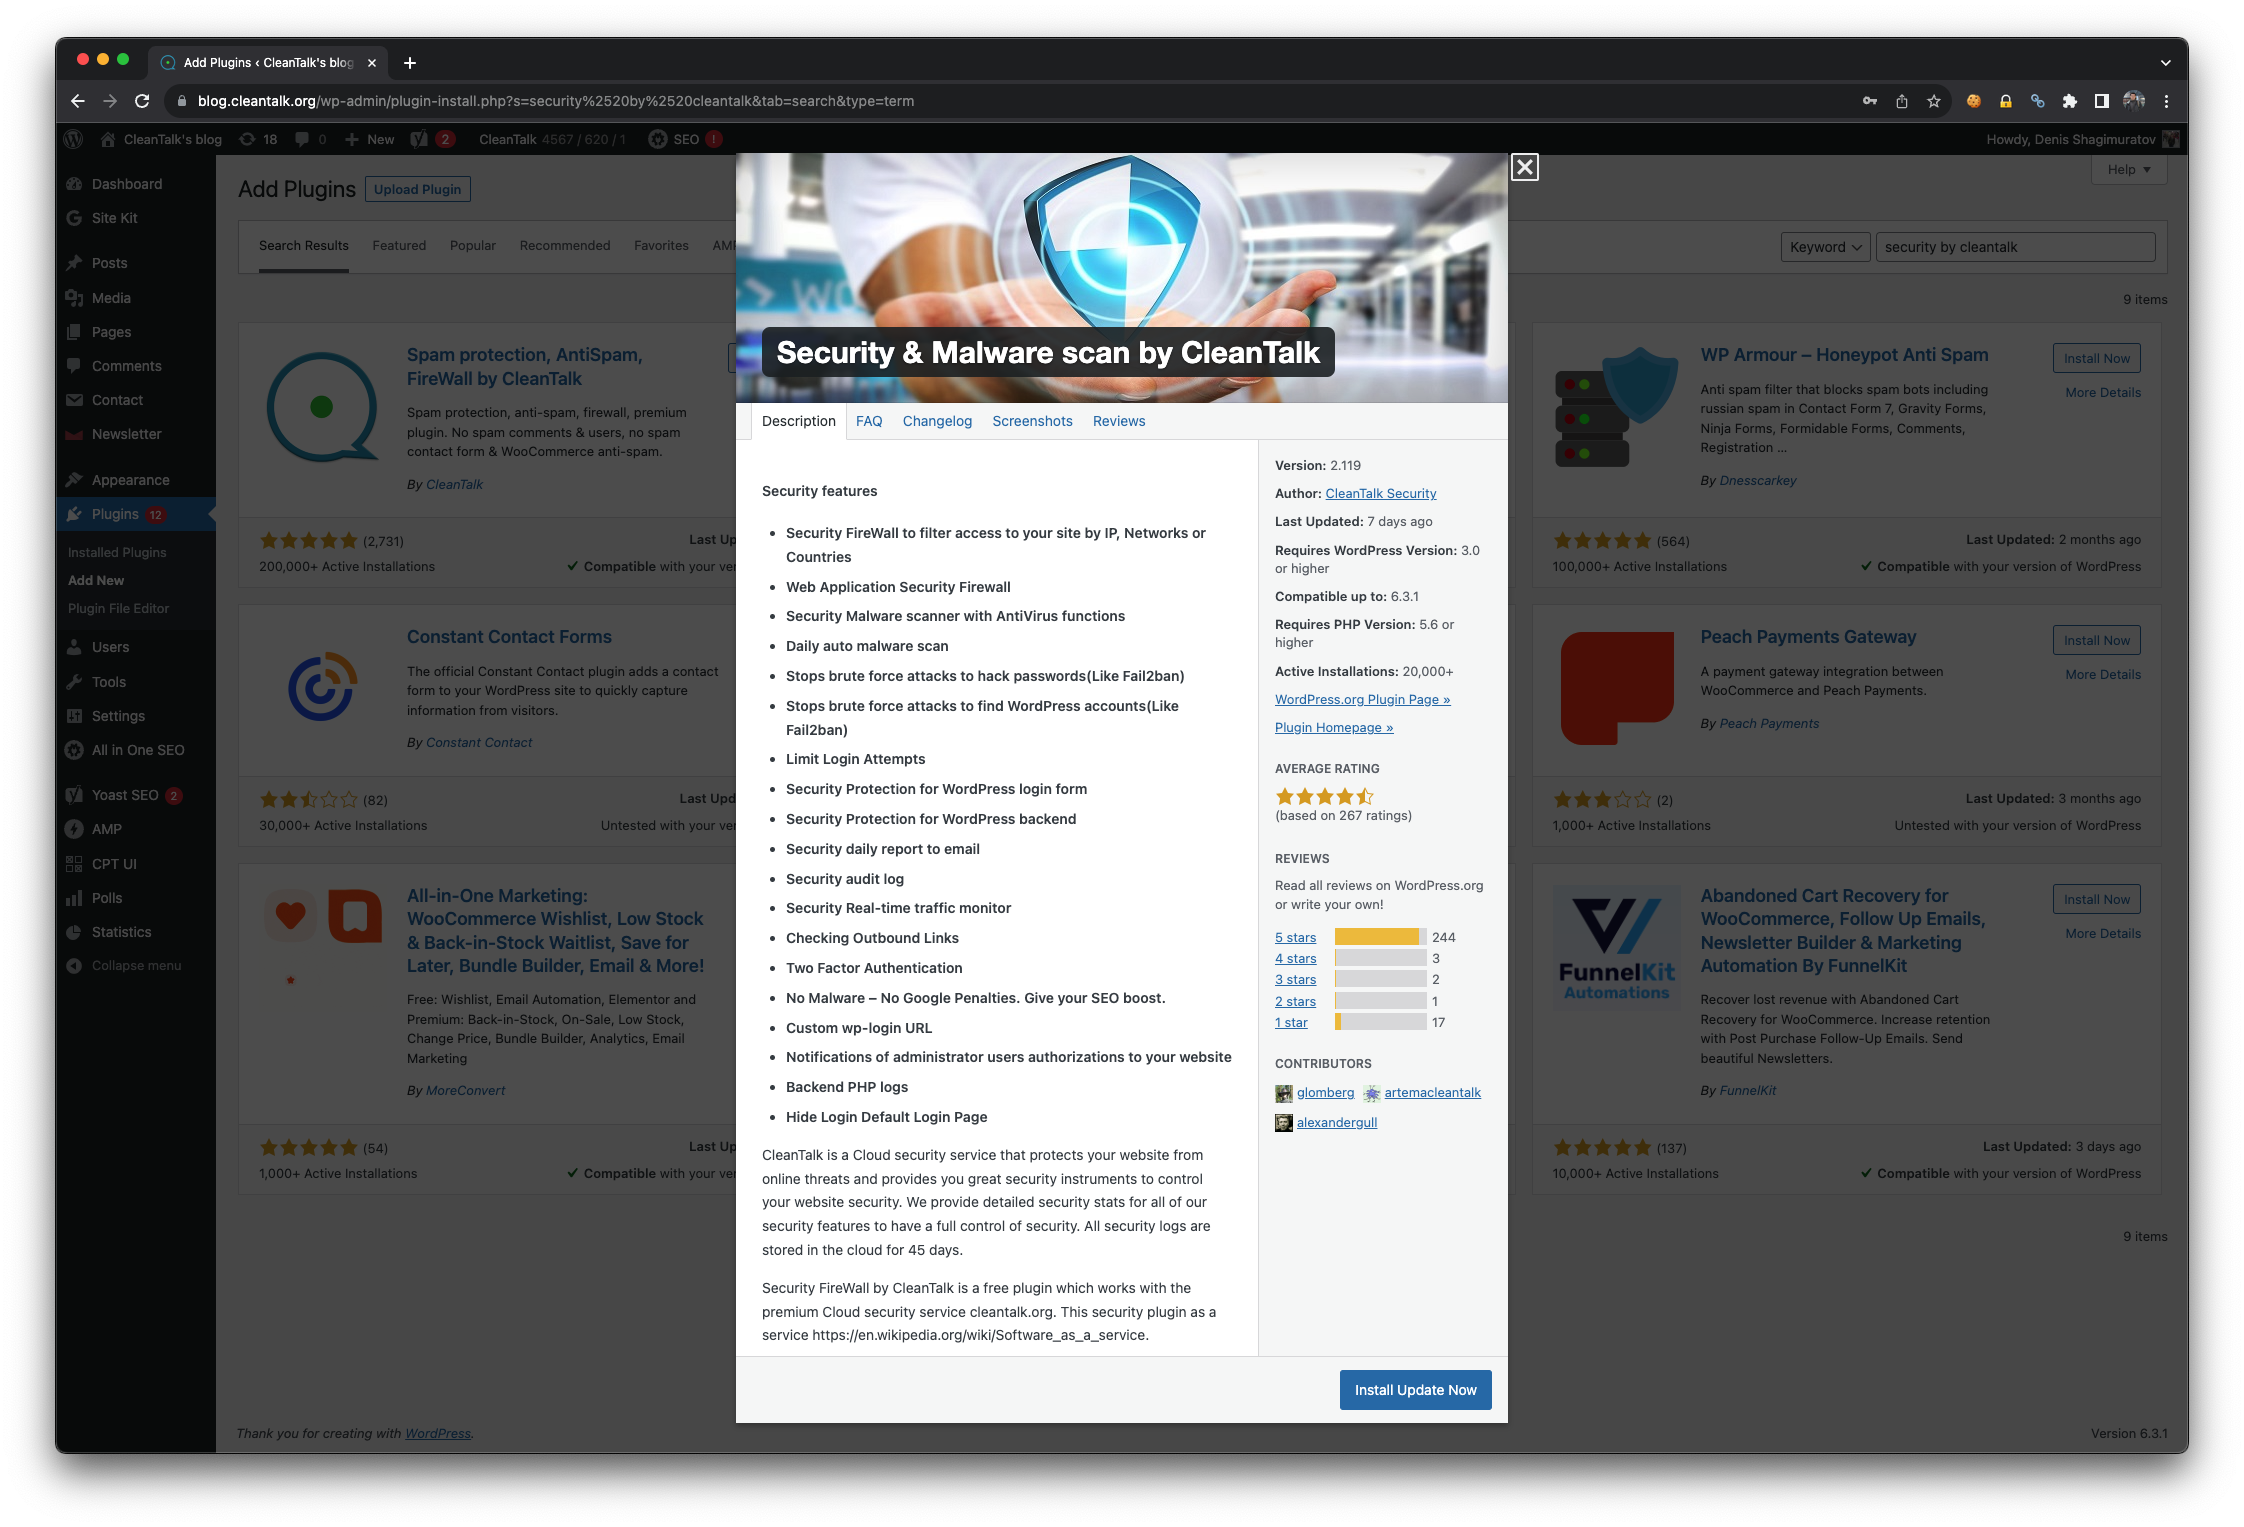
The plugin itself is available in the WordPress directory. If you are unsure how to identify, remove, or clean malware using the plugin, you can book a WordPress Malware Removal service with our Security & Pentest team.