We are happy to share feedback from one of our clients — Thomas, the owner of climatechangedispatch.com
Great support, even better spam killer
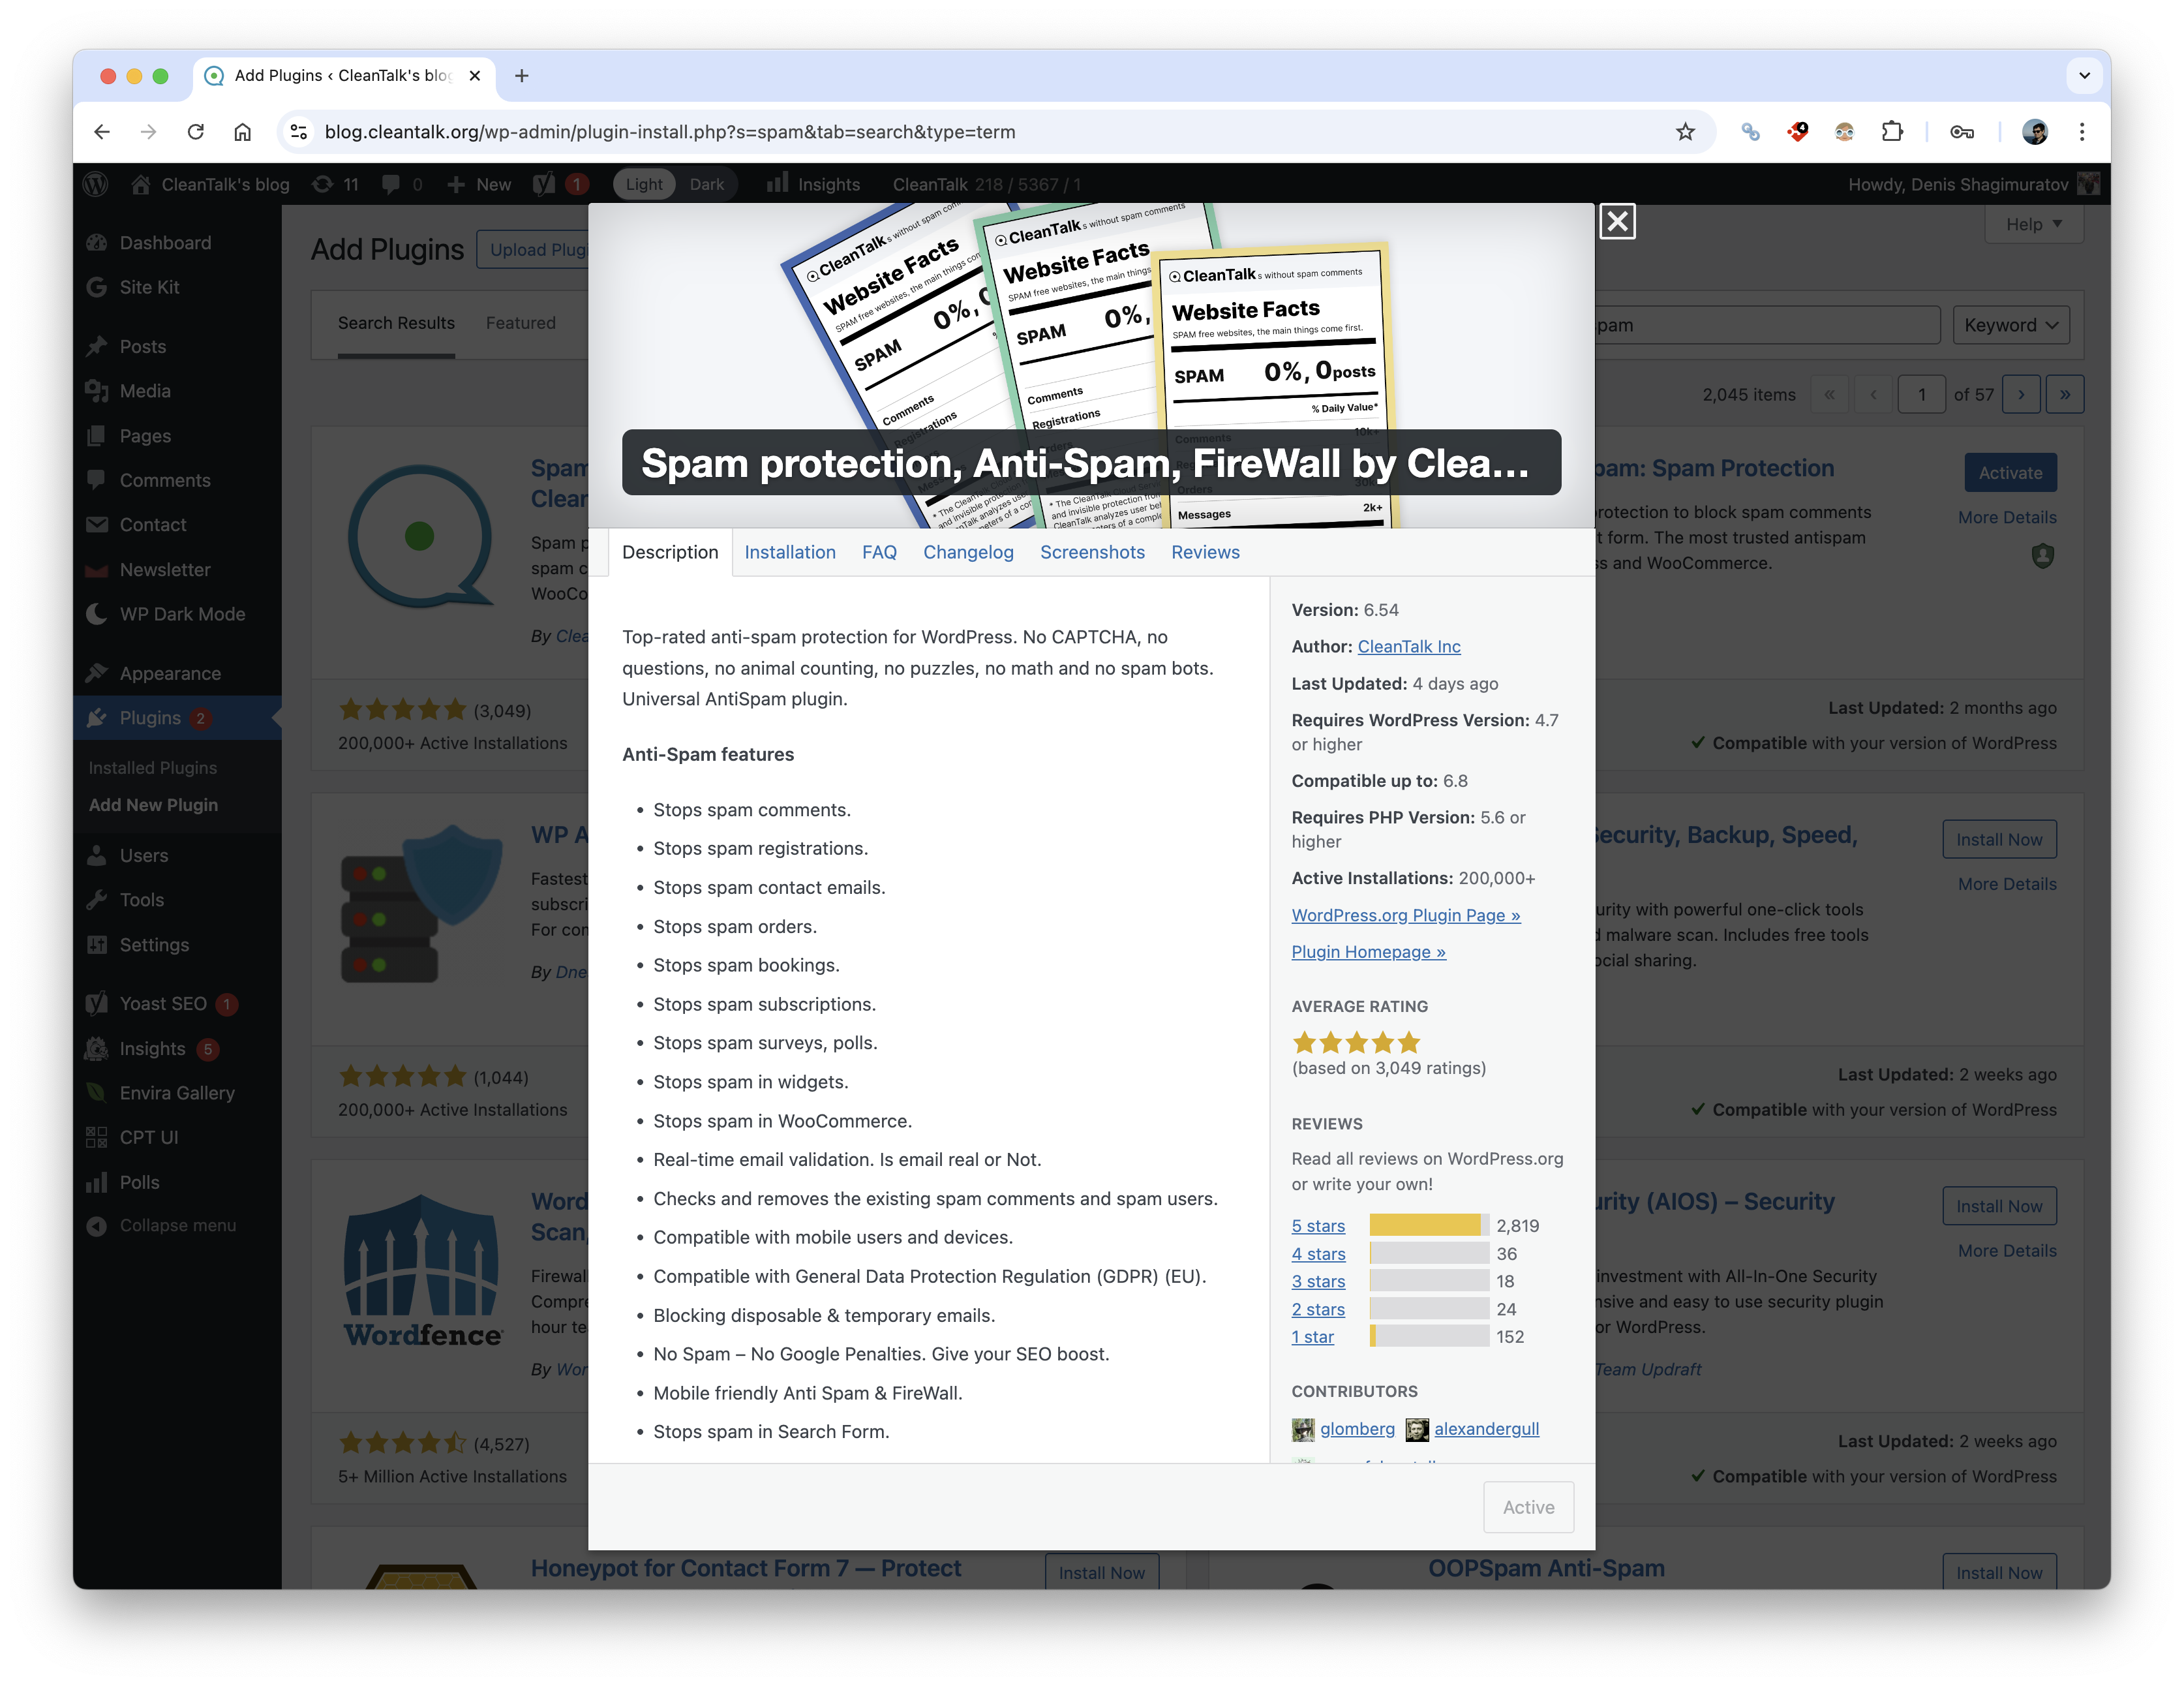
I was using Akismet for WordPress for years until I found Cleantalk. I got an email from Automaticc, which owns Akismet and Jetpack, stating that because I had some ads on my site, I had to pay a ridiculous amount of money. They gave me 30 days. I switched to Cleantalk as it was cheaper, and the difference was amazing.
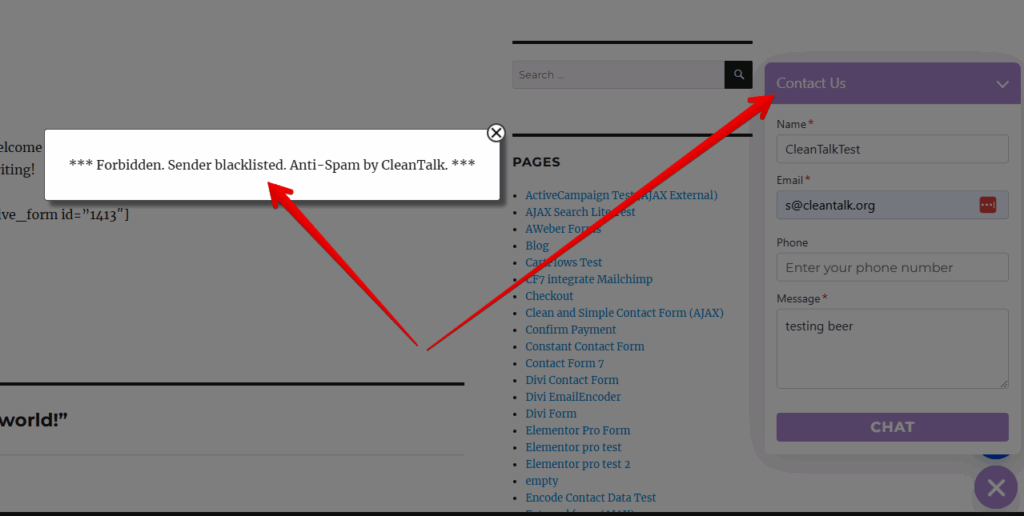
Not only did it catch spam, but the personal blacklists are a timesaver. No more hits or misses from imprecise wording in the Discussion settings. And the support is absolutely superb. The few times I’ve needed them, they were prompt and fantastic. The firewall and bot-crawler features are also a timesaver. Did you know that auto-bots crawl your site and slow it down? I’m talking spammy bots looking for email addies. This plugin stops them. And also prevents spam after spam from getting through via rate limiting. Try it out, and I swear you will rarely, if ever, have to get rid of spam manually. It’s that good!
We thank Thomas for his detailed feedback and trust in CleanTalk.
It’s always a pleasure to hear that our service helps clients protect their websites and save time.