Are you looking to customize your WordPress homepage? This comprehensive guide will walk you through everything you need about WordPress main page editing, from understanding the default layout to using page builders. Whether you’re a beginner looking for a step-by-step WordPress homepage editing tutorial or an experienced user wanting advanced customization tips, we’ve got you covered.
Understanding the Default WordPress Homepage
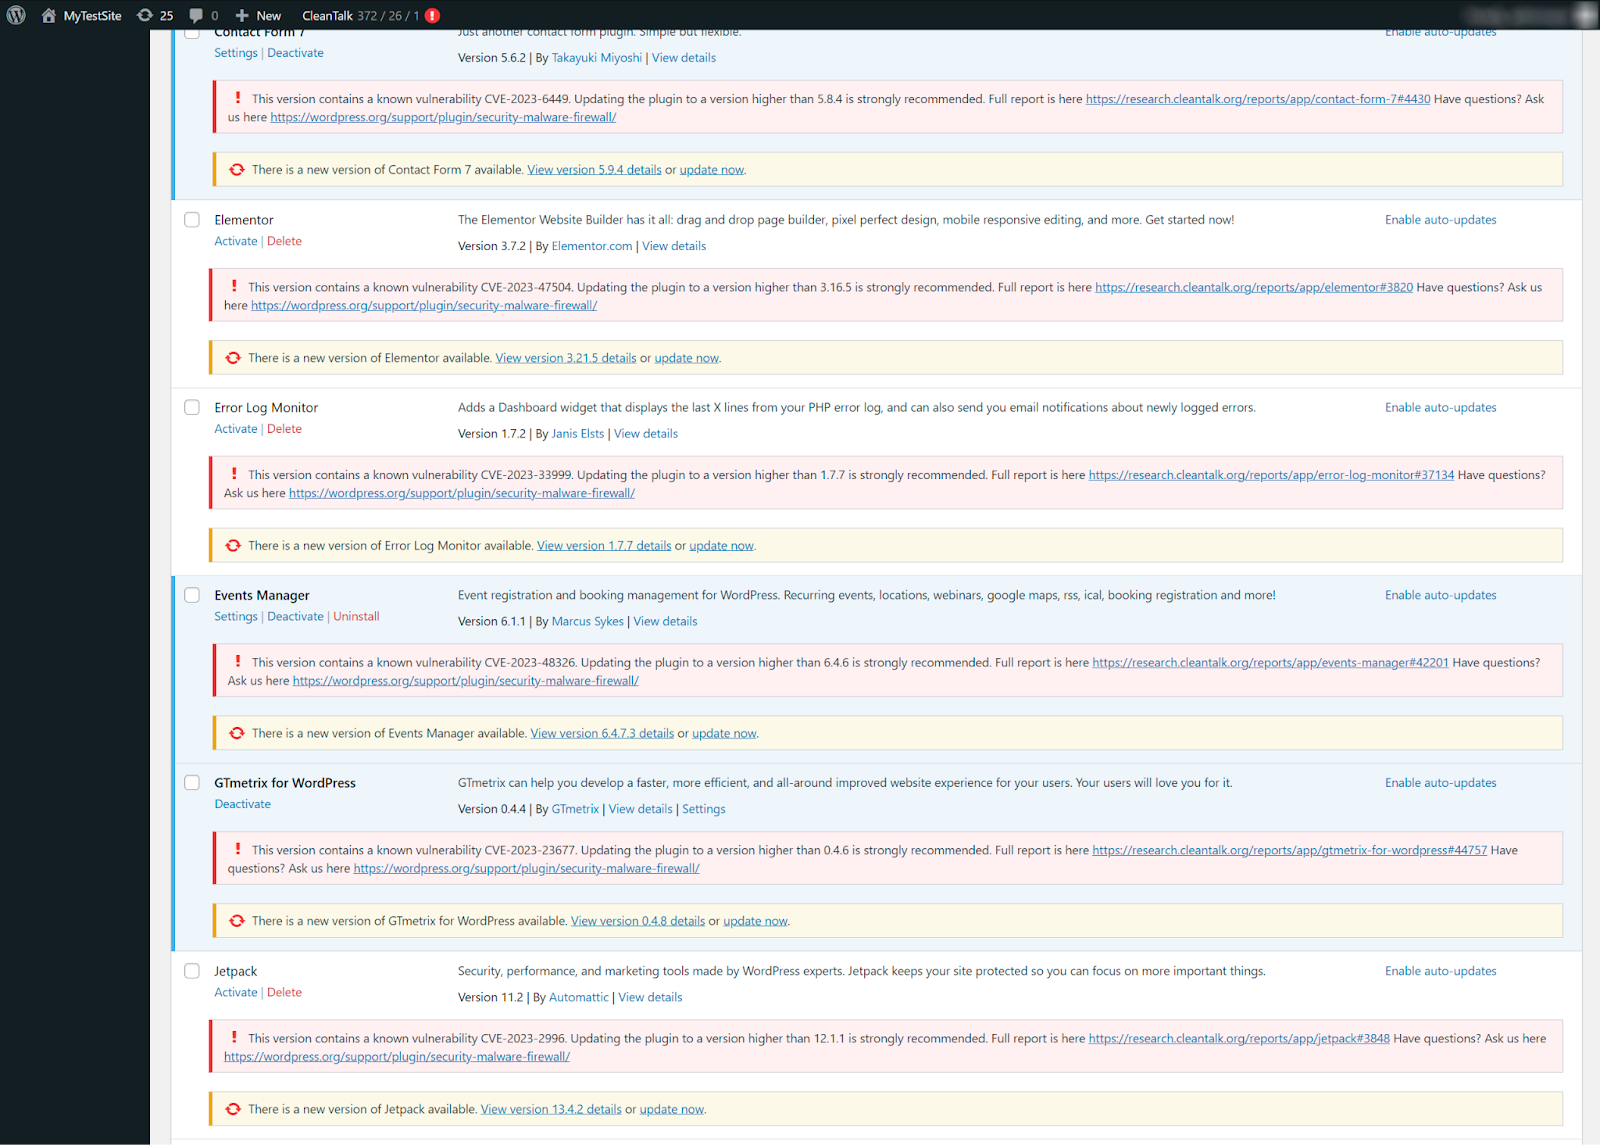
The default WordPress homepage typically displays your latest blog posts, styled according to your chosen theme. While this setup is simple, there may be better options for your website’s specific needs. Before you start making changes, it’s important to understand the basic structure of a WordPress homepage.
Critical Components of a Default Homepage
- Header: This top section usually contains your site title, logo, and navigation menu. You can learn how to edit the WordPress homepage header using the methods described below.
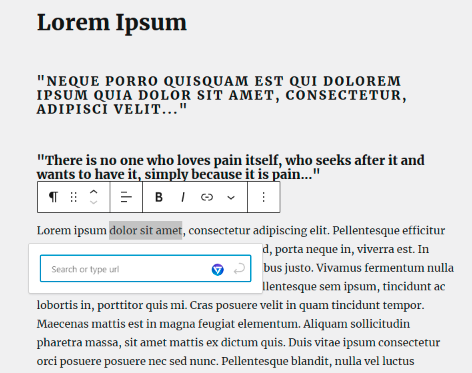
- Content Area: The central part of the page where your blog posts, excerpts, or other content elements are displayed. You’ll find ways to change WordPress homepage content and layout in this guide.
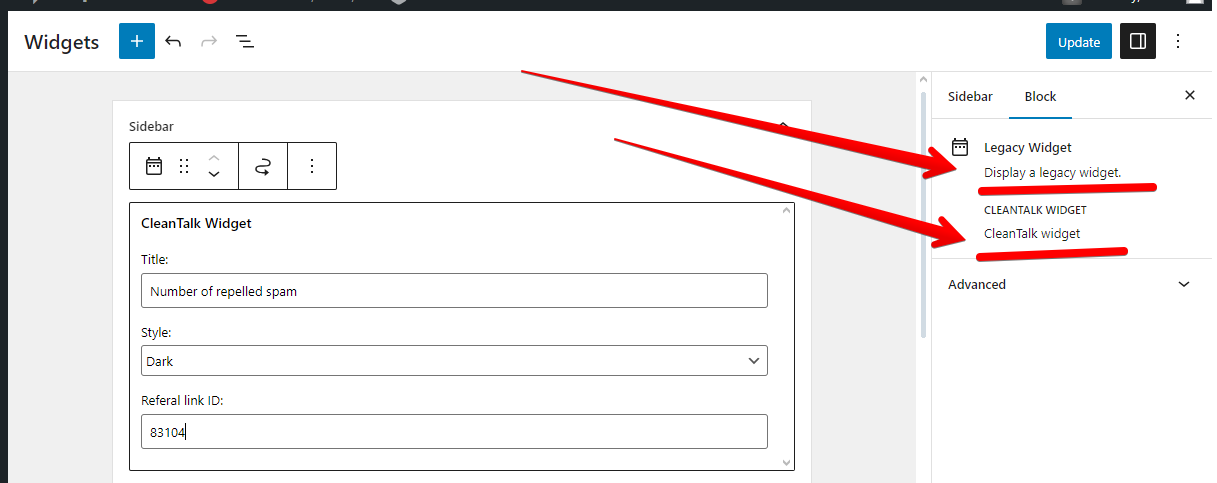
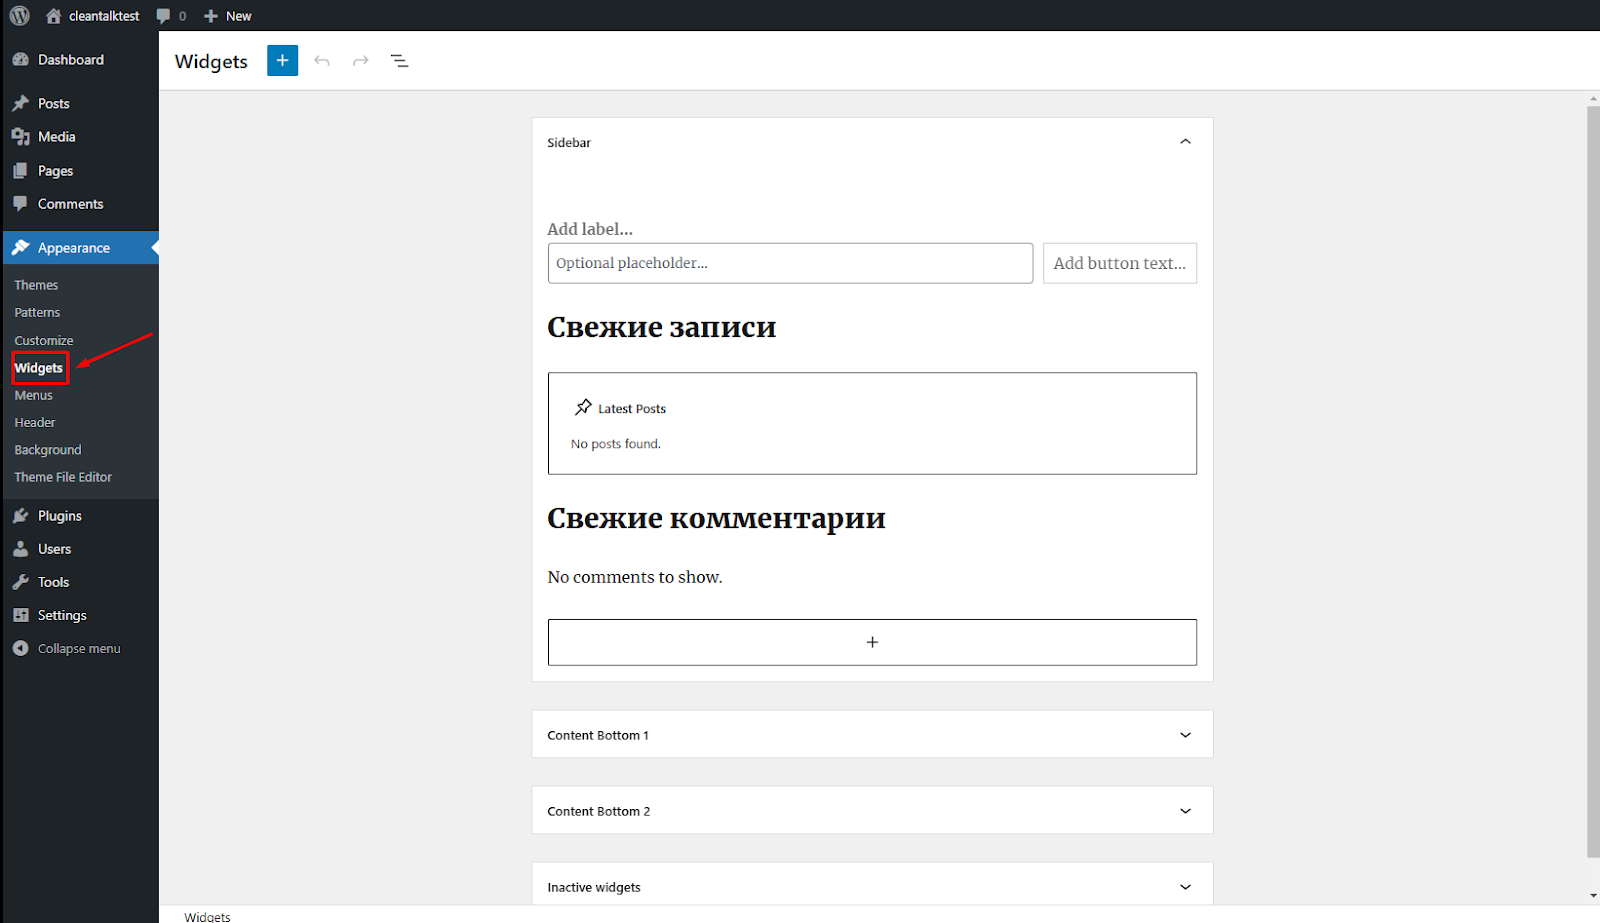
- Sidebar: An optional area on either side of the content area, commonly used for widgets. Learn how to customize your sidebar and add widgets to your WordPress homepage.
- Footer: The bottom section typically includes copyright information, contact details, and additional links.
Methods for Editing Your WordPress Homepage
There are several ways to edit your WordPress front page:
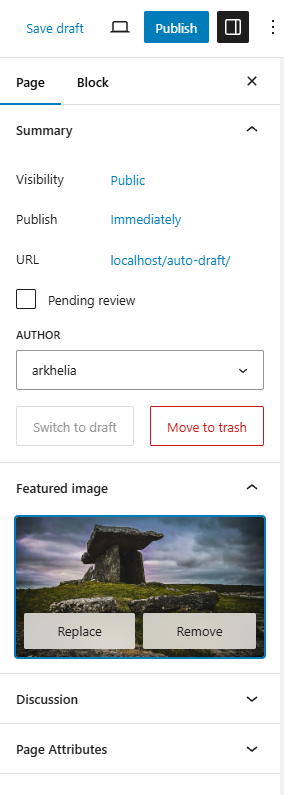
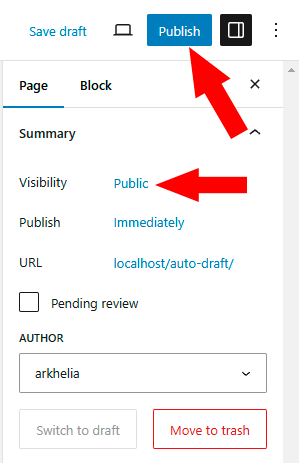
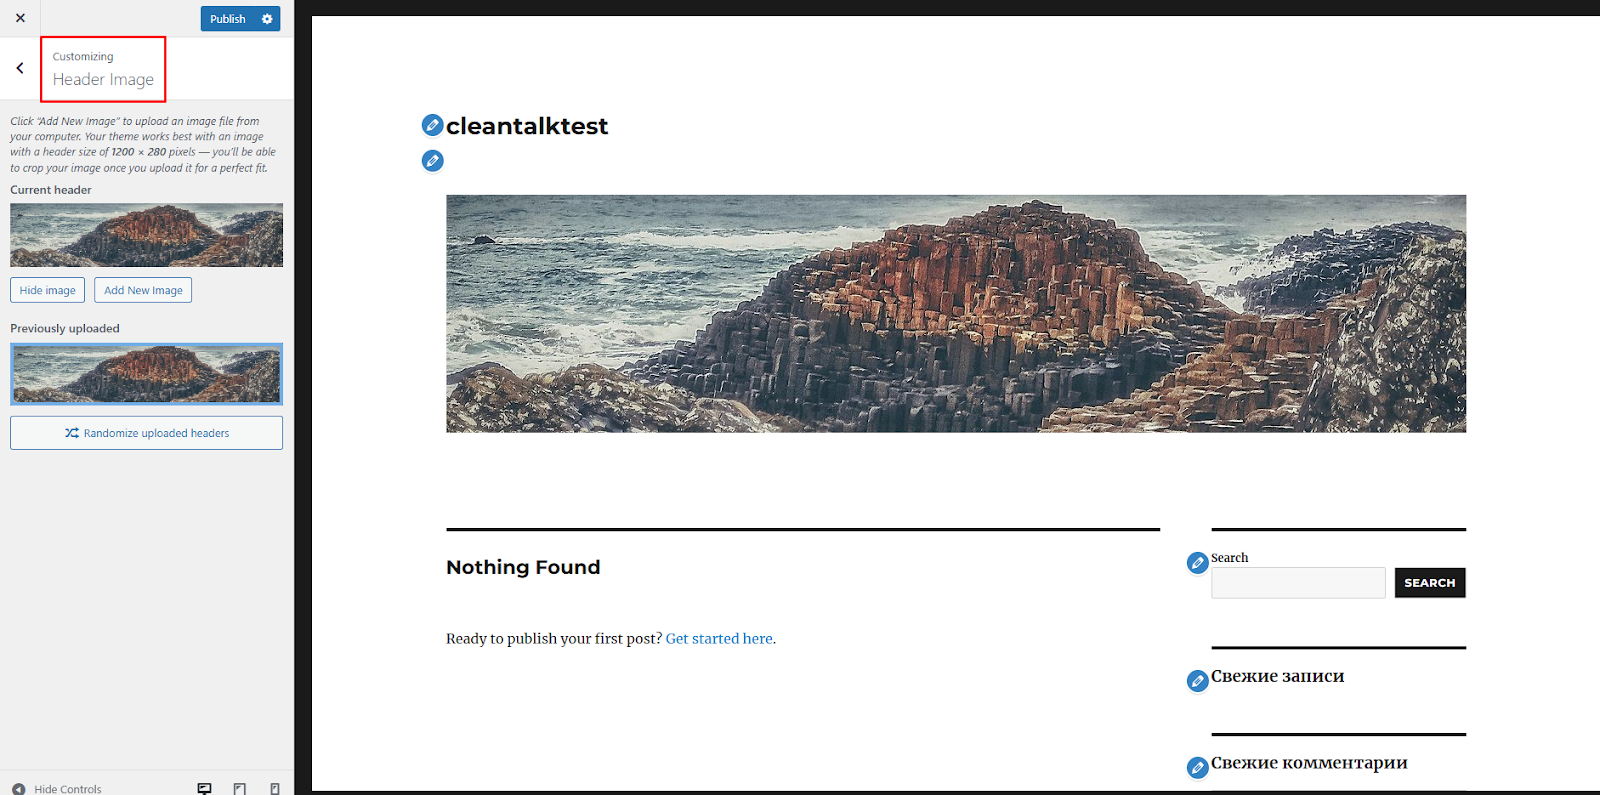
- Theme Customizer: Most modern WordPress themes offer a visual customizer that allows you to make changes without writing any code. Access it by navigating to Appearance -> Customize in your WordPress dashboard.
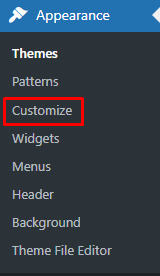
Look for homepage-related options, such as:
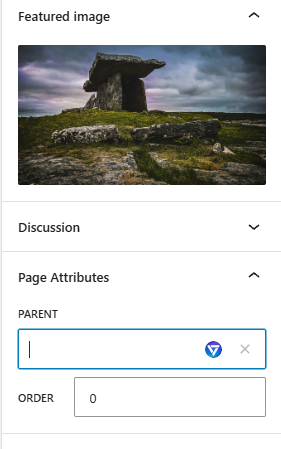
- Header image or logo
- Color scheme
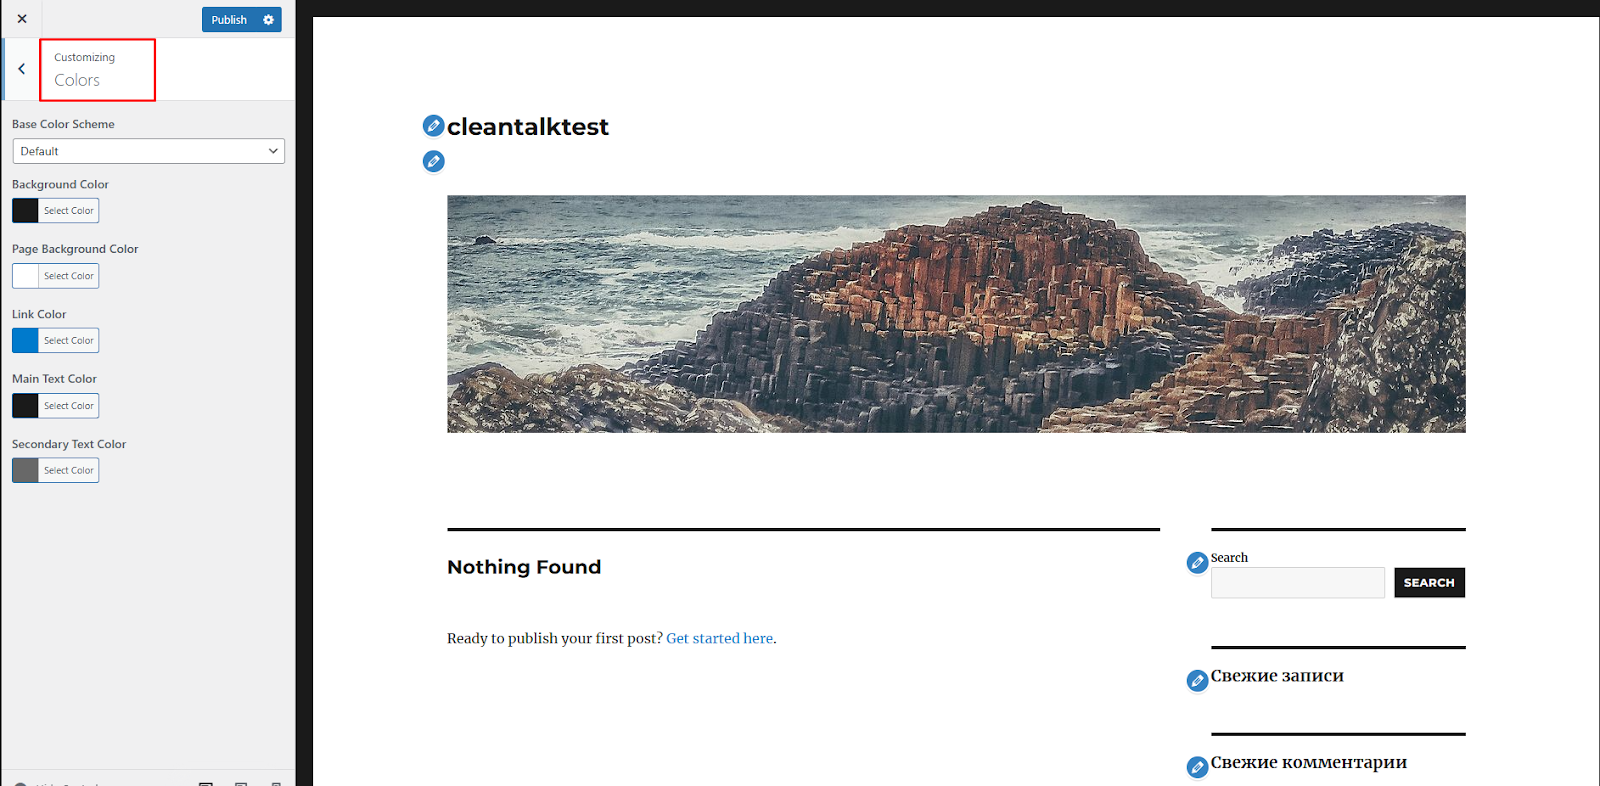
- Site identity (such as logo, name, etc.)

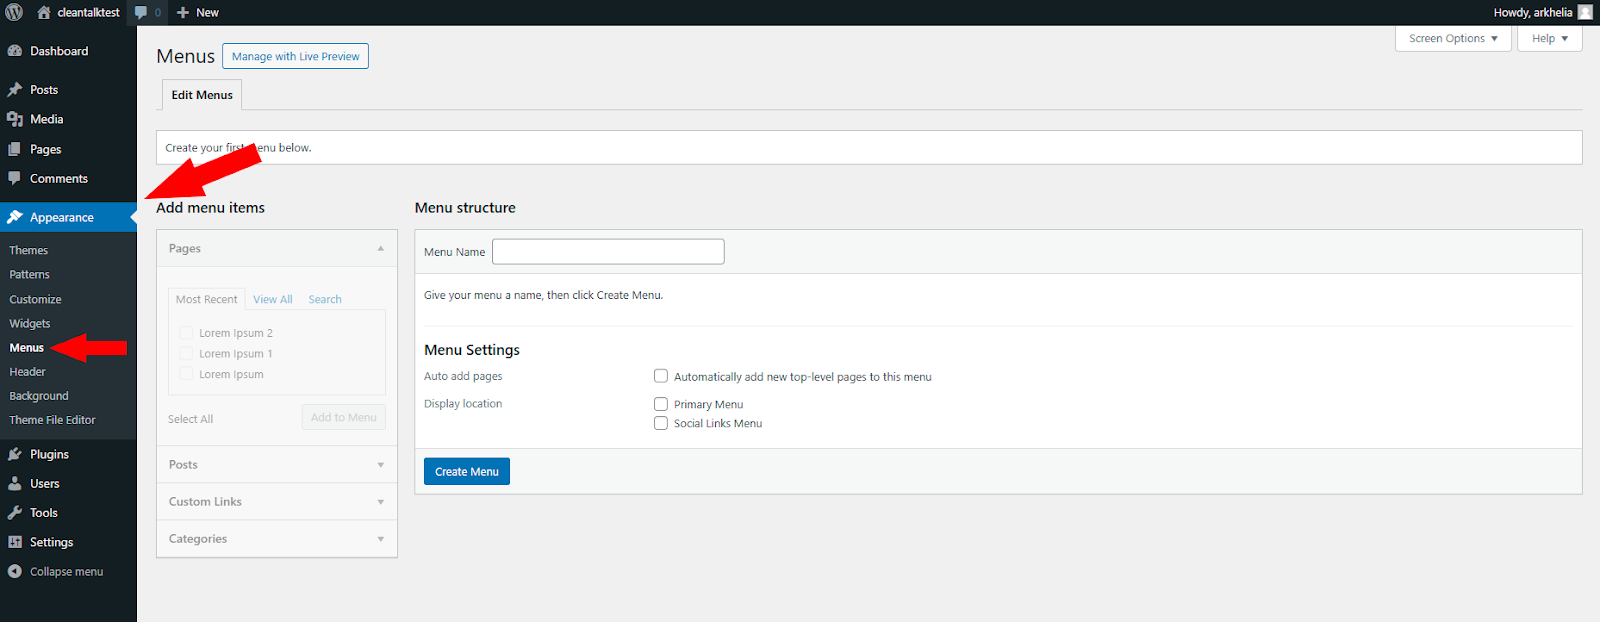
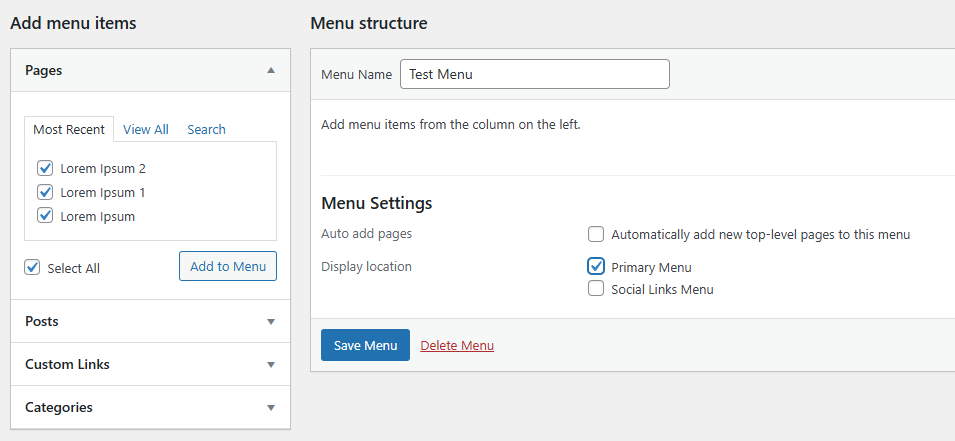
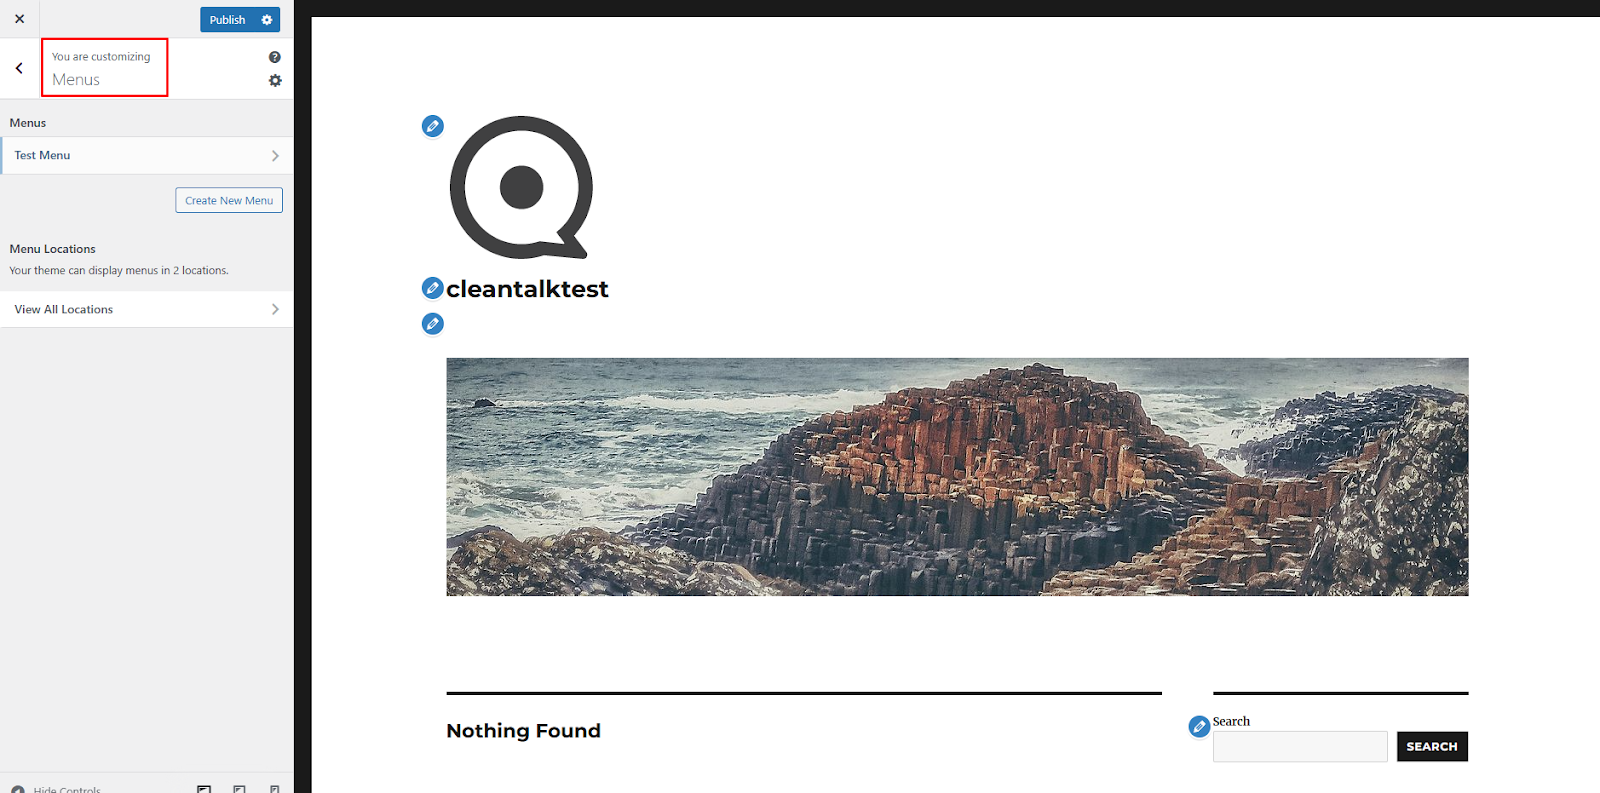
- Menus
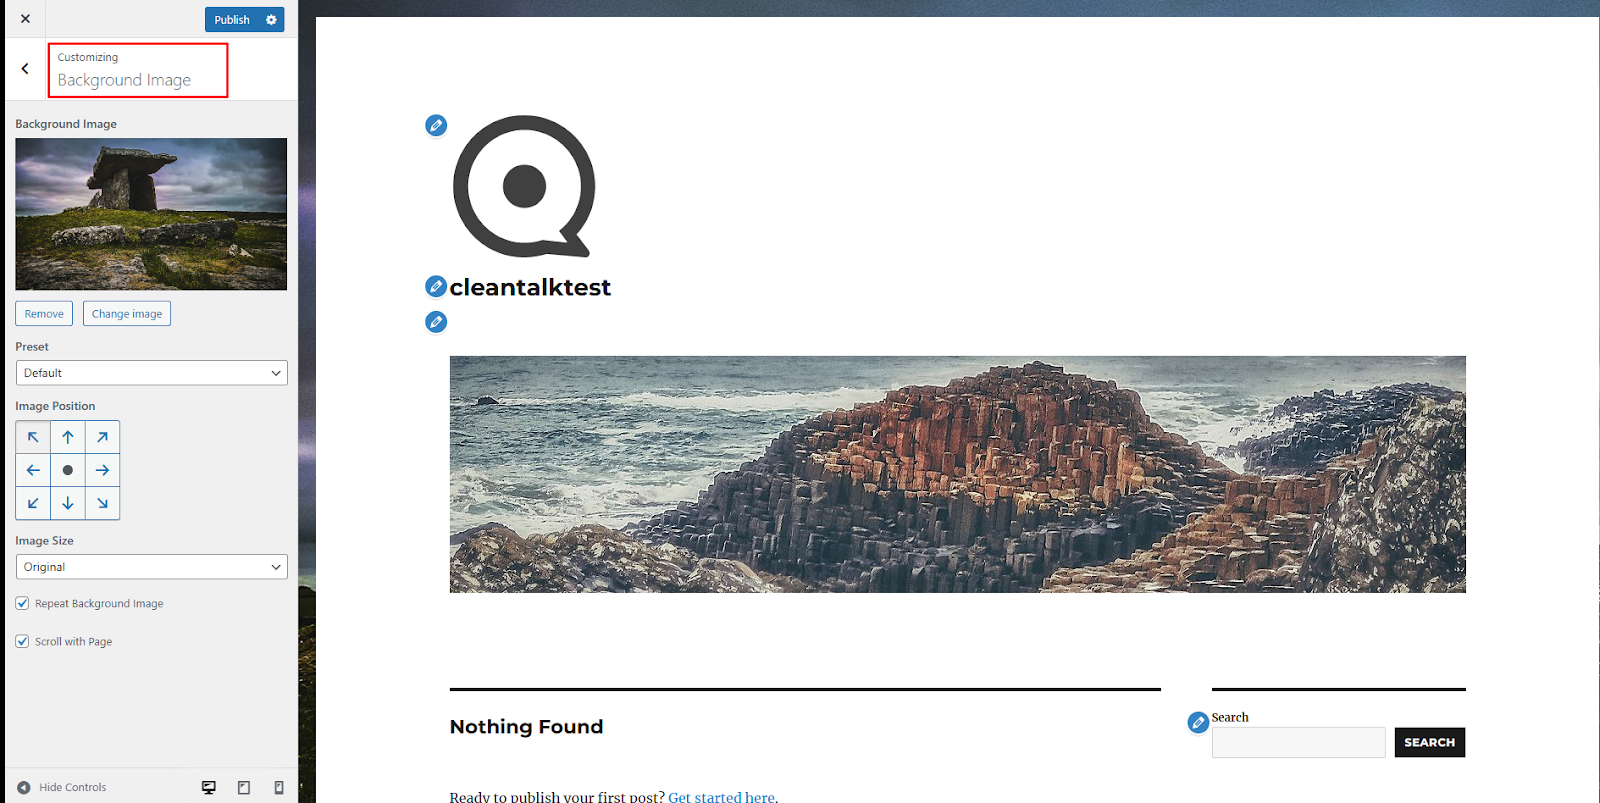
- Background image
- Widgets
- Other settings, like advanced CSS.
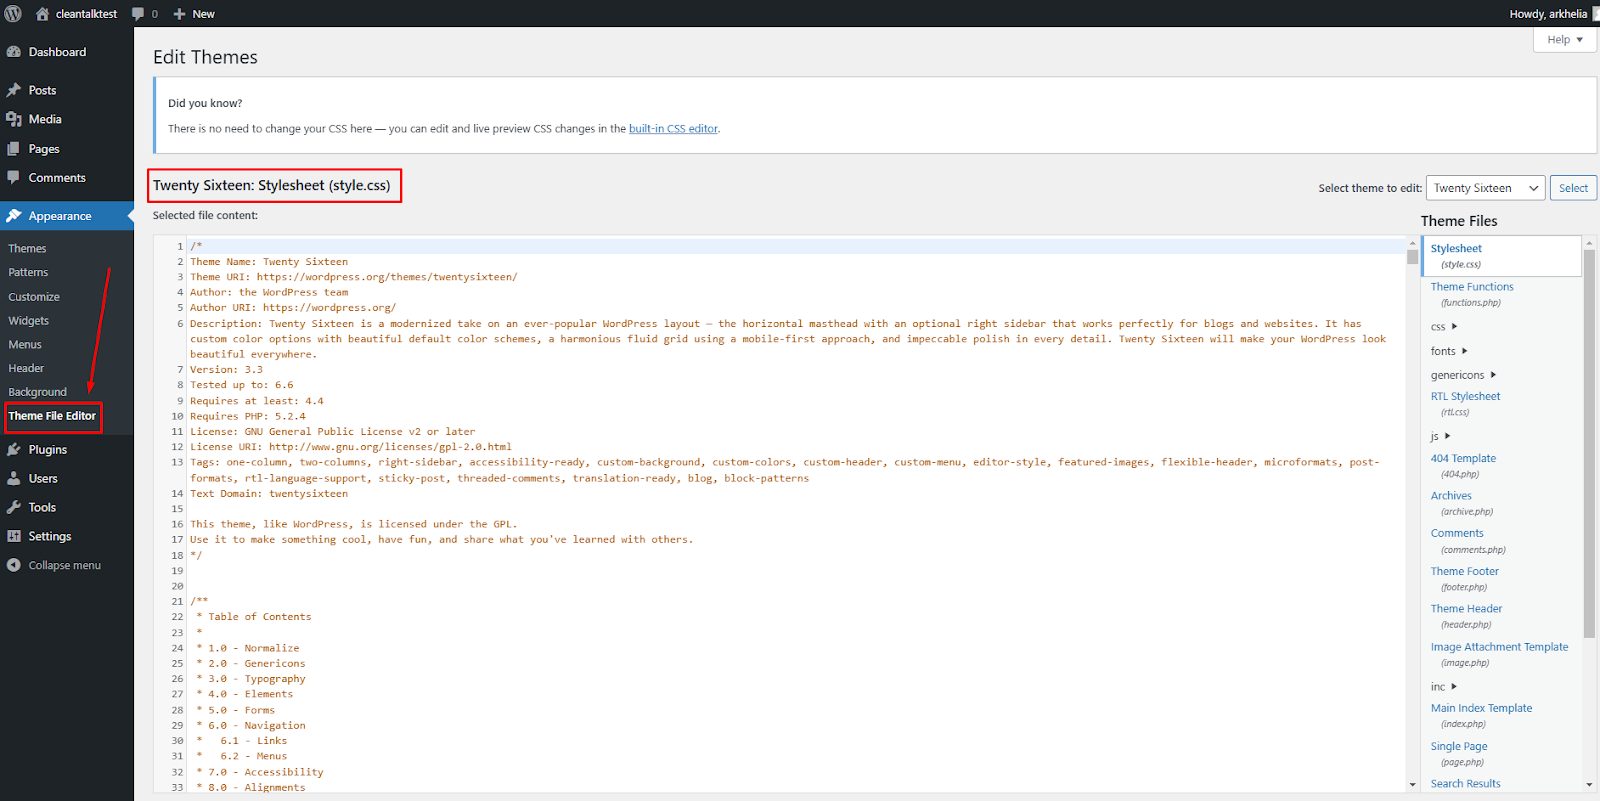
- Theme Editor: For more advanced customizations, you can directly edit your theme’s code. However, proceed with caution, as errors can break your site. This method is generally not recommended for beginners. If you’re comfortable with code, go to Appearance -> Theme Editor. You’ll often find the homepage template files named index.php or front-page.php.
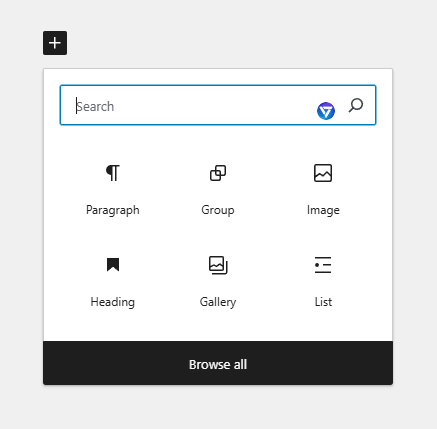
- Page Builder Plugins: If you prefer a visual, drag-and-drop interface, consider using a page builder plugin like Elementor, Divi, or Beaver Builder. These plugins offer pre-built templates and design options, making it easy to create a custom WordPress homepage without any coding knowledge. They are a great option for beginners looking for an easy way to design their WordPress homepage.
Tailoring Your Homepage to Your Needs
- Define Your Homepage’s Purpose: What do you want your homepage to achieve? Is it a product showcase, a blog, or a landing page for lead generation? Clearly outlining your goals will help you design a more effective homepage.
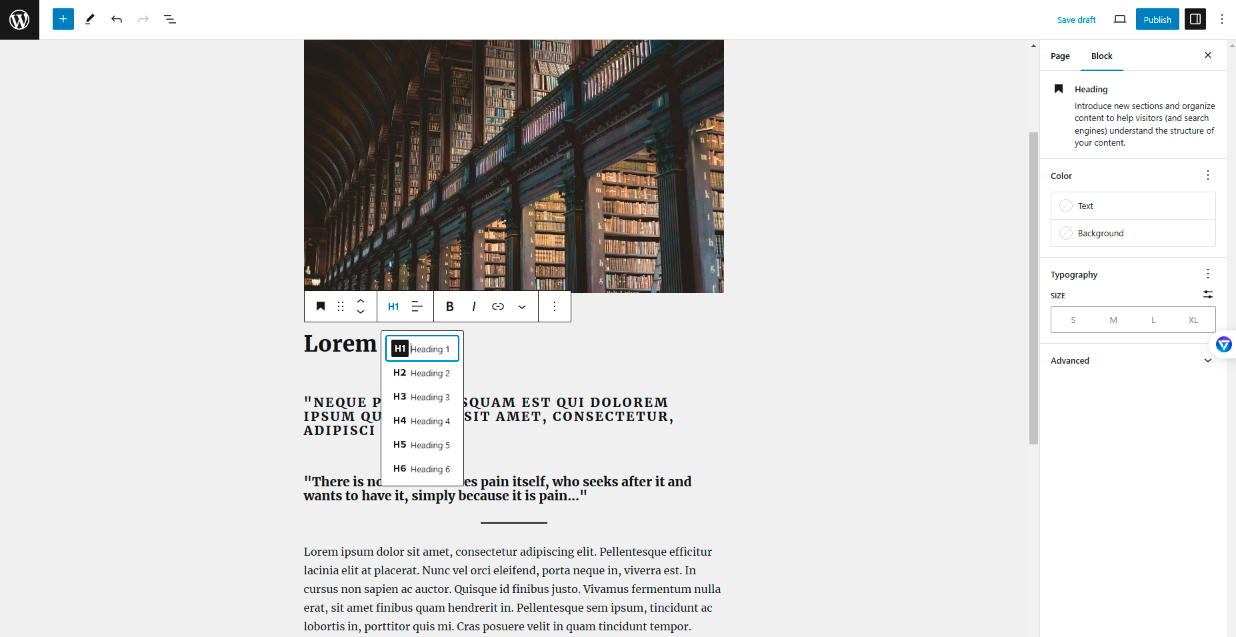
- Create a Strong Visual Hierarchy: Guide visitors’ attention to key elements using size, color, and placement.
- Optimize for Mobile Devices: Ensure your homepage is responsive and looks good on all devices.
- Improve Loading Speed: Optimize images, reduce HTTP requests, and leverage browser caching to optimize your WordPress homepage for SEO.
- Test Thoroughly: Preview your homepage on different devices and browsers to catch any issues.
Example Homepage Structures
- Business Website: Highlight key services, products, and a clear call to action (CTA).
- Blog: Feature recent posts, popular categories, and author bios.
- Portfolio Website: Showcase your best work with high-quality images and project descriptions.
- E-commerce Store: Display best-selling products, featured categories, and customer testimonials.
Remember, your homepage is the first impression visitors have of your website. Invest time in crafting a design that reflects your brand and engages your audience. By following the tips in this WordPress homepage design for beginners guide, you can create a homepage that is both beautiful and effective.
Feel free to check our other beginner’s guides to make your WordPress start smooth:
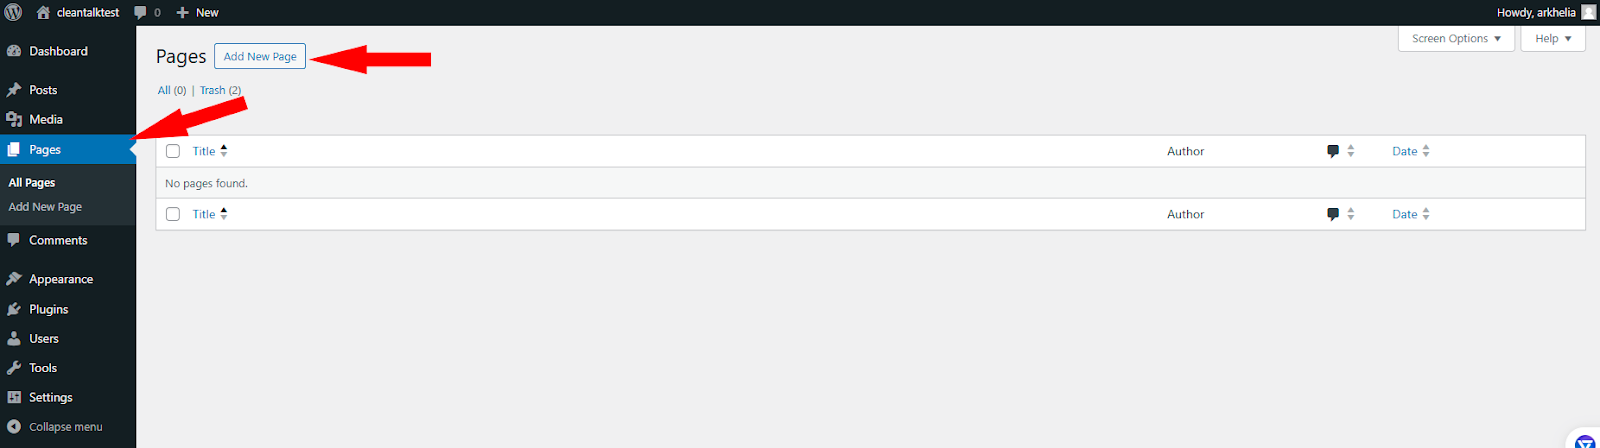
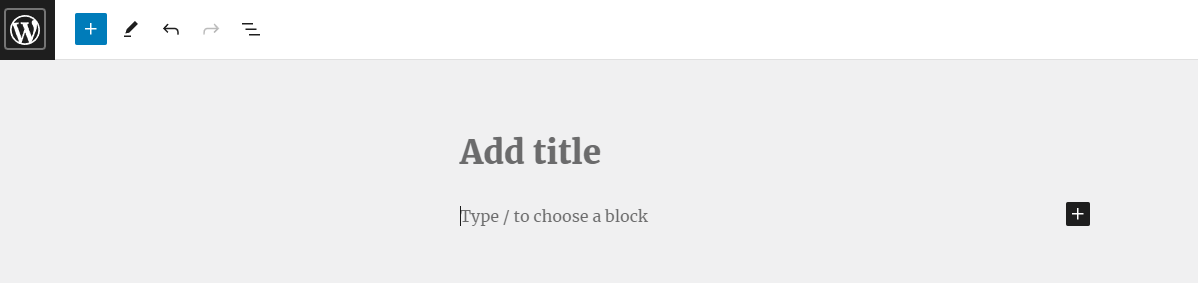
A Beginners’ Guide: Crafting Captivating Pages on Your WordPress Website