Bots are among us all over the internet. They visit websites, gather information, and write comments and reviews. So how do you distinguish such a bot from a real comment or review author? That’s where The Real Person appears.
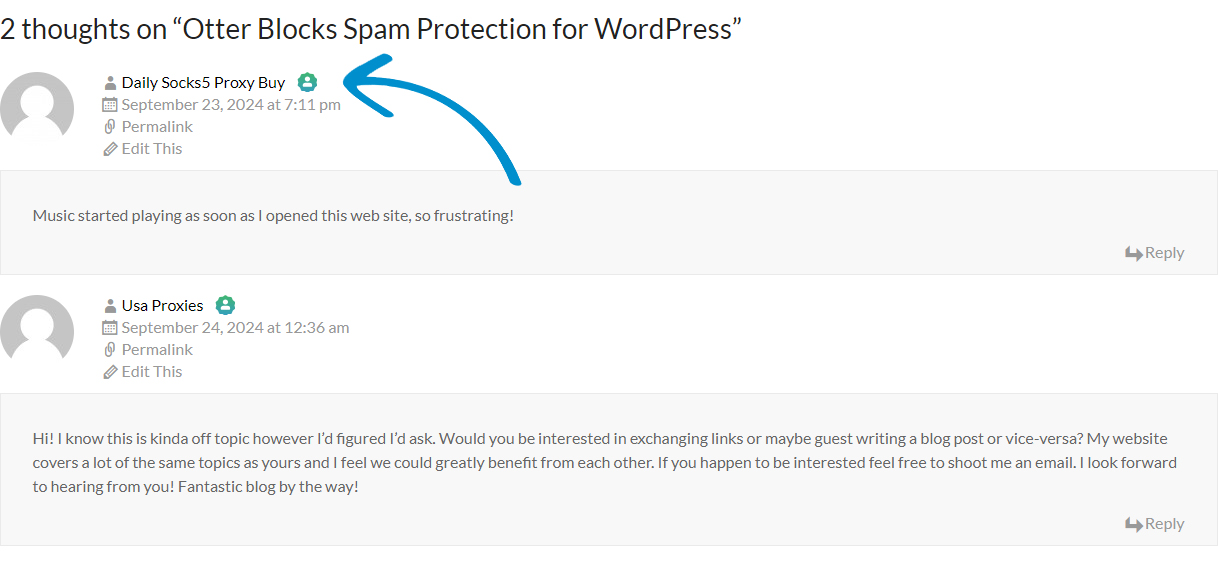
The Real Person is a benchmark system for WordPress that separates real users from bots. It shows a special badge for the author of a comment or review, that the author passed all Anti-Spam filters and acts as a real person. As well as his email is also confirmed to exist.
Here’s an example of what The Real Person badge looks like on a WordPress website. You can also see the live badge in the comments below the post.
The Real Person is free and is a part of the Anti-Spam protection cloud service.
We have experienced a service outage that lasted approximately 12 hours and 15 minutes. Due to a failure with one of our servers, there was no connection from 5:15 PM (GMT0) on September 19th to 5:30 AM (GMT0) on September 20th. As a result, some spam attacks could be missed by our anti-spam plugins and reached backend of sites.
We are pleased to announce that the issue has been resolved and full service has been restored. Our team is now working to address any potential consequences of the outage and implement measures to prevent similar occurrences in the future.
CleanTalk added spam protection for Wufoo Forms using direct form integration. So in case, you prefer using this type of forms be sure to use the most effective Anti-Spam plugin. Read the guide below and learn 4 steps to protect all your contact forms from spam.
Once the CleanTalk Anti-Spam plugin is installed it starts to protect all of the existing forms on your WordPress website. It may not only be Wufoo Forms but also many others.
To install the Anti-Spam plugin, go to your WordPress admin panel → Plugins → Add New.
Then enter «CleanTalk» in the search box and click the Install button for «Spam protection, Anti-Spam, FireWall by CleanTalk».
After installing the plugin, click the «Activate» button.
After it is done go to the plugin settings and click the «Get Access Key Automatically» button. Then just click the «Save Settings» button.
That’s it! From now you How to completely protect your Contact Forms from spam.
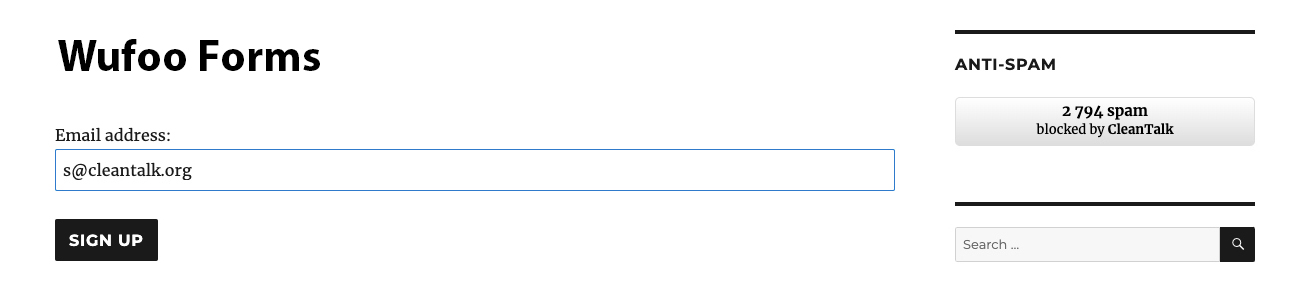
How to check Wufoo Forms Spam Protection
You can test the work of Anti-Spam protection for your Contact Forms by using a test email s @ cleantalk.org (without spaces). First, open the form in an Incognito browser tab. Fill in all the required form fields and send a form. After submitting the form, you will see a block message about the block on the form submission.
If you have any questions, add a comment and we will be happy to help you.
Create your CleanTalk account – Register now and protect your Contact Forms from spam in 5 minutes
Update
The protection works only for website visitors, not for website admins. Be sure to test the form protection using Incognito mode.
Additional features
CleanTalk protects all forms at once: comments, registrations, feedbacks, contacts, reviews.
Installation takes about 1-2 minutes.
Smart 99% protection against spambots.
Always online – 24/7 technical support.
Logs, SpamFireWall, personal lists, country filters, stop-words, and many others.
Discover the complete list of CleanTalk Anti-Spam plugin features here.
Universal Anti-Spam plugin can be installed on any custom websites, CMS, and Frameworks including vBulletin 6. If you don’t have programming experience to add our API on a website it will be a better way to protect your website from spam with Universal Anti-Spam Plugin by CleanTalk. Invisible to the visitors, spam protection has a positive effect on the loyalty of the site’s audience. Read more about all CleanTalk anti-spam features.
Download (the link is at the top of this page) and unzip the “cleantalk” folder into your website’s ROOT folder.
Proceed to address (your_website_name/cleantalk/install.php):
Input the following:
Your CleanTalk account email. If you do not have a CleanTalk account yet you can create one manually by clicking the button “Don’t have an account? Create here!“.
A password for the Universal settings page. Please, do not forget to save the password for future usage.
Universal Anti-Spam plugin will write protection code to the index.php file by default. If your contact or registration forms are located in different files/scripts, list them separated by commas in the “Additional scripts” (3) in the “Advanced configuration” (1) section.
The access key generated for your website in case you already added a website to your CleanTalk account (2).
After that, you can click the button “Install” to continue with the installation or enter your e-mail to register a CleanTalk profile and continue with the installation.
At the end of the successful installation, you will see this message:
You can test any form on your website by using special e-mails stop_email@example.com or s@cleantalk.org. Every submission with this email will be blocked. There is an example of a site registration interface on the image.
How to Add Website to CleanTalk Anti-Spam Dashboard
Please, use this guide to add a website to your CleanTalk Anti-Spam Dashboard.
Сongratulations! vBulletin 6 spam protection setup is complete!
To enter the plugin settings go to (your_website_name/cleantalk/settings.php). Here you can manage the plugin options, see statistics, and uninstall the plugin.
Please go to your Dashboard to see your Anti-Spam status, add new websites or manage existing ones!
CleanTalk added spam protection for Otter Blocks using direct form integration. So in case, you prefer using this type of contact forms be sure to use the most effective Anti-Spam plugin. Read the guide below and learn 4 steps to protect all your contact forms from spam.
Once the CleanTalk Anti-Spam plugin is installed it starts to protect all of the existing forms on your WordPress website. It may not only be Otter Blocks Forms but also many others.
To install the Anti-Spam plugin, go to your WordPress admin panel → Plugins → Add New.
Then enter «CleanTalk» in the search box and click the Install button for «Spam protection, Anti-Spam, FireWall by CleanTalk».
After installing the plugin, click the «Activate» button.
After it is done go to the plugin settings and click the «Get Access Key Automatically» button. Then just click the «Save Settings» button.
That’s it! From now you How to completely protect your Contact Forms from spam.
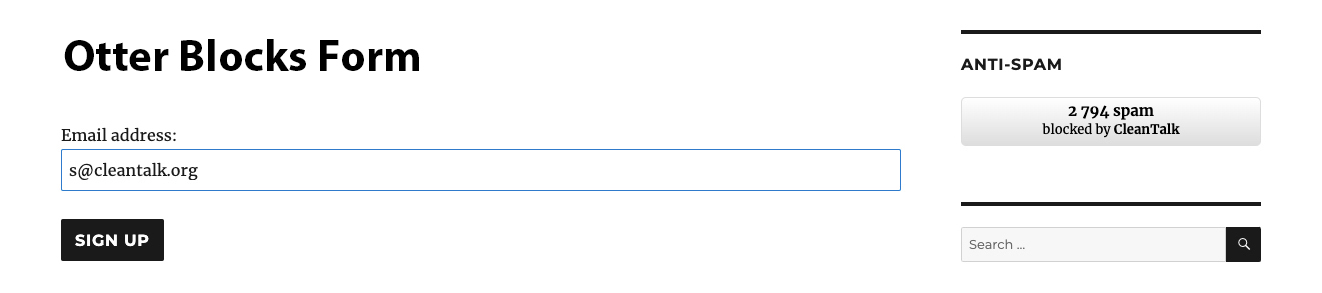
How to check Otter Blocks Forms Spam Protection
You can test the work of Anti-Spam protection for your Contact Forms by using a test email s @ cleantalk.org (without spaces). First, open the form in an Incognito browser tab. Fill in all the required form fields and send a form. After submitting the form, you will see a block message about the block on the form submission.
otter blocks forms
If you have any questions, add a comment and we will be happy to help you.
Create your CleanTalk account – Register now and protect your Contact Forms from spam in 5 minutes
Update
The protection works only for website visitors, not for website admins. Be sure to test the form protection using Incognito mode.
Additional features
CleanTalk protects all forms at once: comments, registrations, feedbacks, contacts, reviews.
Installation takes about 1-2 minutes.
Smart 99% protection against spambots.
Always online – 24/7 technical support.
Logs, SpamFireWall, personal lists, country filters, stop-words, and many others.
Discover the complete list of CleanTalk Anti-Spam plugin features here.
CleanTalk added spam protection for Kadence Blocks Advanced Platform using direct form integration. So in case, you prefer using this platform be sure to use the most effective Anti-Spam plugin. Read the guide below and learn 4 steps to protect all your contact forms from spam.
Once the CleanTalk Anti-Spam plugin is installed it starts to protect all of the existing forms on your WordPress website. It may not only be Kadence Blocks Advanced but also many others.
To install the Anti-Spam plugin, go to your WordPress admin panel → Plugins → Add New.
Then enter «CleanTalk» in the search box and click the Install button for «Spam protection, Anti-Spam, FireWall by CleanTalk».
After installing the plugin, click the «Activate» button.
After it is done go to the plugin settings and click the «Get Access Key Automatically» button. Then just click the «Save Settings» button.
That’s it! From now you How to completely protect your Contact Forms from spam.
How to check Kadence Blocks Advanced Spam Protection
You can test the work of Anti-Spam protection for your Contact Forms by using a test email s @ cleantalk.org (without spaces). First, open the form in an Incognito browser tab. Fill in all the required form fields and send a form. After submitting the form, you will see a block message about the block on the form submission.
kadence forms
If you have any questions, add a comment and we will be happy to help you.
Create your CleanTalk account – Register now and protect your Contact Forms from spam in 5 minutes
Update
The protection works only for website visitors, not for website admins. Be sure to test the form protection using Incognito mode.
Additional features
CleanTalk protects all forms at once: comments, registrations, feedbacks, contacts, reviews.
Installation takes about 1-2 minutes.
Smart 99% protection against spambots.
Always online – 24/7 technical support.
Logs, SpamFireWall, personal lists, country filters, stop-words, and many others.
Discover the complete list of CleanTalk Anti-Spam plugin features here.
CleanTalk added spam protection for Piotnet Forms using direct form integration. So in case, you prefer using this type of contact forms be sure to use the most effective Anti-Spam plugin. Read the guide below and learn 4 steps to protect all your contact forms from spam.
Once the CleanTalk Anti-Spam plugin is installed it starts to protect all of the existing forms on your WordPress website. It may not only be Piotnet Forms but also many others.
To install the Anti-Spam plugin, go to your WordPress admin panel → Plugins → Add New.
Then enter «CleanTalk» in the search box and click the Install button for «Spam protection, Anti-Spam, FireWall by CleanTalk».
After installing the plugin, click the «Activate» button.
After it is done go to the plugin settings and click the «Get Access Key Automatically» button. Then just click the «Save Settings» button.
That’s it! From now you How to completely protect your Contact Forms from spam.
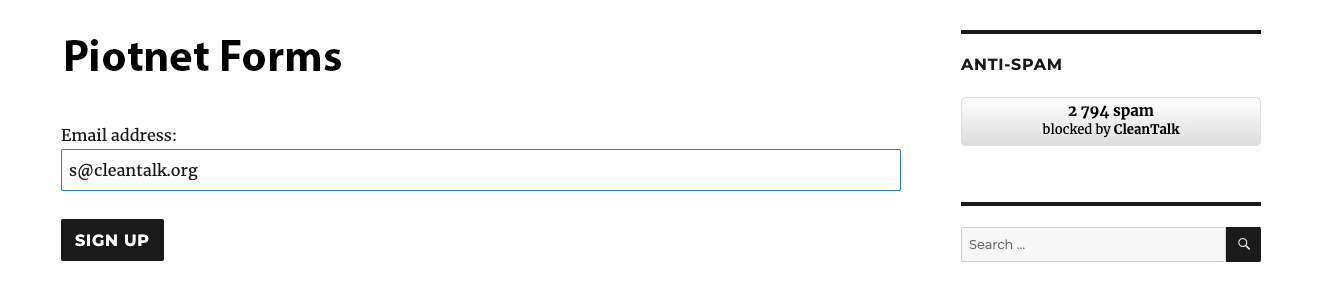
How to check Piotnet Forms Spam Protection
You can test the work of Anti-Spam protection for your Contact Forms by using a test email s @ cleantalk.org (without spaces). First, open the form in an Incognito browser tab. Fill in all the required form fields and send a form. After submitting the form, you will see a block message about the block on the form submission.
piotnet forms
If you have any questions, add a comment and we will be happy to help you.
Create your CleanTalk account – Register now and protect your Contact Forms from spam in 5 minutes
Update
The protection works only for website visitors, not for website admins. Be sure to test the form protection using Incognito mode.
Additional features
CleanTalk protects all forms at once: comments, registrations, feedbacks, contacts, reviews.
Installation takes about 1-2 minutes.
Smart 99% protection against spambots.
Always online – 24/7 technical support.
Logs, SpamFireWall, personal lists, country filters, stop-words, and many others.
Discover the complete list of CleanTalk Anti-Spam plugin features here.
CleanTalk added spam protection for LearnPress Forms using direct form integration. So in case, you prefer using this type of contact forms be sure to use the most effective Anti-Spam plugin. Read the guide below and learn 4 steps to protect all your contact forms from spam.
LearnPress
Once the CleanTalk Anti-Spam plugin is installed it starts to protect all of the existing forms on your WordPress website. It may not only be LearnPress Forms but also many others.
To install the Anti-Spam plugin, go to your WordPress admin panel → Plugins → Add New.
Then enter «CleanTalk» in the search box and click the Install button for «Spam protection, Anti-Spam, FireWall by CleanTalk».
After installing the plugin, click the «Activate» button.
After it is done go to the plugin settings and click the «Get Access Key Automatically» button. Then just click the «Save Settings» button.
That’s it! From now you How to completely protect your Contact Forms from spam.
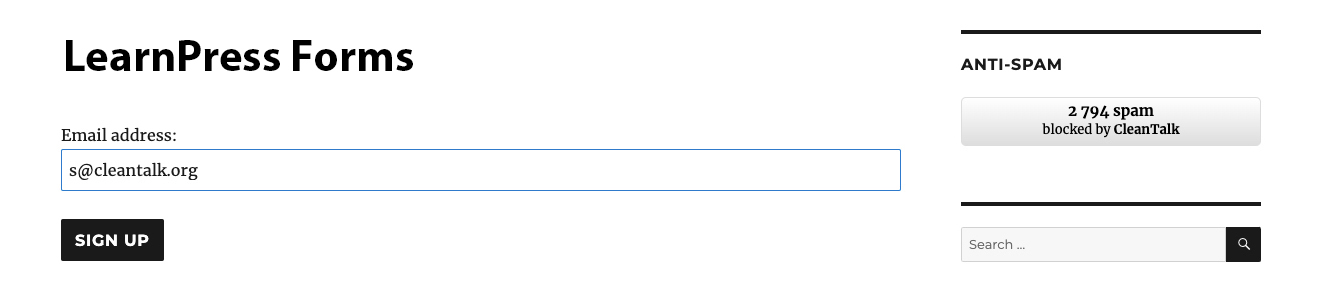
How to check LearnPress Forms Spam Protection
You can test the work of Anti-Spam protection for your Contact Forms by using a test email s @ cleantalk.org (without spaces). First, open the form in an Incognito browser tab. Fill in all the required form fields and send a form. After submitting the form, you will see a block message about the block on the form submission.
2
If you have any questions, add a comment and we will be happy to help you.
Create your CleanTalk account – Register now and protect your Contact Forms from spam in 5 minutes
Update
The protection works only for website visitors, not for website admins. Be sure to test the form protection using Incognito mode.
Additional features
CleanTalk protects all forms at once: comments, registrations, feedbacks, contacts, reviews.
Installation takes about 1-2 minutes.
Smart 99% protection against spambots.
Always online – 24/7 technical support.
Logs, SpamFireWall, personal lists, country filters, stop-words, and many others.
Discover the complete list of CleanTalk Anti-Spam plugin features here.
CleanTalk added spam protection for Eloqua using direct form integration. So in case, you prefer using this platform be sure to use the most effective Anti-Spam plugin. Read the guide below and learn 4 steps to protect all your contact forms from spam.
Once the CleanTalk Anti-Spam plugin is installed it starts to protect all of the existing forms on your WordPress website. It may not only be Eloqua Forms but also many others.
To install the Anti-Spam plugin, go to your WordPress admin panel → Plugins → Add New.
Then enter «CleanTalk» in the search box and click the Install button for «Spam protection, Anti-Spam, FireWall by CleanTalk».
After installing the plugin, click the «Activate» button.
After it is done go to the plugin settings and click the «Get Access Key Automatically» button. Then just click the «Save Settings» button.
That’s it! From now you How to completely protect your Contact Forms from spam.
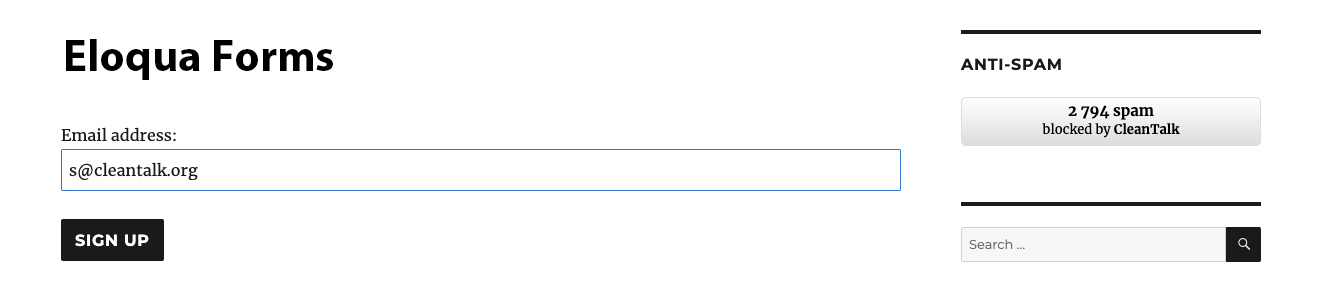
How to check Eloqua Spam Protection
You can test the work of Anti-Spam protection for your Contact Forms by using a test email s @ cleantalk.org (without spaces). First, open the form in an Incognito browser tab. Fill in all the required form fields and send a form. After submitting the form, you will see a block message about the block on the form submission.
eloqua forms
If you have any questions, add a comment and we will be happy to help you.
Create your CleanTalk account – Register now and protect your Contact Forms from spam in 5 minutes
Update
The protection works only for website visitors, not for website admins. Be sure to test the form protection using Incognito mode.
Additional features
CleanTalk protects all forms at once: comments, registrations, feedbacks, contacts, reviews.
Installation takes about 1-2 minutes.
Smart 99% protection against spambots.
Always online – 24/7 technical support.
Logs, SpamFireWall, personal lists, country filters, stop-words, and many others.
Discover the complete list of CleanTalk Anti-Spam plugin features here.
CleanTalk added spam protection for KulaHub marketing and CRM platform using direct form integration. So in case, you prefer using this platform be sure to use the most effective Anti-Spam plugin. Read the guide below and learn 4 steps to protect all your contact forms from spam.
Once the CleanTalk Anti-Spam plugin is installed it starts to protect all of the existing forms on your WordPress website. It may not only be KulaHub forms but also many others.
To install the Anti-Spam plugin, go to your WordPress admin panel → Plugins → Add New.
Then enter «CleanTalk» in the search box and click the Install button for «Spam protection, Anti-Spam, FireWall by CleanTalk».
After installing the plugin, click the «Activate» button.
After it is done go to the plugin settings and click the «Get Access Key Automatically» button. Then just click the «Save Settings» button.
That’s it! From now you How to completely protect your Contact Forms from spam.
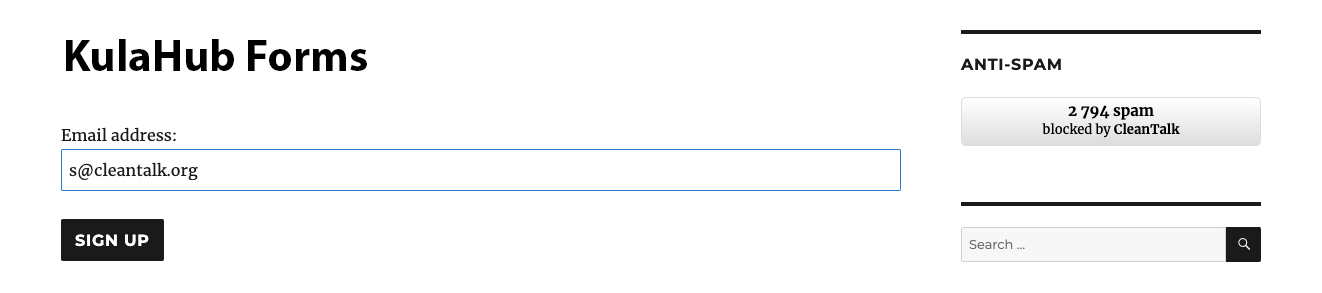
How to check KulaHub Spam Protection
You can test the work of Anti-Spam protection for your Contact Forms by using a test email s @ cleantalk.org (without spaces). First, open the form in an Incognito browser tab. Fill in all the required form fields and send a form. After submitting the form, you will see a block message about the block on the form submission.
kulahub forms
If you have any questions, add a comment and we will be happy to help you.
Create your CleanTalk account – Register now and protect your Contact Forms from spam in 5 minutes
Update
The protection works only for website visitors, not for website admins. Be sure to test the form protection using Incognito mode.
Additional features
CleanTalk protects all forms at once: comments, registrations, feedbacks, contacts, reviews.
Installation takes about 1-2 minutes.
Smart 99% protection against spambots.
Always online – 24/7 technical support.
Logs, SpamFireWall, personal lists, country filters, stop-words, and many others.
Discover the complete list of CleanTalk Anti-Spam plugin features here.


.webp)