Hubspot users frequently encounter the issue of their email newsletters being classified as spam, despite having appropriate content in the emails. Even though the email content, headers, and text are all in compliance, you can still see the emails flagged as spam. Let’s investigate the possible reasons behind this occurrence.
Why email from Hubspot going to spam
- Exclamation points or certain phrases in the “subject” line
Avoid using exclamation points or specific phrases in the subject line that may trigger spam filters, such as “Make money,” “Free,” or “Not spam.” It is advisable to steer clear of these types of triggering phrases to prevent your emails from being classified as spam. - The Unsubscribe Button is missing
It’s important to keep in mind that if an email is not pertinent to the recipient and lacks an Unsubscribe option, the only recourse for the recipient to cease receiving the email is to flag it as spam. - Irrelevant offer
If multiple individuals label your email as spam, it could result in your future emails being automatically directed to recipients’ spam folders. - Blacklisted or unreal email in your email list
We believe you can handle the changes above yourself, but this one requires some help to check email addresses. Since so many bots use subscription forms and use either fake addresses or stolen ones. If you have blacklisted and unreal emails in your email list, spam filters can recognize it and put your emails at risk of going into the spam folder.
Mailing to such addresses will not be useful, so we made a web service that clears your email list by checking it through a database of 6M email addresses for fake addresses and spam. Use the instructions below to clean your mailing list of “bad” addresses.
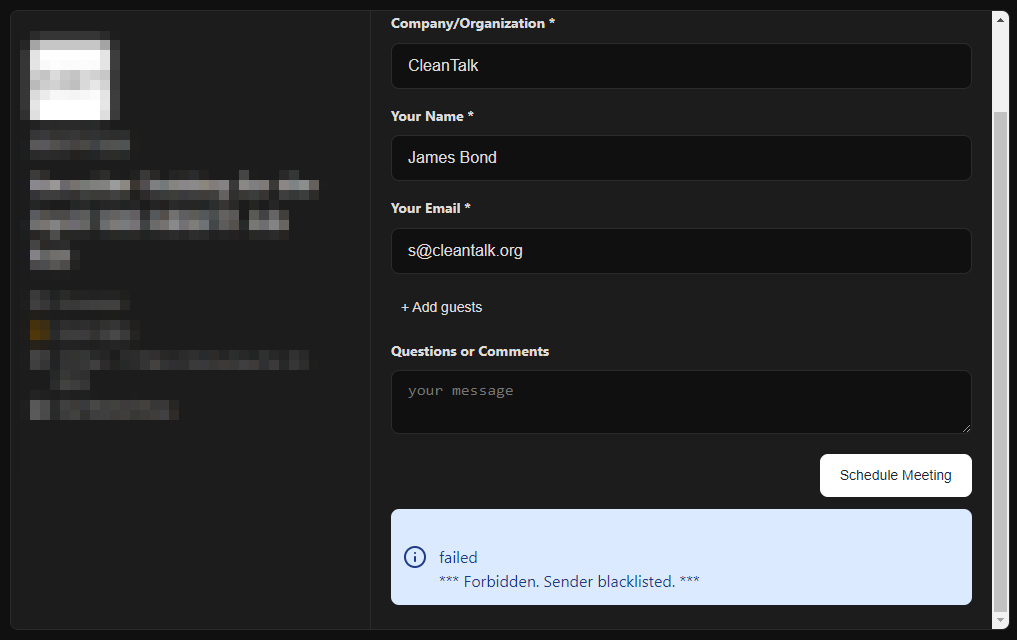
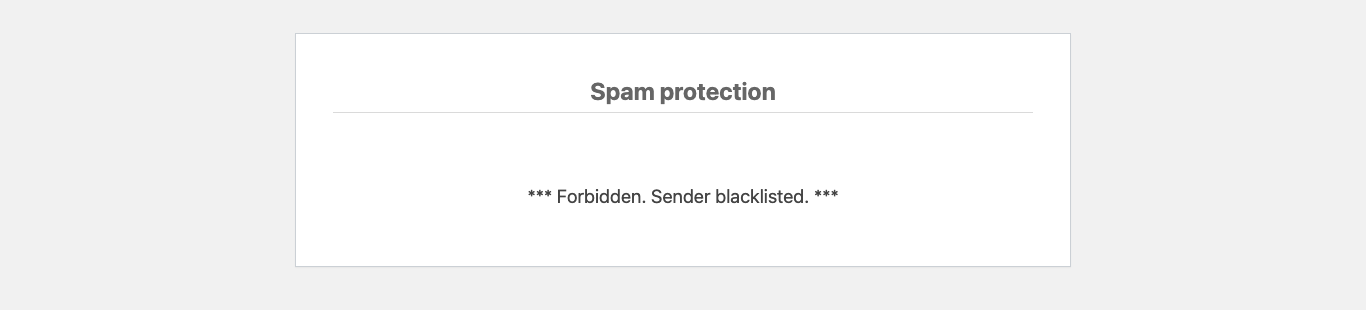
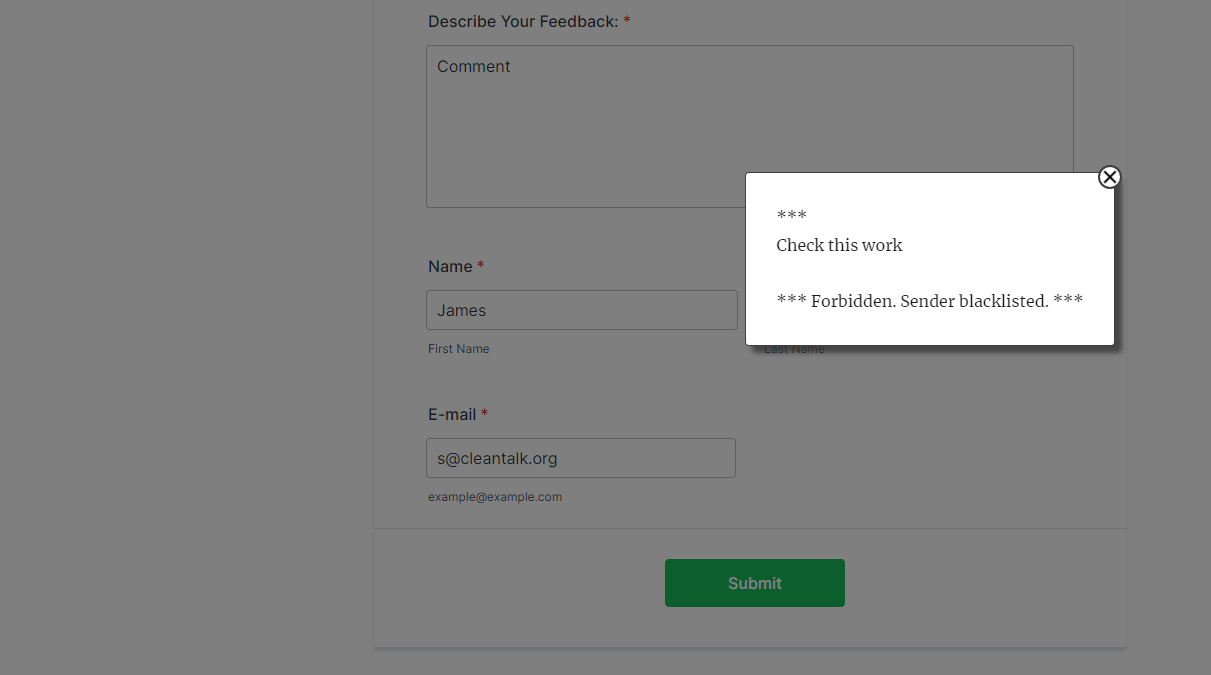
How to protect your HubSpot forms from spam bots
The Anti-Spam plugin for WordPress by CleanTalk has direct integration with HubSpot and blocks any spam bots even before they reach your website. Follow this guide to protect your HubSpot forms from spam.
How to clean email list of non-existent or spammers email addresses
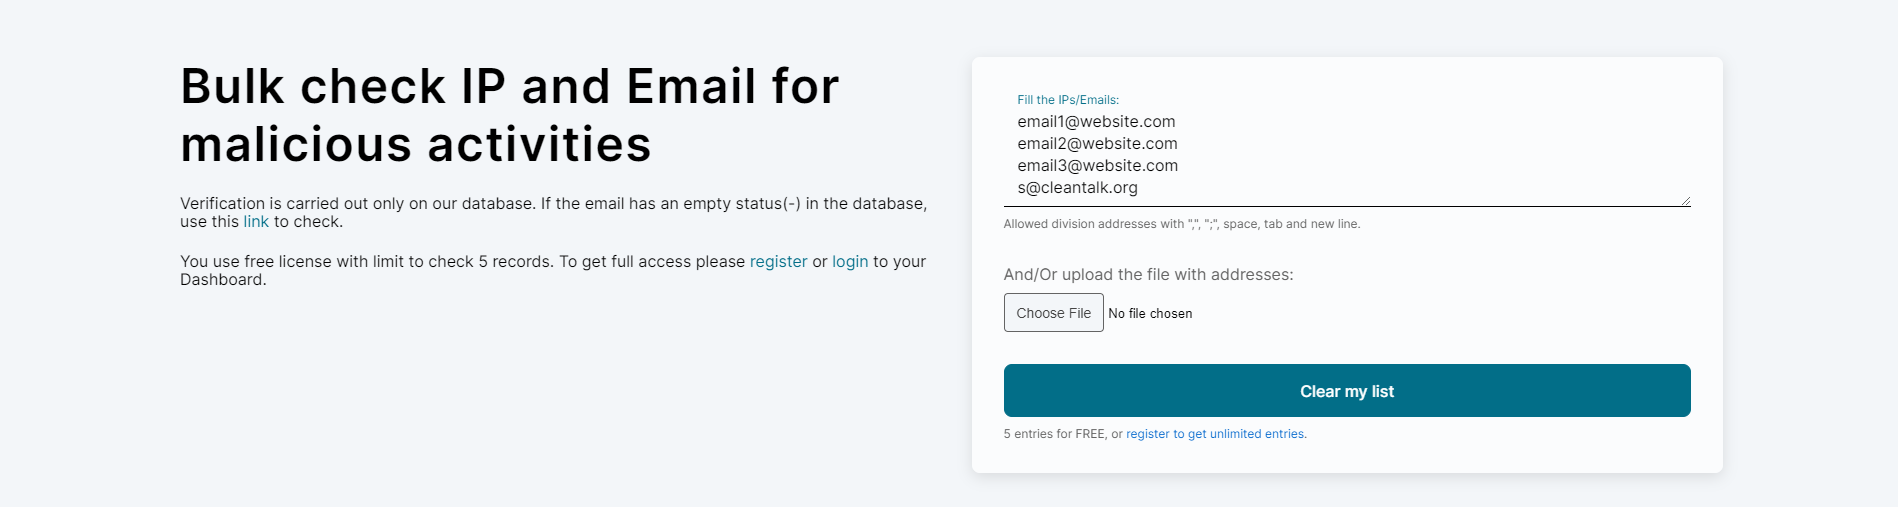
1. Visit the SpamBots Check page, where you can clean your email list by inputing your email list by either copying and pasting it into the designated field or uploading a file using the Browse button. Click the Clear my list button to initiate the process. That is the moment when all the non-existent or spammers email addresses are recognized and filtered. You need to register to check more than 5 emails, and it only takes approximately 30 seconds to complete.
2. Once the email list has been processed, you will be presented with a summary of the checked emails along with their corresponding outcomes. You can easily download CSV and JSON files or share the check results by utilizing the provided links located in the upper right corner of the page.
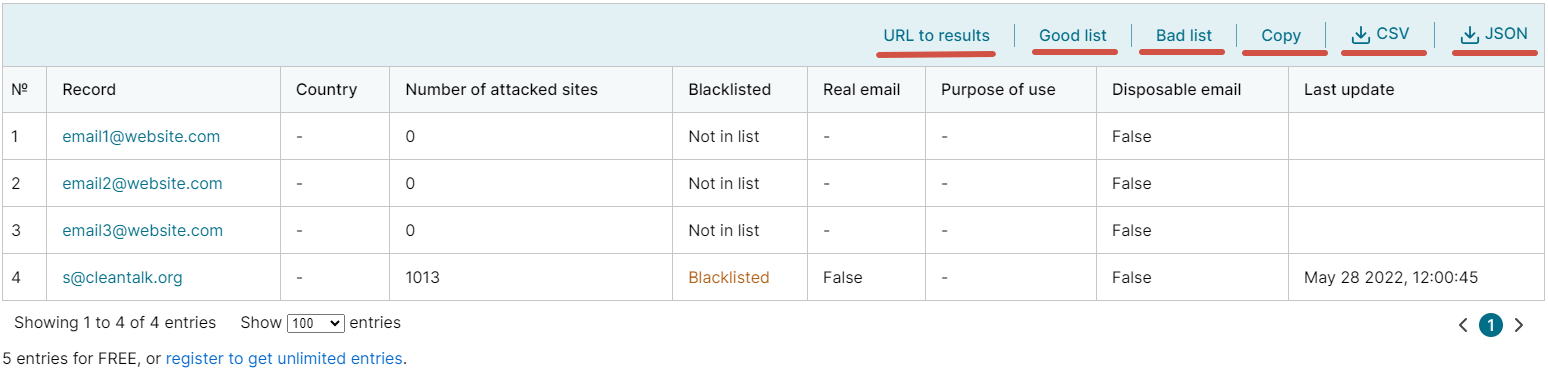
URL to results – share the check results or reset to the full list, including both good and bad lists.
Good list – remove emails that are suspiciously active or invalid.
Bad list – leave only emails that are suspiciously active or invalid.
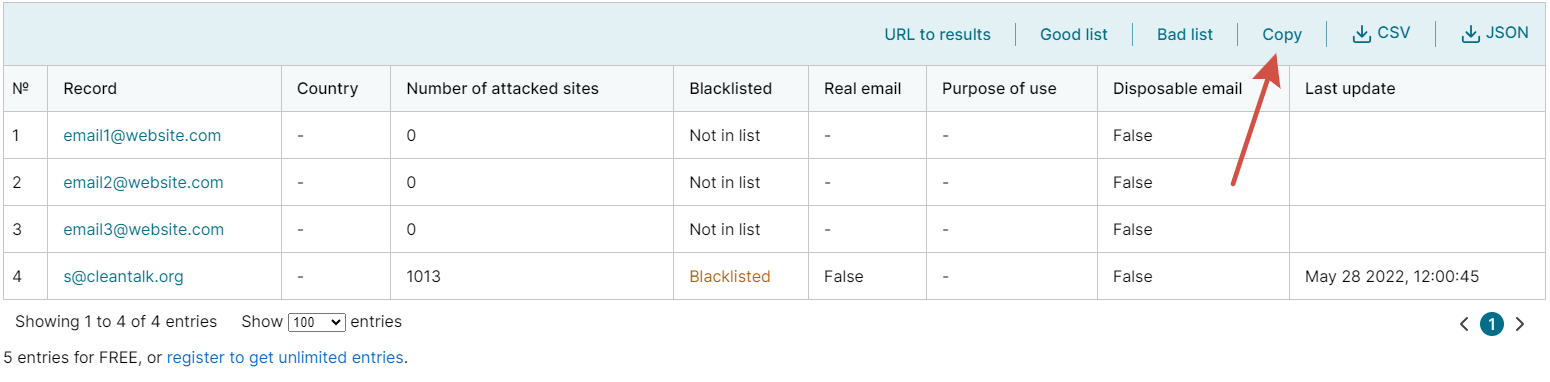
Copy – copy the entire list of emails.
CSV – download results of the check in CSV-file.
JSON – download results of the check in JSON file.
3. Access the CSV or JSON file and select the emails that are not on the blacklist for copying.
4. Access your HubSpot newsletter, paste the list into the designated area, and then click on the Continue to organize button.
5. Next, proceed with the regular process of creating your HubSpot newsletter.
By utilizing confirmed email addresses, you can prevent your HubSpot messages from being marked as spam, ensuring that more of your newsletter emails are successfully sent and read. Remember to validate all email lists to minimize the risk of your emails being flagged as spam. Email verification is essential for cleaning up email lists, enhancing email deliverability, and boosting engagement rates.