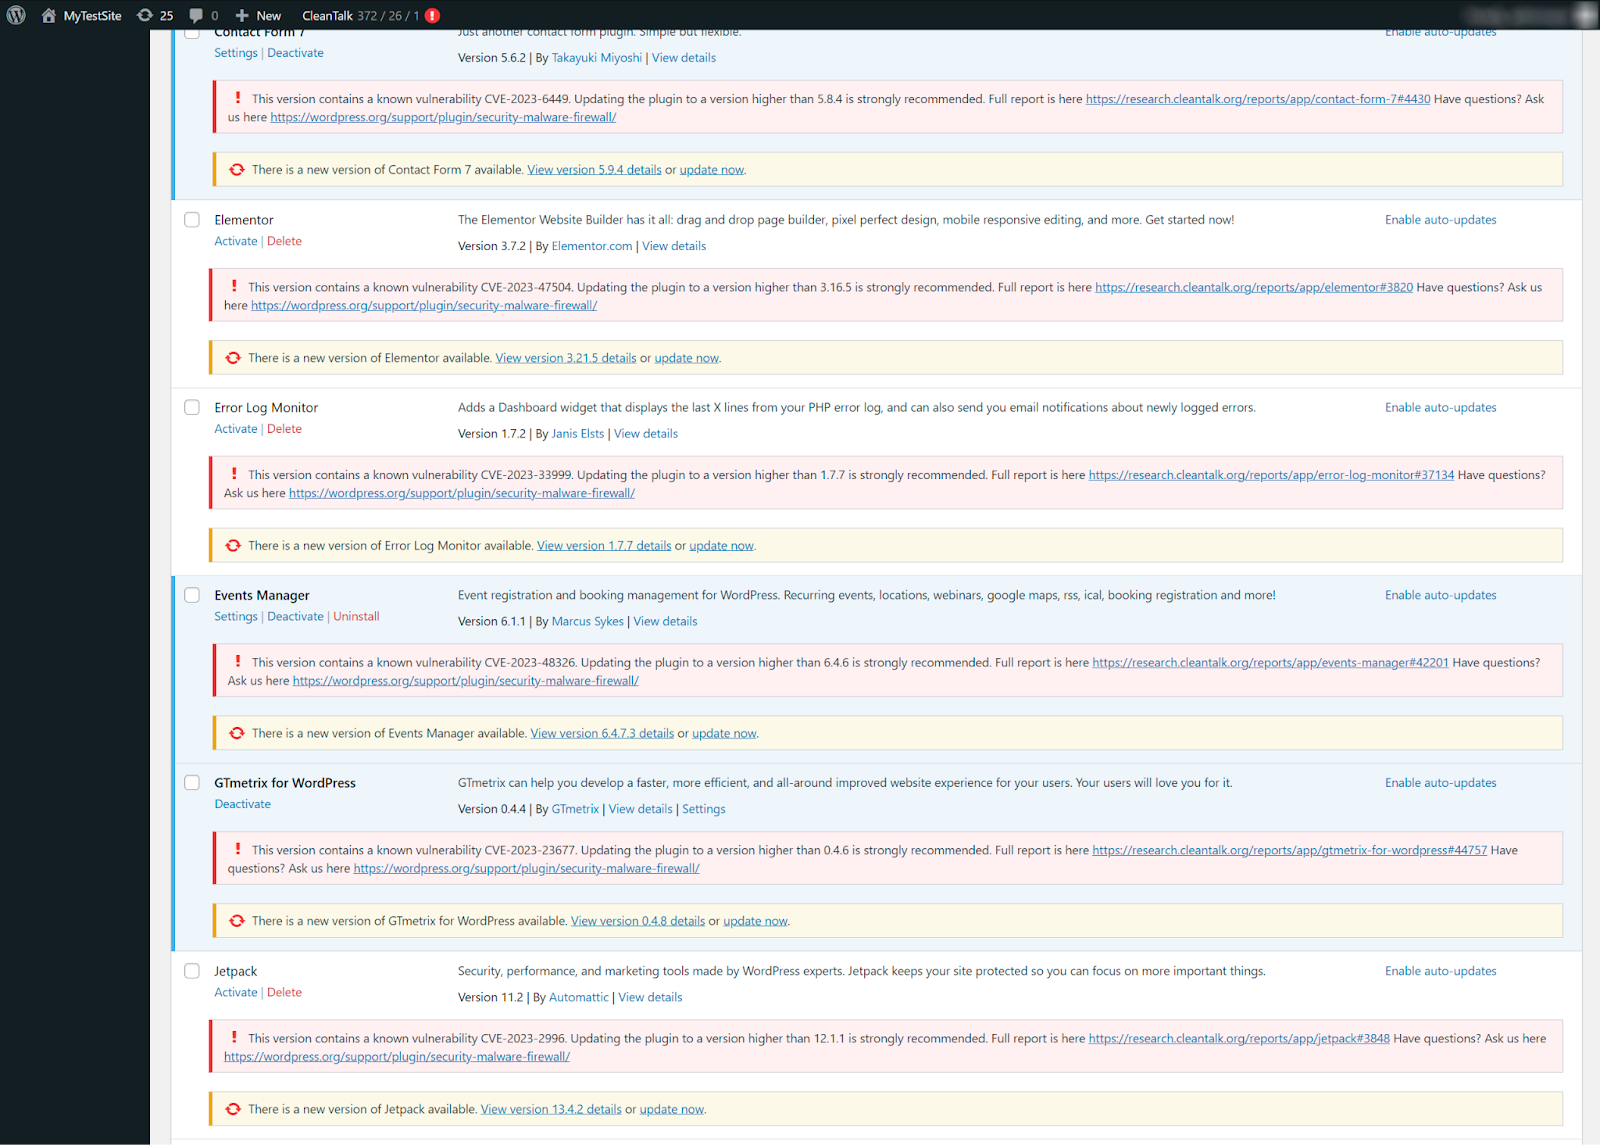
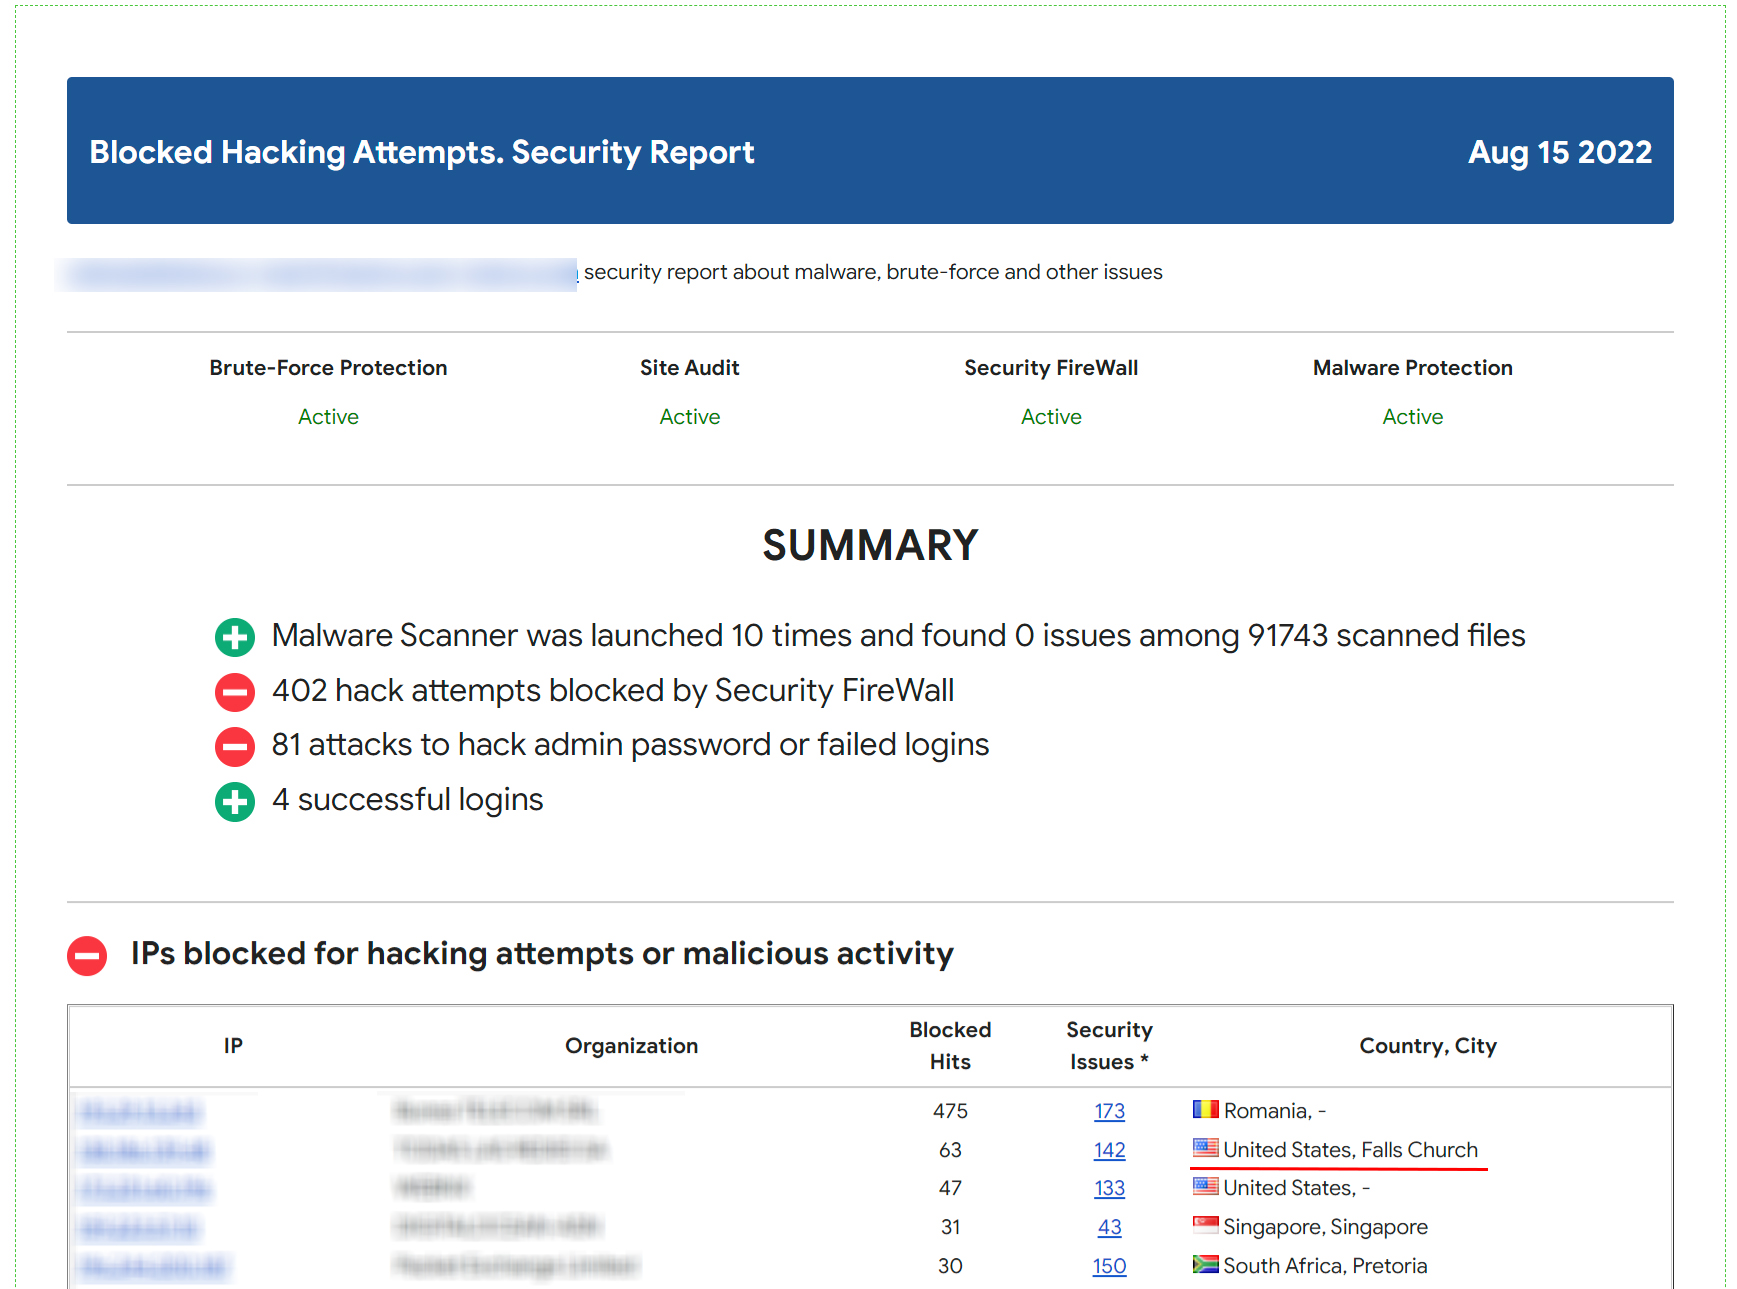
In the vast world of the internet, your WordPress site faces constant threats from brute force attacks. But worry not! Security & Malware Scan by CleanTalk is here to fortify your digital fortress and ensure it remains impervious to intrusion.
In WordPress security, the login form is both essential and vulnerable. Hackers target it with relentless brute force attacks, exploiting weaknesses in passwords and outdated software. Once inside, they wreak havoc, defacing sites or stealing sensitive data. However, with measures like two-factor authentication and regular updates, we can strengthen our defenses and keep our digital kingdoms safe from harm.
Enhance Your Security: Key Features
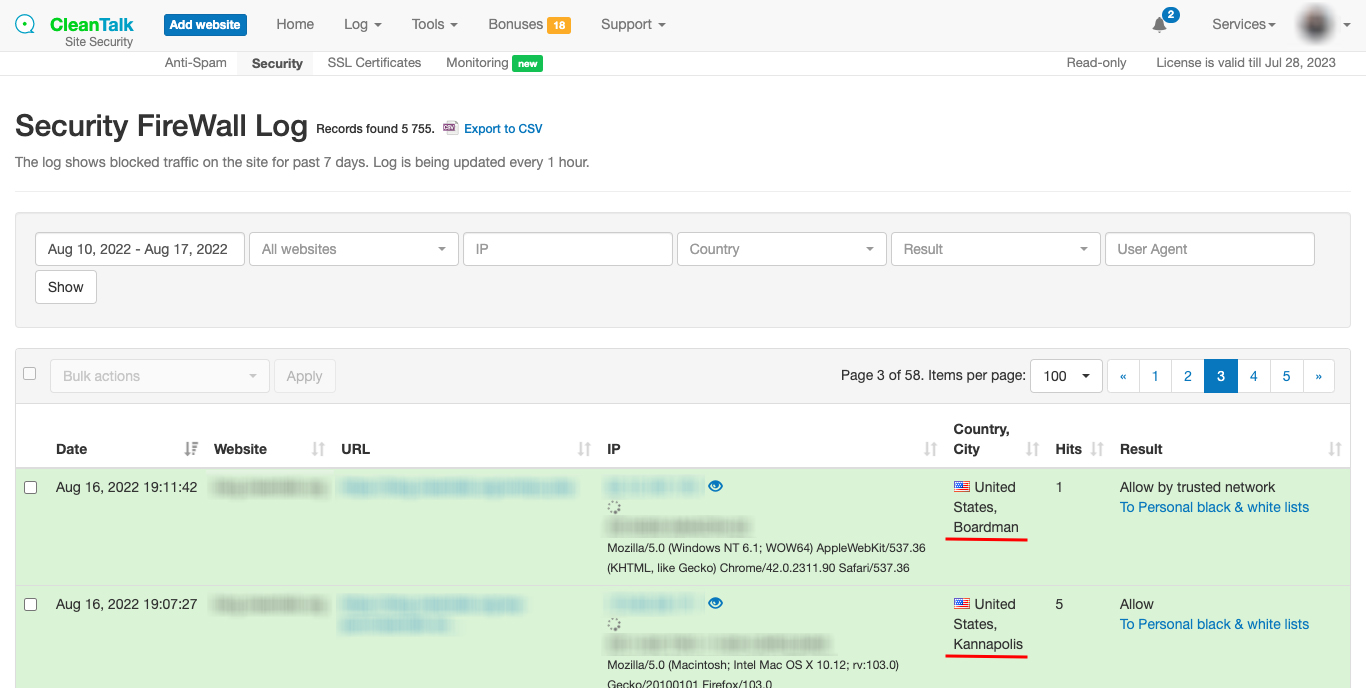
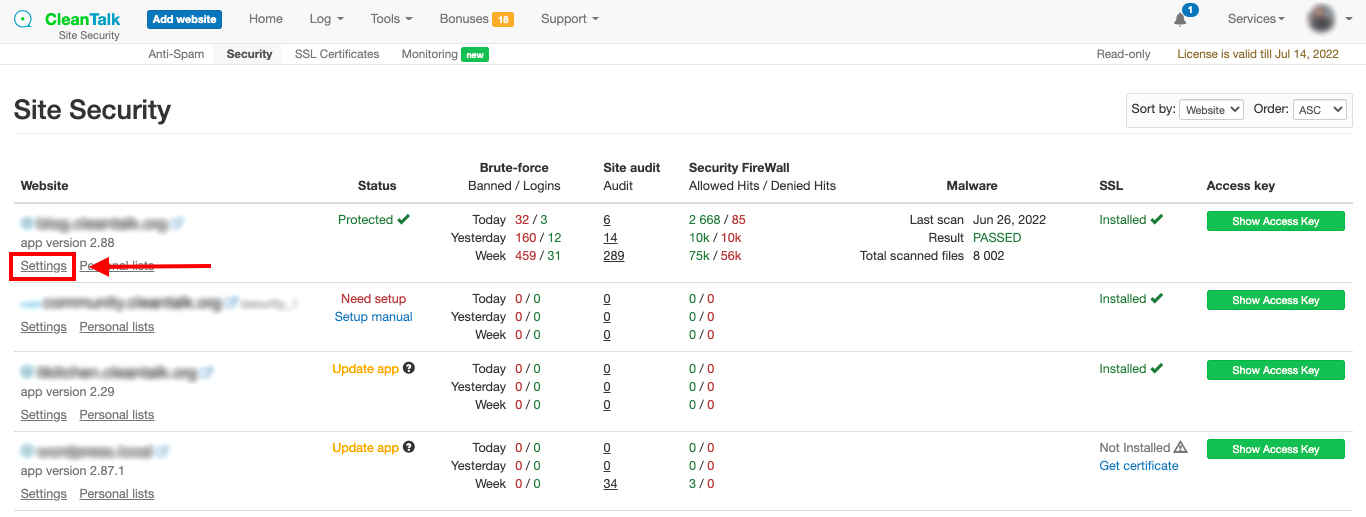
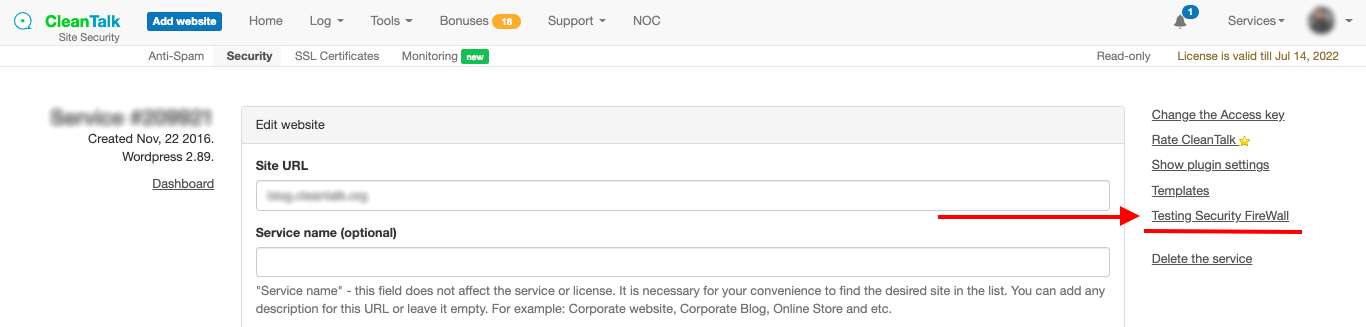
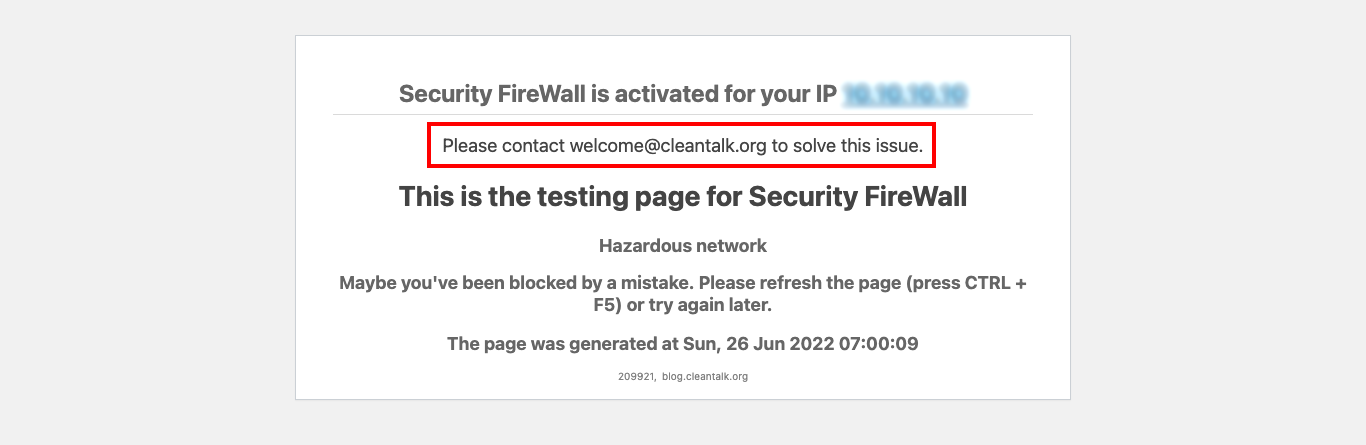
- Security Firewall: Guard Your Gates
“Build a sturdy wall around your website! CleanTalk’s Security Firewall filters out malicious IPs and halts DDoS attacks, safeguarding your WordPress site from harm.”
- Malware Scanner: Detect and Remove Threats
Hunt down hidden dangers! CleanTalk’s vigilant scanner identifies and eliminates malware, ensuring your WordPress files stay clean and your site stays secure.
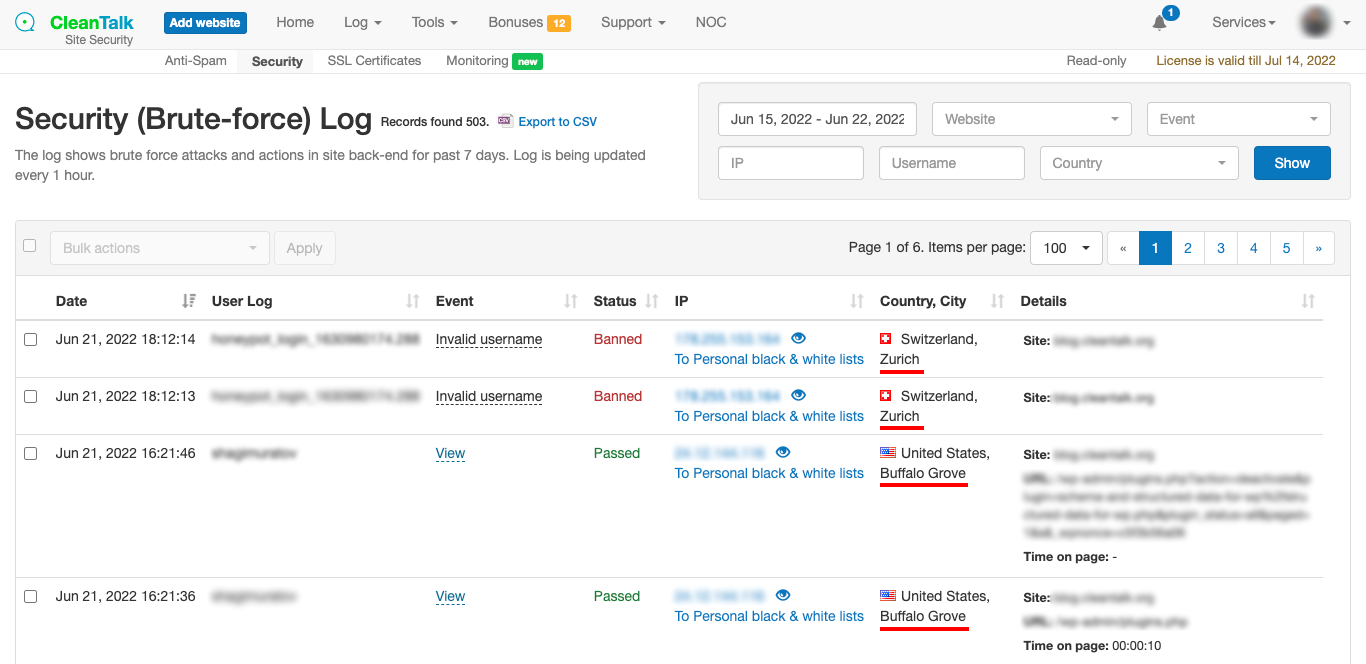
- Brute Force Protection: Keep Intruders Out
“Block unwanted guests from your site! CleanTalk’s Brute Force Protection plugin limits login attempts and adds delays on failed logins, effectively thwarting brute force attacks.
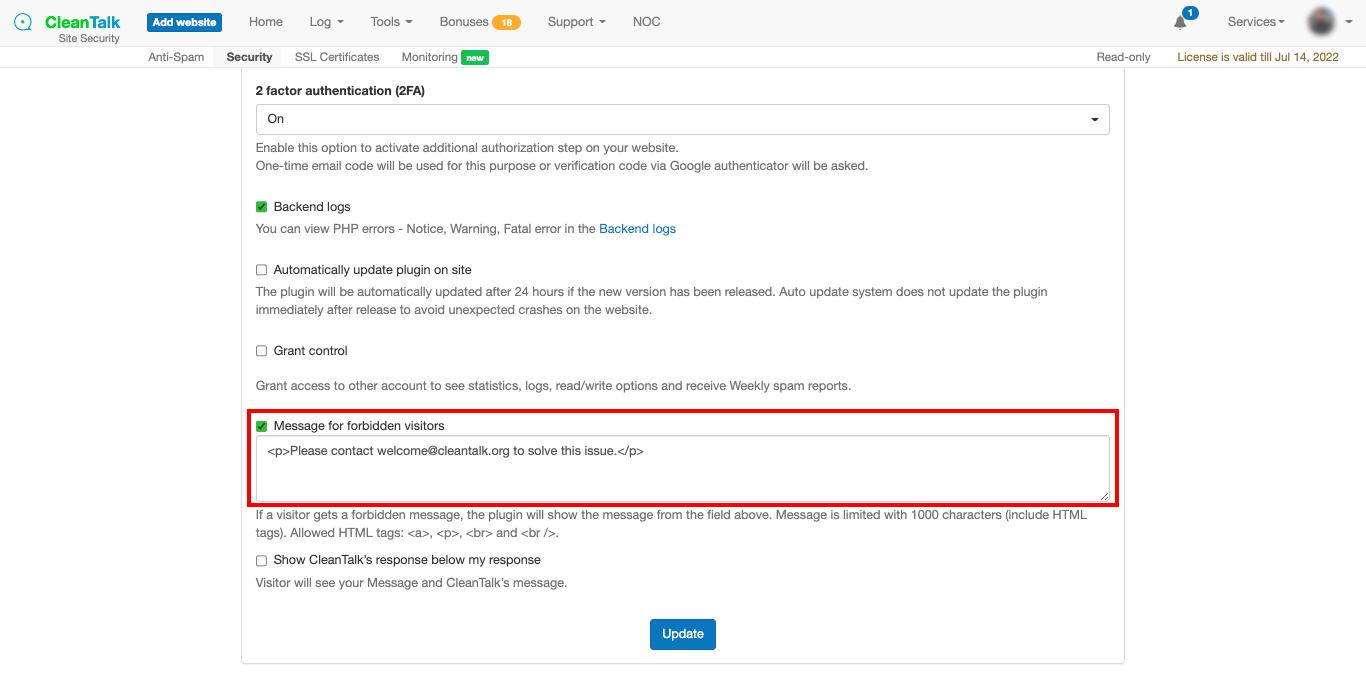
- Two-Factor Authentication: Double Up on Security
Add an extra layer of protection! CleanTalk’s Two-Factor Authentication ensures that only authorized users gain access to your WordPress domain, boosting security for your peace of mind.
- Custom wp-login URL: Hide Your Entry Point
Keep your login page under wraps! CleanTalk lets you customize your login URL, confusing automated login attempts and safeguarding against unauthorized access.
Secure Your WordPress Stronghold
With over 20,000 active installations and nearly a perfect 5-star rating on WordPress.org, Security & Malware Scan by CleanTalk stands as a trusted guardian in the realm of WordPress security. Its widespread adoption and high user satisfaction attest to its effectiveness in fortifying websites against cyber threats. From thwarting brute force attacks to detecting and eliminating malware, Security & Malware Scan by CleanTalk offers a comprehensive suite of features to keep your WordPress site safe and secure.
Don’t overlook the critical need to fortify your digital defenses. Stay informed with CleanTalk Research, your indispensable source for real-time alerts on plugin vulnerabilities and PSC plugin security certificates. Subscribe to our Telegram channel and stay one step ahead of cyber threats. Learn more: Subscribe to CleanTalk Research
Choose Security & Malware scan by CleanTalk and protect your WordPress kingdom with ease and efficiency. Your digital fortress awaits its impenetrable shield!